
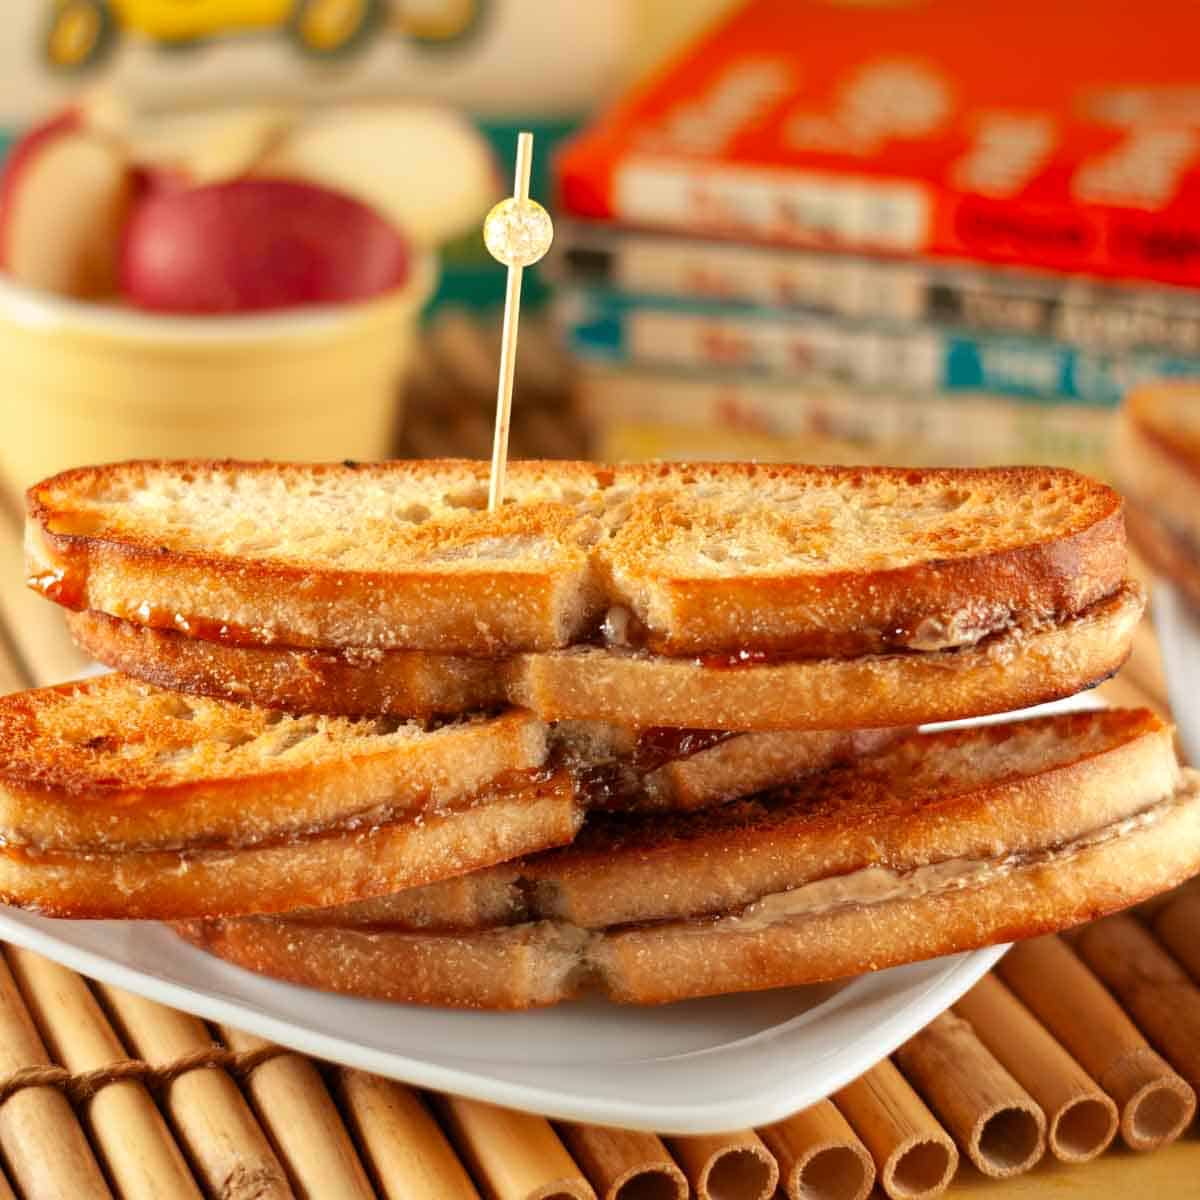
Say hello to your new favorite sandwich! This ultra crispy Grilled Sunbutter & Jelly Sandwich is a fun, kid-friendly (peanut-free) twist on the classic grilled PB&J and is sure to be a home run! Crispy, crunchy and golden brown on the outside, warm and gooey on the inside, and perfect for kids lunch boxes, after-school snacks, or nostalgic comfort food moments. Easy to adjust for Gluten Free, ready in just minutes! Make extra, trust me.
When I was little, my Mom did all the cooking, but my Dad would occasionally have to make me something to eat. It was always one of two things, a can of roast beef hash or a grilled peanut butter and jelly sandwich. I remember having to be patient waiting for it to cool down enough to eat and then that oh so glorious crunch of the first bite.
If you've ever tried a grilled PB&J you know what I'm talking about, it should almost be classified as dessert! If you haven't, you're in for a treat, literally. This version delivers all the joy of the classic sandwich, is perfect for anyone who loves Sunbutter, and is especially perfect for any peanut allergy friends out there like us! I used a skinny ciabatta loaf to make these into sandwich sticks for little hands and lunchbox fun, but you can absolutely make it as a classic sandwich too!
Looking for more easy vegan lunch or dinner ideas? Try my High Protein Vegan Chili or these Kid Friendly Burgers, a flavorful vegan burger that's firm, not squishy, and secretly nutritious. For dessert fast try my Chocolate No Bake Refrigerator Cookies.
Jump to:
💗Why you'll love this Grilled Sunbutter & Jelly Sandwich
- Crispy on the Outside, Gooey on the Inside: The perfect combination of crunchy and gooey goodness. It's like your childhood favorite with a deliciously crispy twist!
- Kid Friendly Fun: When cut into sandwich sticks they're just the right size for little hands (or big ones who just want a fun and delicious snack).
- Peanut Free, But Just as Delicious: Whether you’re avoiding peanuts or just looking for something new, these Sunbutter & Jelly sandwiches are the perfect alternative without sacrificing any of the flavor you love.
- A Quick & Easy Snack: Whether it's a snack for your kiddos or just a quick lunch for yourself, these sandwiches come together in no time. And, no Mr. Grown Up, you don't have to make them into sticks, but it's wayyyy more fun if you do!
- Plant-Based: Vegans and non vegans alike are sure to love my healthier plant-based version of this crunchy treat!
🍽Equipment
For making these sandwiches you'll need a non stick skillet or griddle. A cutting board for spreading the sunbutter and jelly onto the bread. A butter knife for buttering and fun plates for serving!
⏲️Advanced Prep
If you're using a vegan butter such as Miyoko's that comes in a block you'll want to pull it out of the fridge about 20-30 minutes before making the sandwiches so it's spreads easily and without tearing the bread. If you forget the microwave will save the day, so don't fret!
🍓Ingredients
- Vegan Butter: A favorite here at FFF is Miyoko's Plant-Based butter. Salted and Unsalted both work for this recipe. Alternatively, coconut oil (solid, not the liquid kind) also works. The butter adds more flavor.
- Sunbutter: Feel free to use your favorite brand, creamy, crunchy, whatever your heart desires! For this post I used Sunbutter brand Sunflower Seed Butter with No Sugar Added.
- Jam or Jelly: This one is totally your call, whatever Jam or Jelly is your jam (pun intended), use the one that makes you smile the biggest!
- Bread: A good bread will yield the ultimate crunchiness. I found the coolest pre-sliced Rustic Ciabatta Loaf at our local Kroger and it was just the right shape and size for making these into perfect kiddo size sandwiches. A nice sourdough would also be an excellent choice! Be sure to check that your bread of choice is vegan friendly.
🔪Instructions

1.) Gather up your bread of choice, Sunbutter, plant-based butter, and favorite jelly or jam. Preheat a griddle to 325 F (165 C), or preheat a skillet over medium-low heat. This will ensure the perfect crisp without the risk of burning.
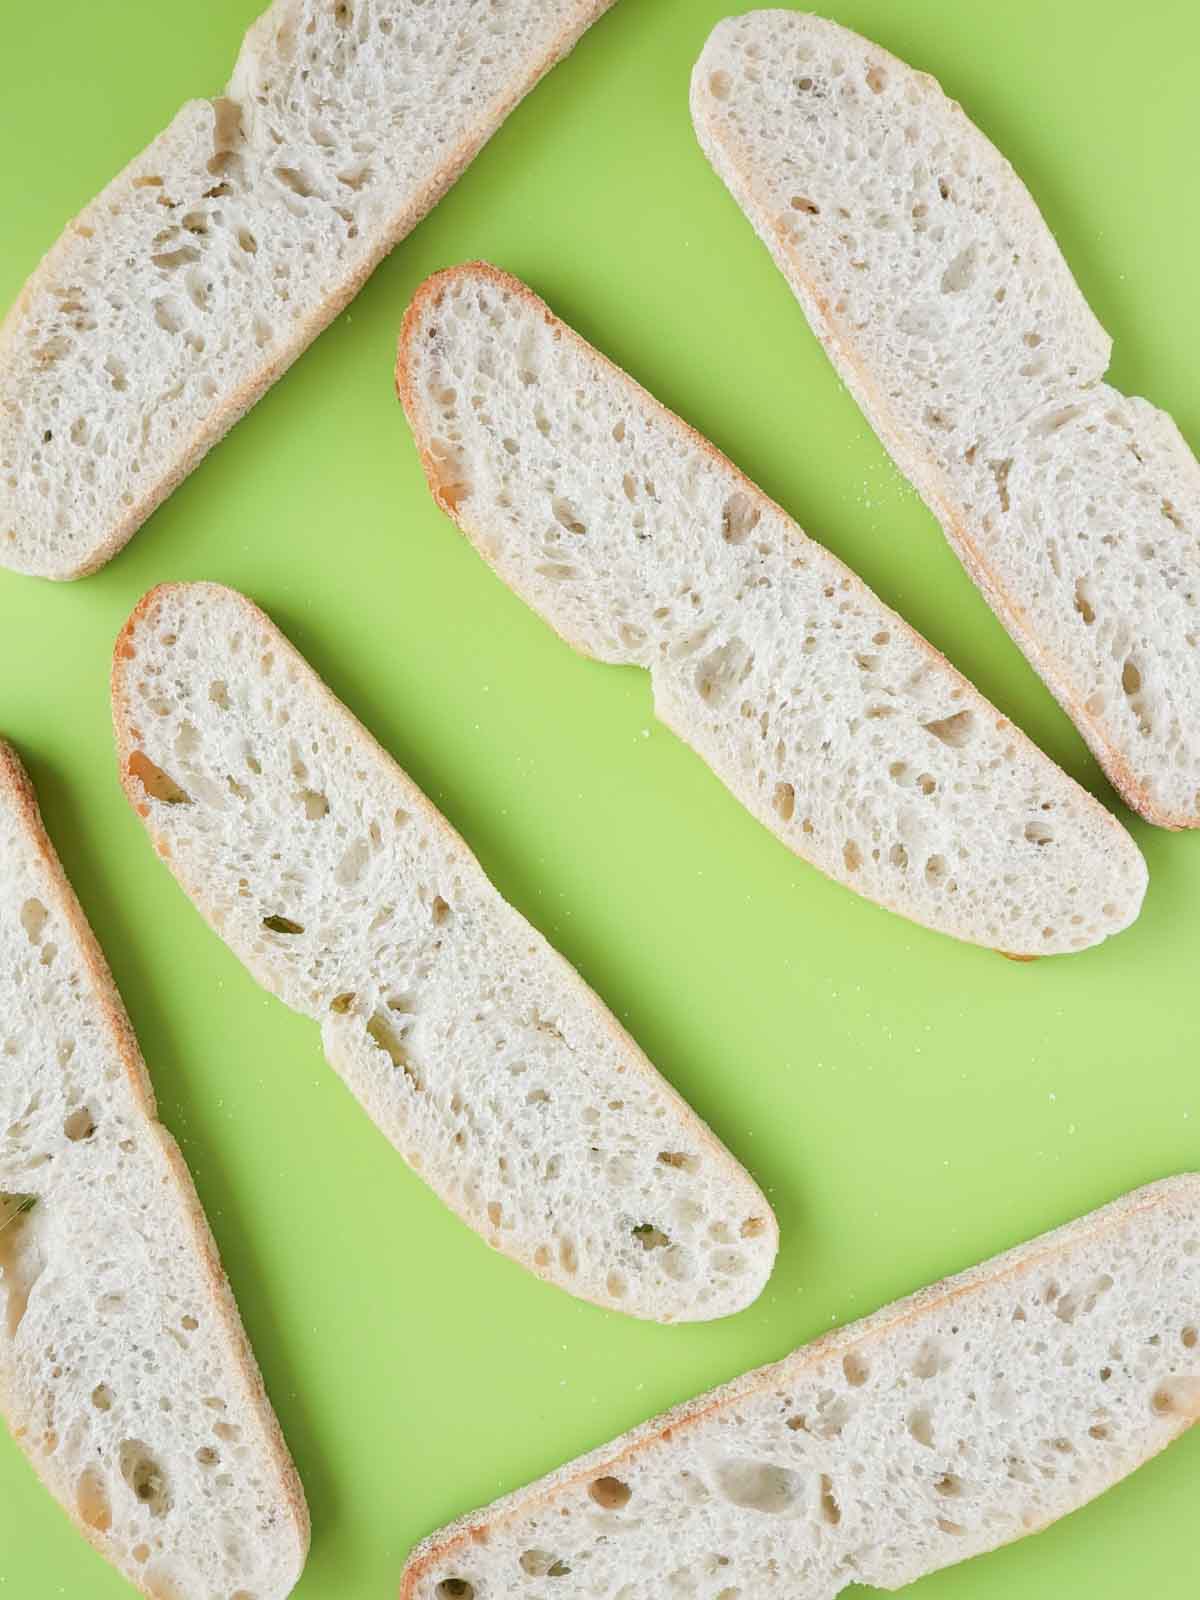
2.) Lay the bread out on a cutting board.
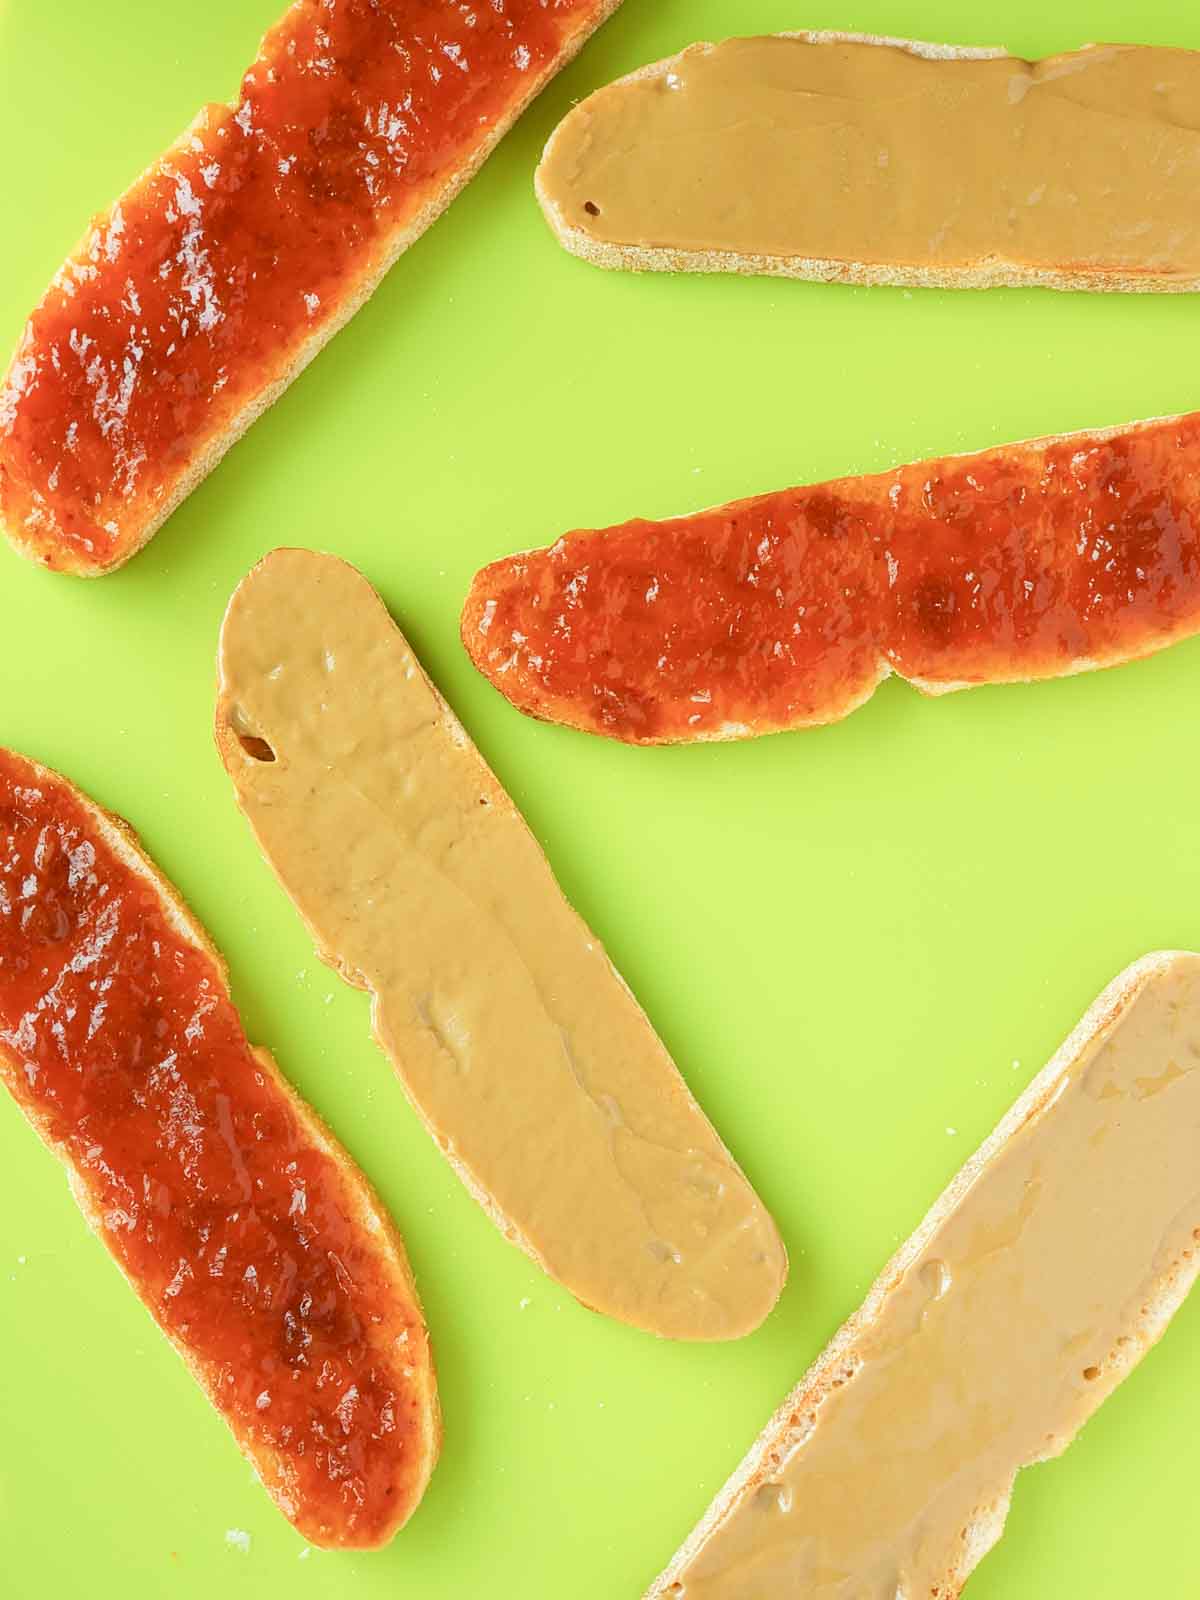
3.) Spread Sunbutter and Jelly onto the bread slices.

4.) Put sandwiches together and butter the outsides of the bread.
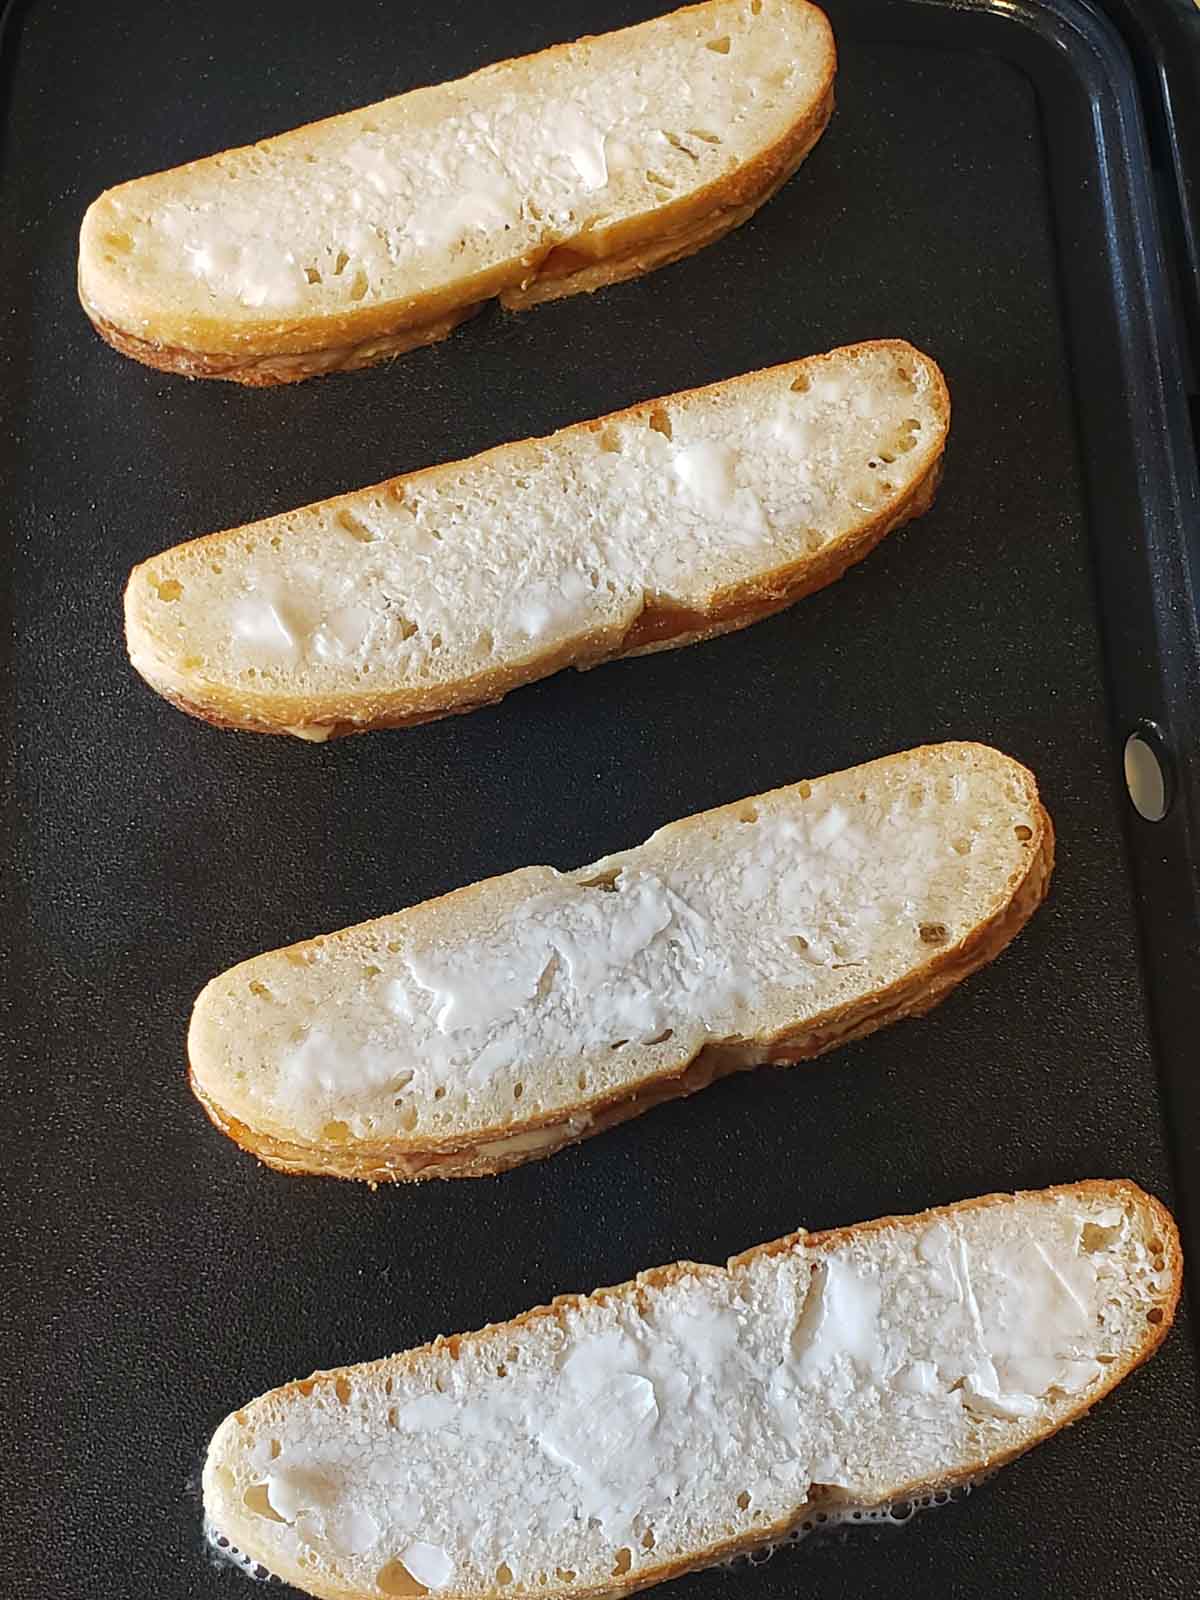
5.) Place on the pre-heated griddle or skillet.
6.) Grill for approximately 4-5 minutes on each side until golden brown.
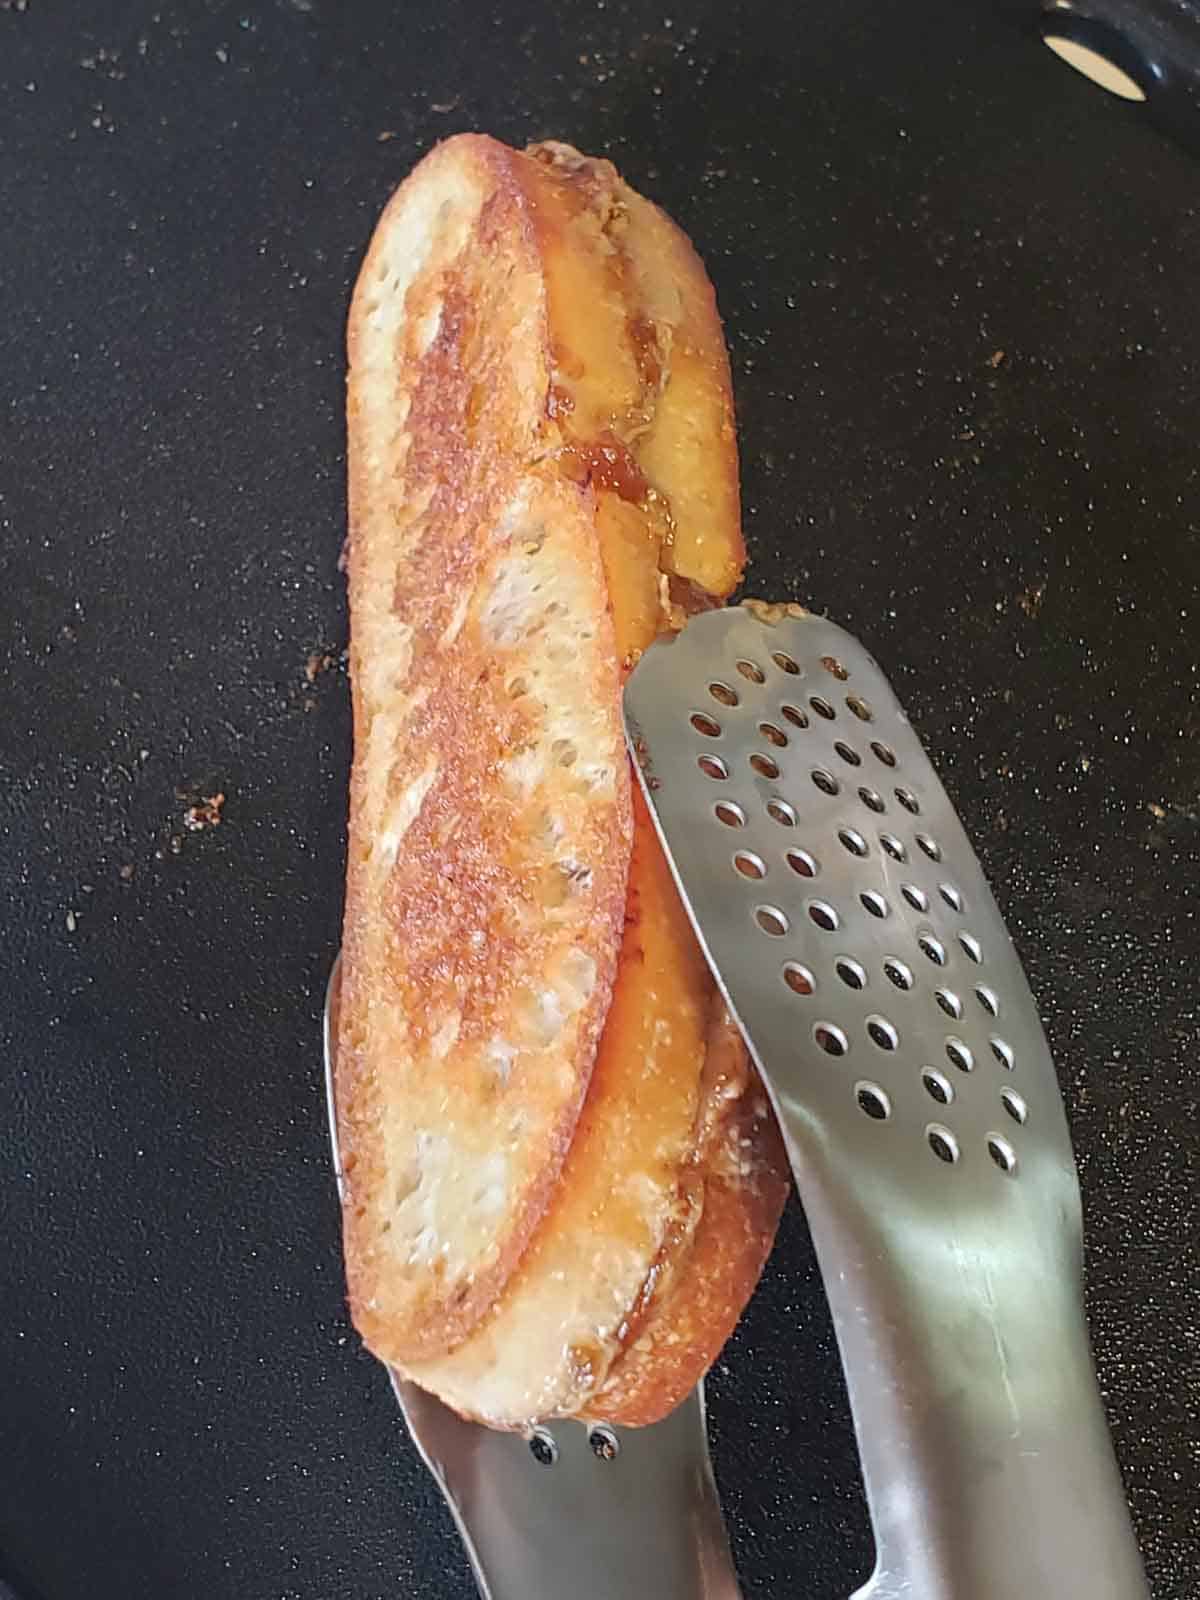
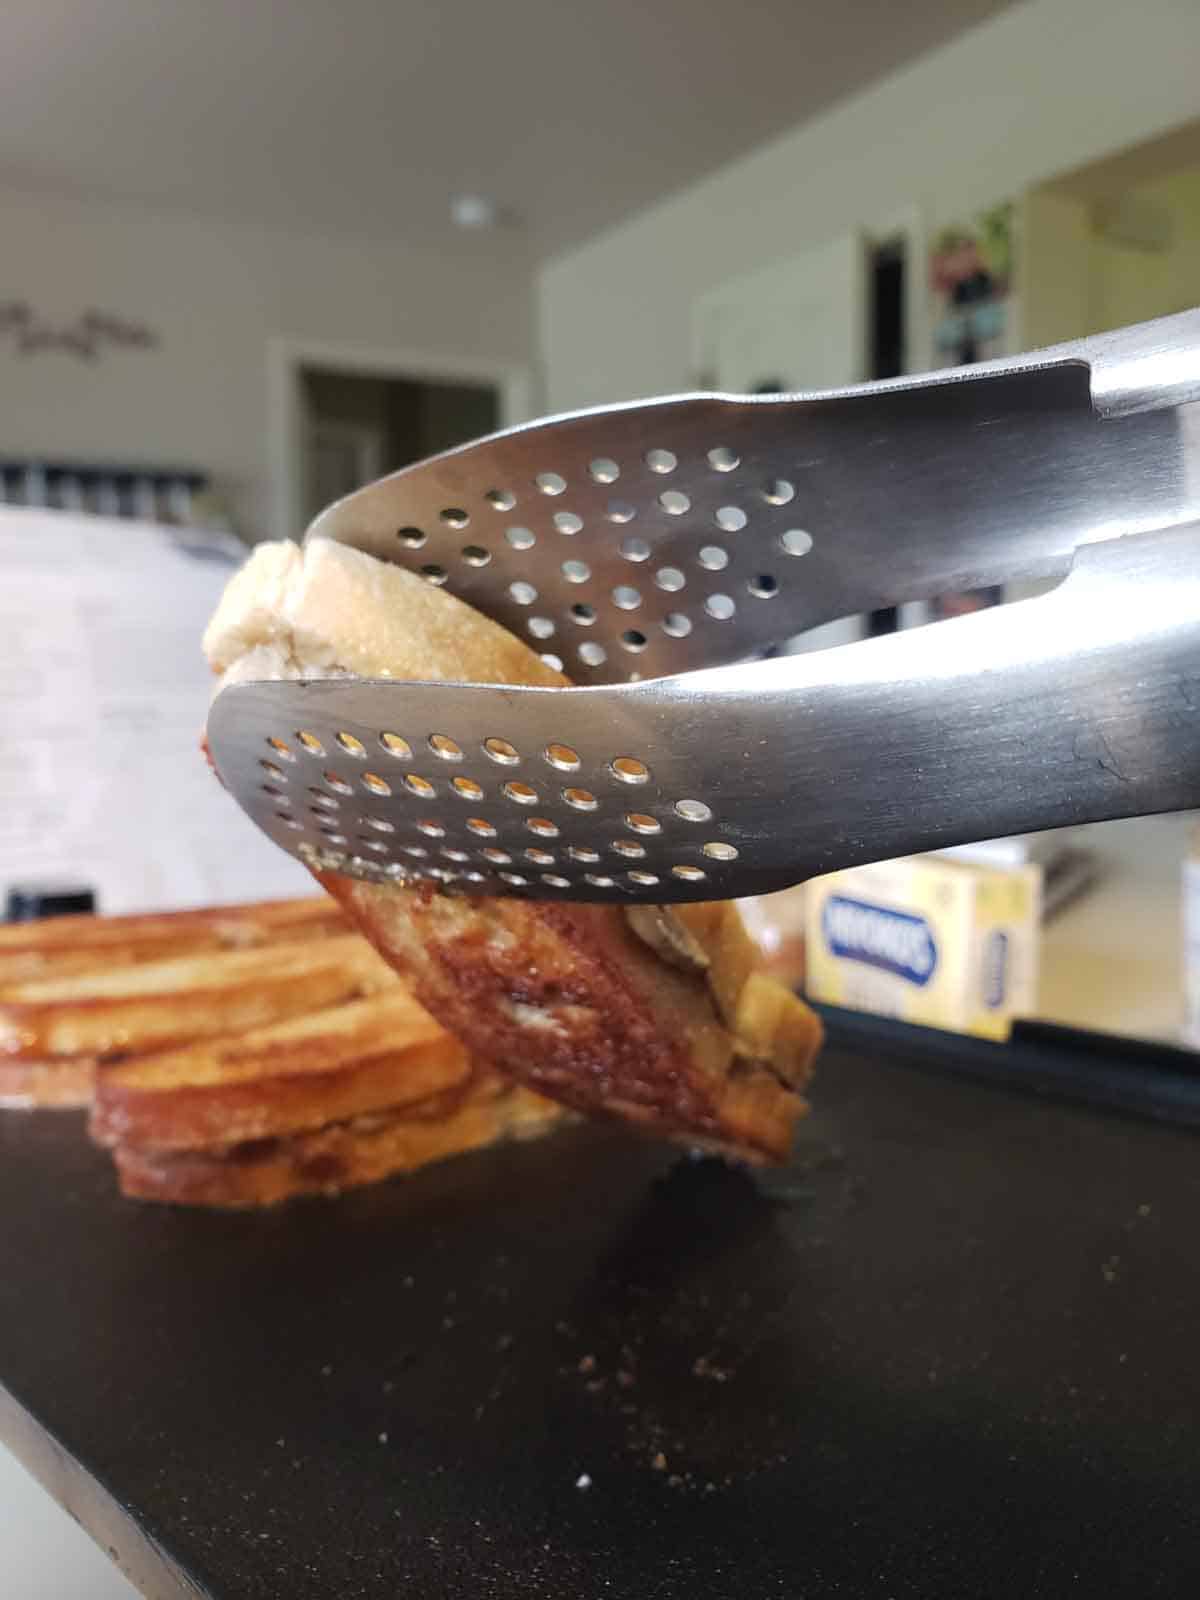
7.) Using tongs to flip the sandwiches may be easier than using a spatula.
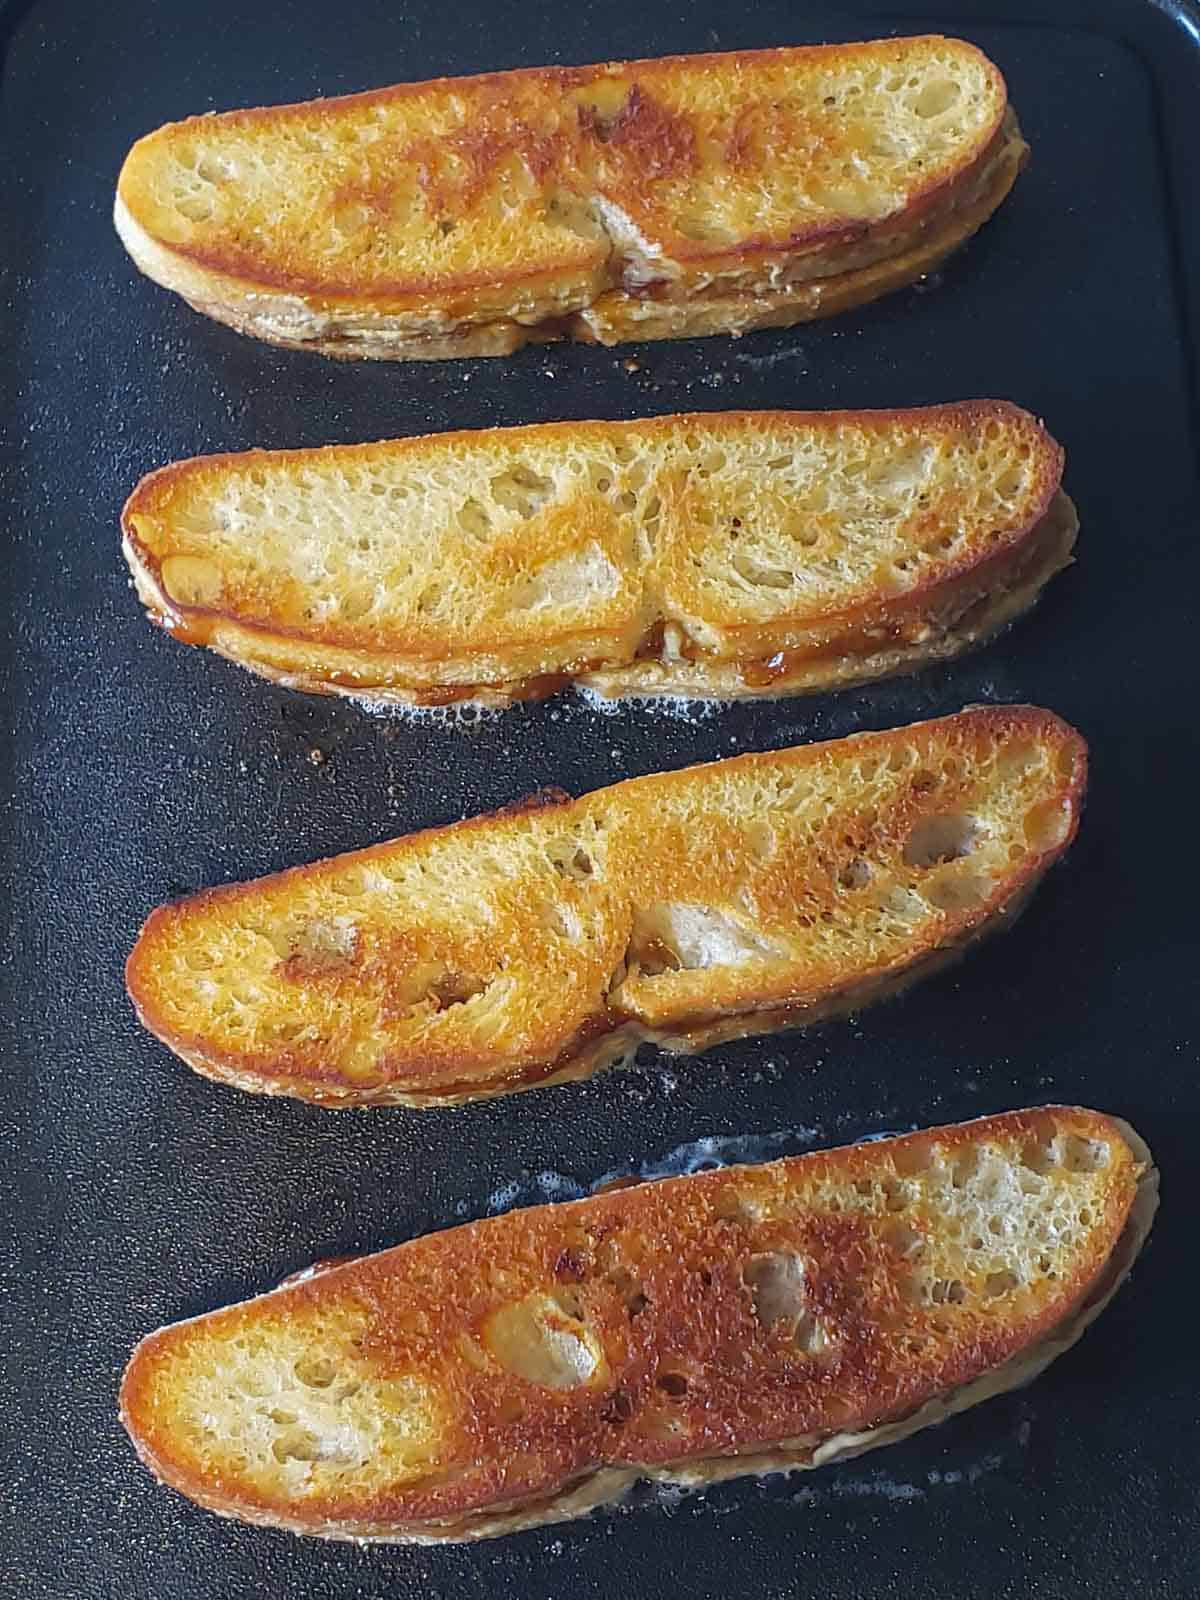
8.) They are done cooking when they look all golden and crispy like this!

9.) Place sandwiches on a rack to cool before enjoying, about 5 minutes.
Serve with fresh fruit and enjoy!

💭Pro Sandwich Making Tips
A good bread will yield the ultimate crunchiness. I found the coolest pre-sliced Rustic Ciabatta Loaf at our local Kroger and it was just the right shape and size for making these into perfect kiddo size sandwiches. A nice sourdough would also be an excellent choice! Be sure to check that your bread of choice is vegan friendly.
Cook low & slow for the best and even crisping all over. Medium-Low heat in a skillet or 325 on a griddle to ensure the perfect crisp without the risk of burning. Kids and phones distract us and then suddenly the trash bin is eating our burnt lunch. So low, slow, and patient is key!
Butter the bread, not the pan/griddle. For that golden brown crust, spread a thin layer of vegan butter or coconut oil directly on the bread before grilling. This helps to get that beautiful, crispy outer layer. I like to add a light sprinkle of salt to the bread after buttering for a sweet & salty bite!
Allow to cool. The middle gets hot so allow the sandwiches or sandwiches to cool before diving in so you don't burn your mouth.
Cold butter. If you forgot to pull the butter out of the fridge and now it's suddenly lunchtime simply place it in a dish and microwave for about 15-20 seconds to soften. If it gets really melty use a spoon to drizzle it on the bread and the back of the spoon to spread it around evenly.
📖Variations & Substitutions
- Mix it up and swap out the Sunbutter for Almond butter or Cashew butter for another new twist!
- There are endless Jelly/Jam opportunities just waiting to be tried! I'm a sucker for a good Strawberry Jam but you could try Blueberry, Raspberry, Fig if you're feeling courageous! Have a homemade chia seed jam on hand? Go for it!
- Need your sandwiches to be Gluten Free? Just make sure you opt for a GF bread. Make sure it's sturdy enough for grilling to get that awesome crunch.
- A pinch of cinnamon could even be a delicious addition to your Sunbutter. Just sprinkle a pinch onto your Sunbuttered side of the bread before closing up your sandwich.
- Banana? Yes, please! Feel free to swap the jelly or jam with banana slices!
- For a sweeter twist try cinnamon raisin bread and turn these sandwiches into breakfast just like that!
- If you can't find plant-based butter you can use coconut oil (not the liquid kind). The plant butter does tend to produce the best flavor though.
🧊Storage & Meal Prep
Fridge: If you happen to have any leftover grilled sandwiches (lucky you!), let them cool to room temperature before storing. Place them in an airtight container and store in the fridge for up to 2-3 days. Reheat them or eat them cold, the choice is yours!
Reheating from the fridge: To keep that crispy texture, pop the sandwiches back in a toaster oven or on a griddle for 4-5 minutes until golden brown. If you don’t have a toaster oven, a regular oven at 350°F (175°C) works great too. Just place them on a baking sheet and bake for 5-8 minutes, flipping halfway through.
Freezer: Want to prep ahead? These sandwiches and sandwiches freeze really well. Assemble your sandwich and butter the outsides then wrap them tightly in plastic wrap and place them in a freezer safe bag or container. They’ll last up to 2-3 months. Then just toss in a pre-heated pan or griddle right from frozen and cook low and slow (follow recipe card cooking instructions as normal).
❓FAQ's
Yes! To freeze before cooking, assemble the sandwiches, butter the outside of the bread, and freeze them individually on a parchment covered baking sheet. Once solid, store them in an airtight container or freezer bag. When ready to cook, grill them directly from frozen for a crispy, gooey treat.
Sunbutter most closely resembles peanut butter for these sandwiches and spreads so beautifully, but you could also try Oat Butter or Pumpkin Seed butter to accommodate those with allergies. Note that the flavor will change.
If your sandwich seems soggy or not as crunchy as you hoped it could be the bread. A good bread is key, think Sourdough or Ciabatta from the deli section of your grocery store, something that is more dense. If you opt for the really soft whole wheat or white slices from the bread aisle it won't create that signature crunch that your neighbors should be able to hear when you take the first bite.
👩🏻🍳 Want to see some behind-the-scenes fun (and maybe a little kitchen chaos)? Keep scrollin’ — it’s all happening below the recipe card!
Print
Grilled Sunbutter & Jelly Sandwich
- Total Time: 15 minutes
- Yield: 2 Sandwiches 1x
- Diet: Vegan
Description
These ultra crunchy Grilled Sunbutter & Jelly Sandwiches are a new fangled twist on the classic grilled PB&J and they are sure to be a home run! Crispy and golden brown on the outside, gooey on the inside, and perfect for a quick lunch or an afternoon snack. This recipe is incredibly easy to double or quadruple if feeding more than yourself!
Ingredients
4 Slices Bread (see my notes on selecting bread for the crunchiest results)
4 Tablespoons Sunbutter (use more or less to taste): I used Sunbutter brand Sunflower Seed Butter with No Sugar Added.
4 Tablespoons Jam or Jelly (use more or less to taste): Whatever Jam or Jelly is your jam (pun intended), use the one that makes you smile the biggest!
4 Tablespoons Vegan Butter (I used Miyoko’s Plant-Based Butter — salted or unsalted both work for this recipe.)
Instructions
- Gather your bread, Sunbutter, plant-based butter, and favorite jelly or jam. Preheat a griddle to 325°F (165°C) or heat a non stick skillet over medium-low heat.
-
Lay the bread slices on a cutting board.
-
Spread Sunbutter on one slice and jelly on the other.
-
Put the slices together and butter the outsides of the bread.
-
Place the sandwich on the griddle or skillet.
-
Grill for 4-5 minutes on each side until golden brown.
-
Flip sandwich(es) using tongs for easier handling.
-
Place sandwich(es) on a rack to cool before enjoying, about 5 minutes.
Notes
Bread matters. Dense breads = better crunch. Ciabatta or sourdough from the bakery/deli section work best. Soft sandwich bread won’t give you that shatter-y crisp. Always double check your bread is vegan.
Butter choice. Miyoko’s Plant-Based Butter is my go-to for flavor. Solid coconut oil also works, but butter gives the best taste.
Not crunchy enough? It’s almost always the bread or the heat. Use a dense bread and cook low & slow for even crisping.
Low & slow = golden perfection. Medium-low heat in a skillet or about 325°F on a griddle prevents burning and gives you that deep golden crunch.
Other nut-free options. Sunbutter is closest to peanut butter, but oat butter, soy butter, or pumpkin seed butter also work.
Easy variation. Swap jelly for banana slices.
Freezer-friendly. Assemble sandwiches, butter the outsides, wrap tightly, and freeze up to 2–3 months. Cook straight from frozen in a preheated pan, low & slow.
- Prep Time: 5 minutes
- Cook Time: 10 minutes
- Category: Lunch, Snack
- Method: Griddle, Stovetop
- Cuisine: American
⭐Did you enjoy these Grilled Sunbutter Sandwiches?
If you give these Cheesy Biscuits a try please leave a comment and rating below! Justin and I read every one! Your feedback helps more people find my recipes and keeps the delicious messy chaos going in the Fresh Fun Flavor kitchen. Plus, we just love hearing from you!
👩🏻🍳Creating the shot: A behind the scenes look
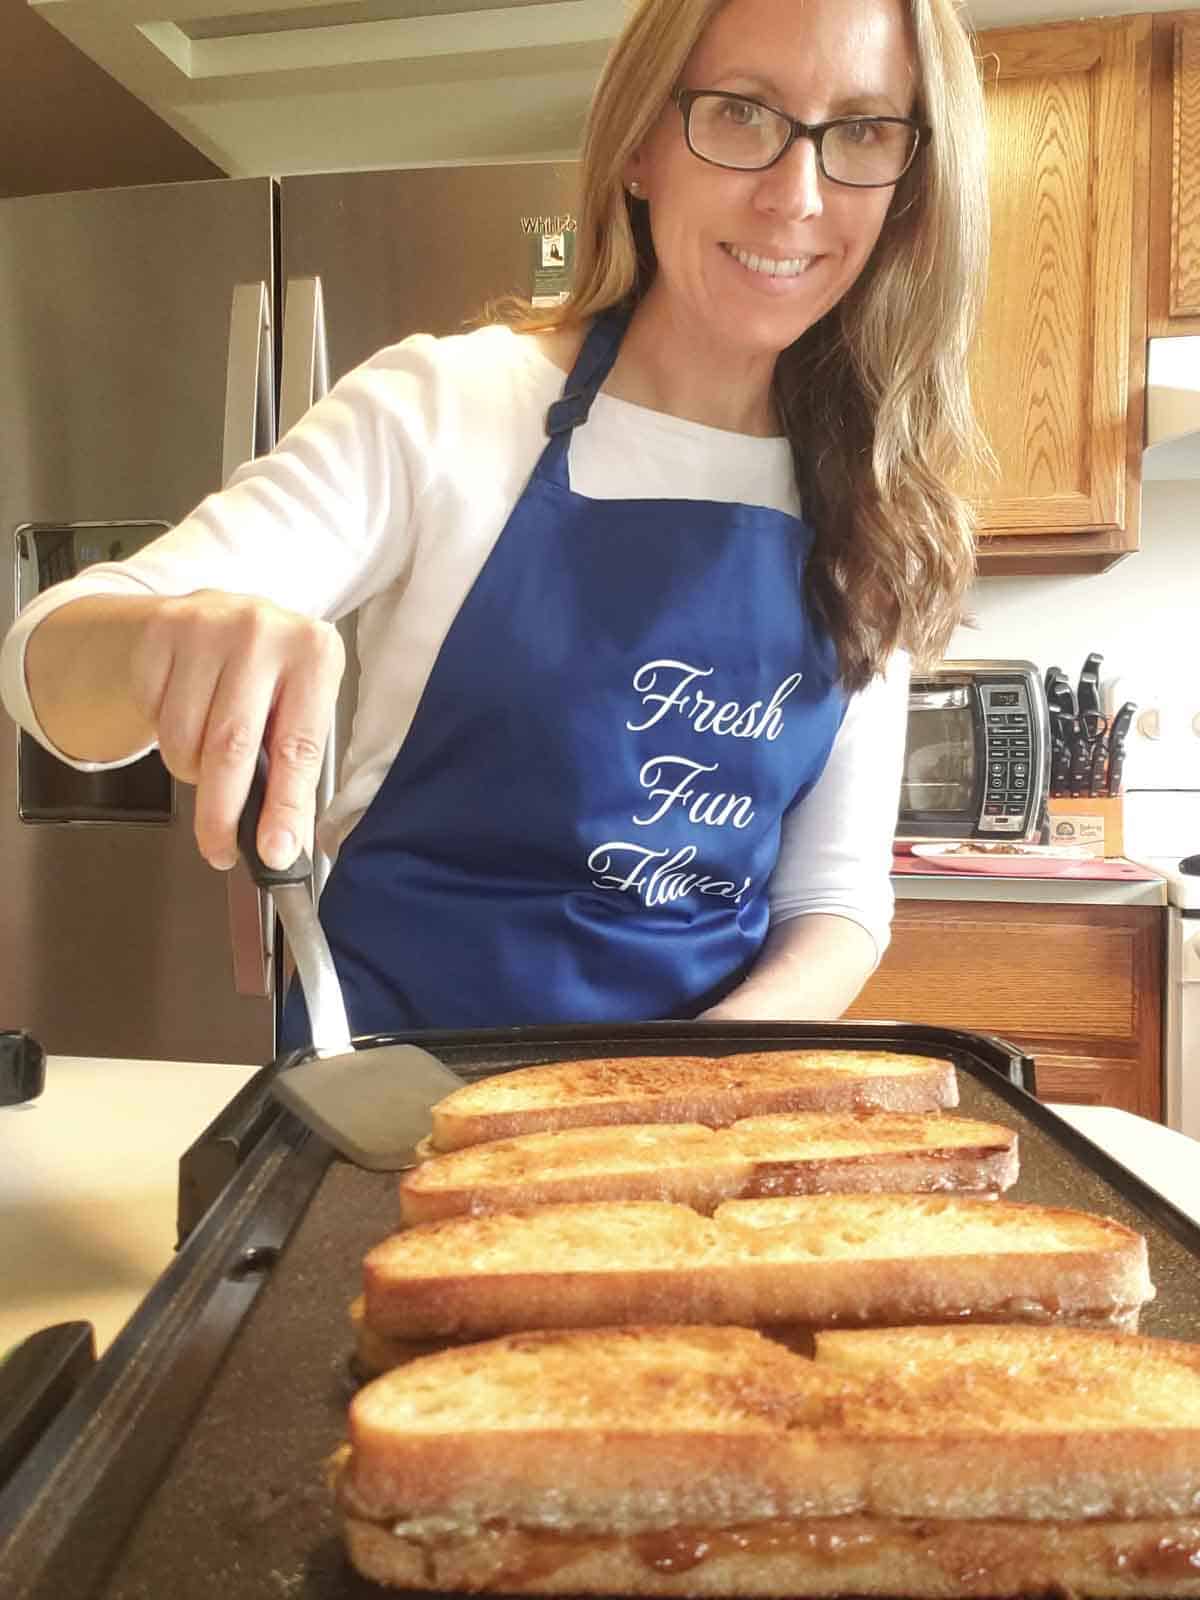
Flipping up deliciousness!
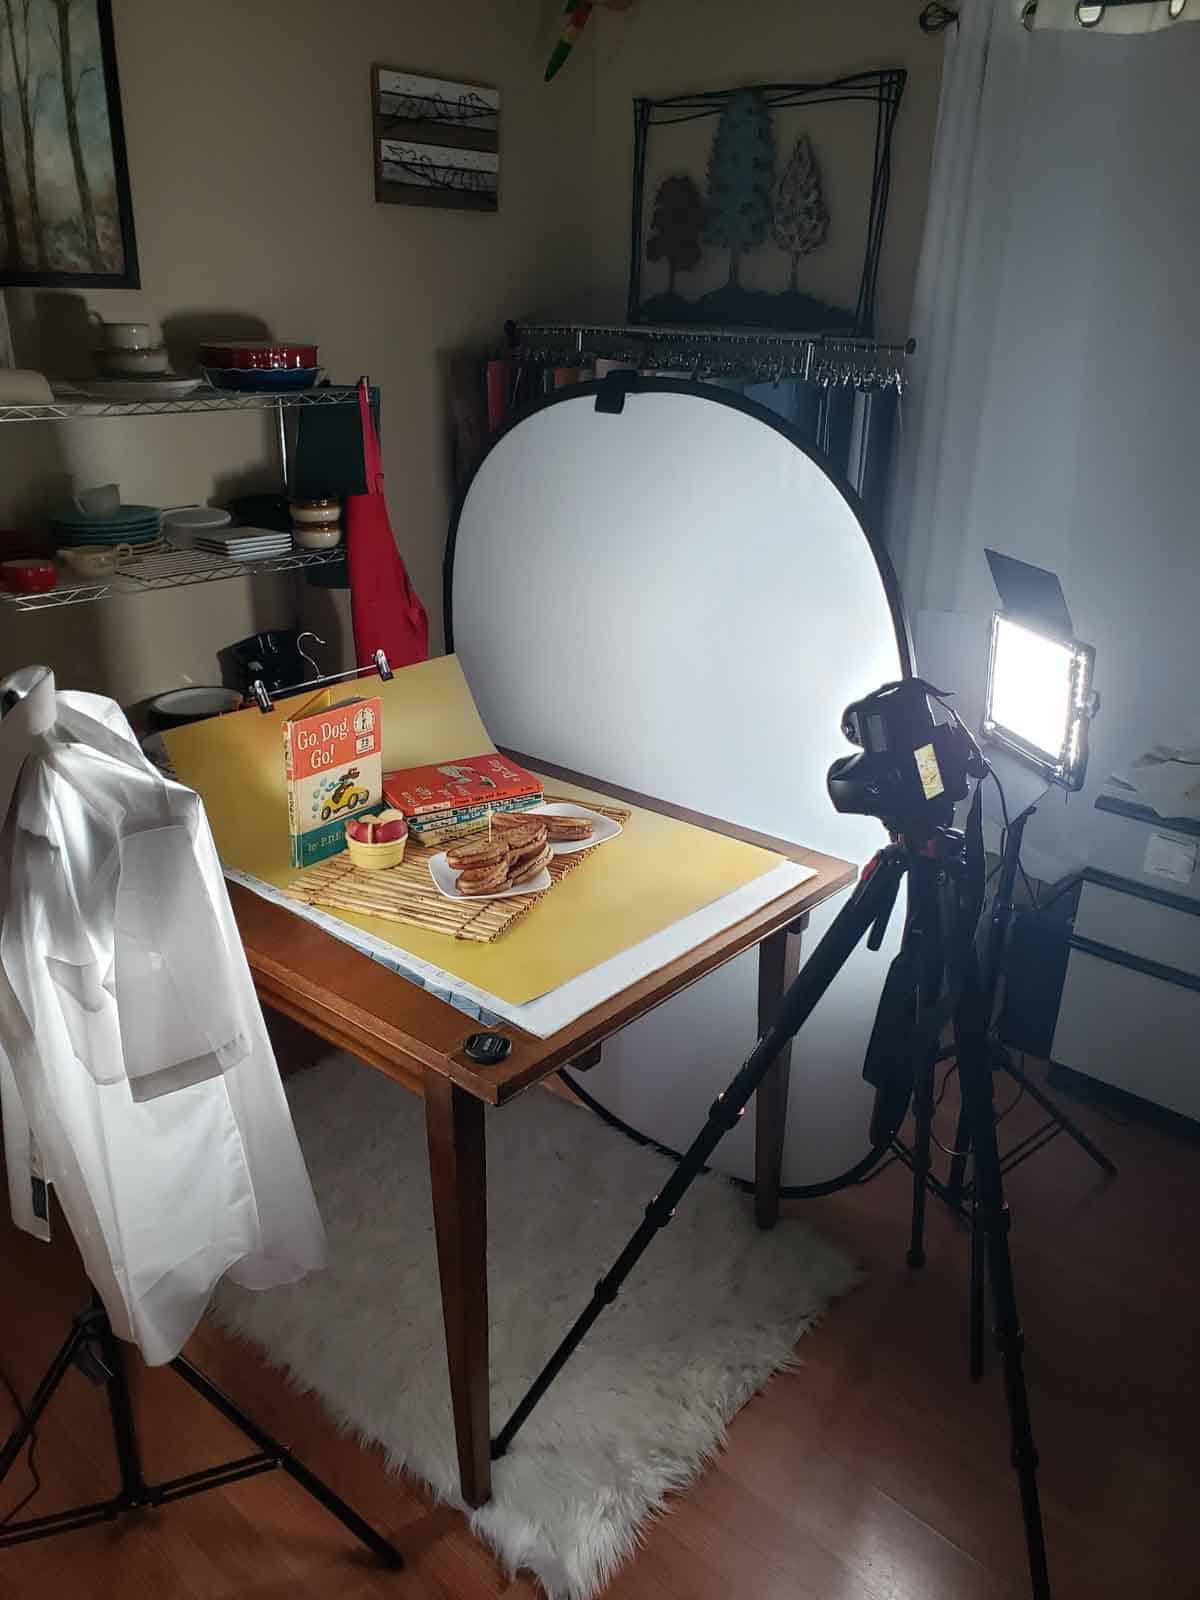
Setting up the scene with all of my vintage Dr Seuss books!

Sneaking a bite before announcing that they're ready, otherwise they'll be gone!
What Really Happened
I had to make the sandwiches twice because the first time I kept getting distracted and lost track of my prep and cook times. Which was definitely not an issue, Chris' exact words were, "You can make these EVERY DAY!"
So… notebook? Useless. House morale? Thriving. Sandwich count? Gone.


Disclaimer: The nutritional information provided for Grilled Sunbutter & Jelly Sandwich is an estimate calculated using Nutrifox, an online tool. Please note that this information is for general guidance only and should not replace advice from a qualified professional. Additionally, this page may include affiliate links, meaning I may earn a small commission if you purchase through those links at no extra cost to you. Thank you for supporting Fresh Fun Flavor!


Comments
No Comments