
Chocolate waffles for breakfast that taste like dessert AND pack 21 grams of plant protein each? Grab your apron! These High-Protein Vegan Chocolate Waffles have crispy edges, soft, fluffy centers, and little pockets of melted chocolate in every bite. They're made with black beans, creamy cashew butter, oat flour, rich cocoa, and a sneaky handful of kale. They are also naturally gluten-free (with certified oats), dairy-free, and require absolutely no protein powder or egg replacers.
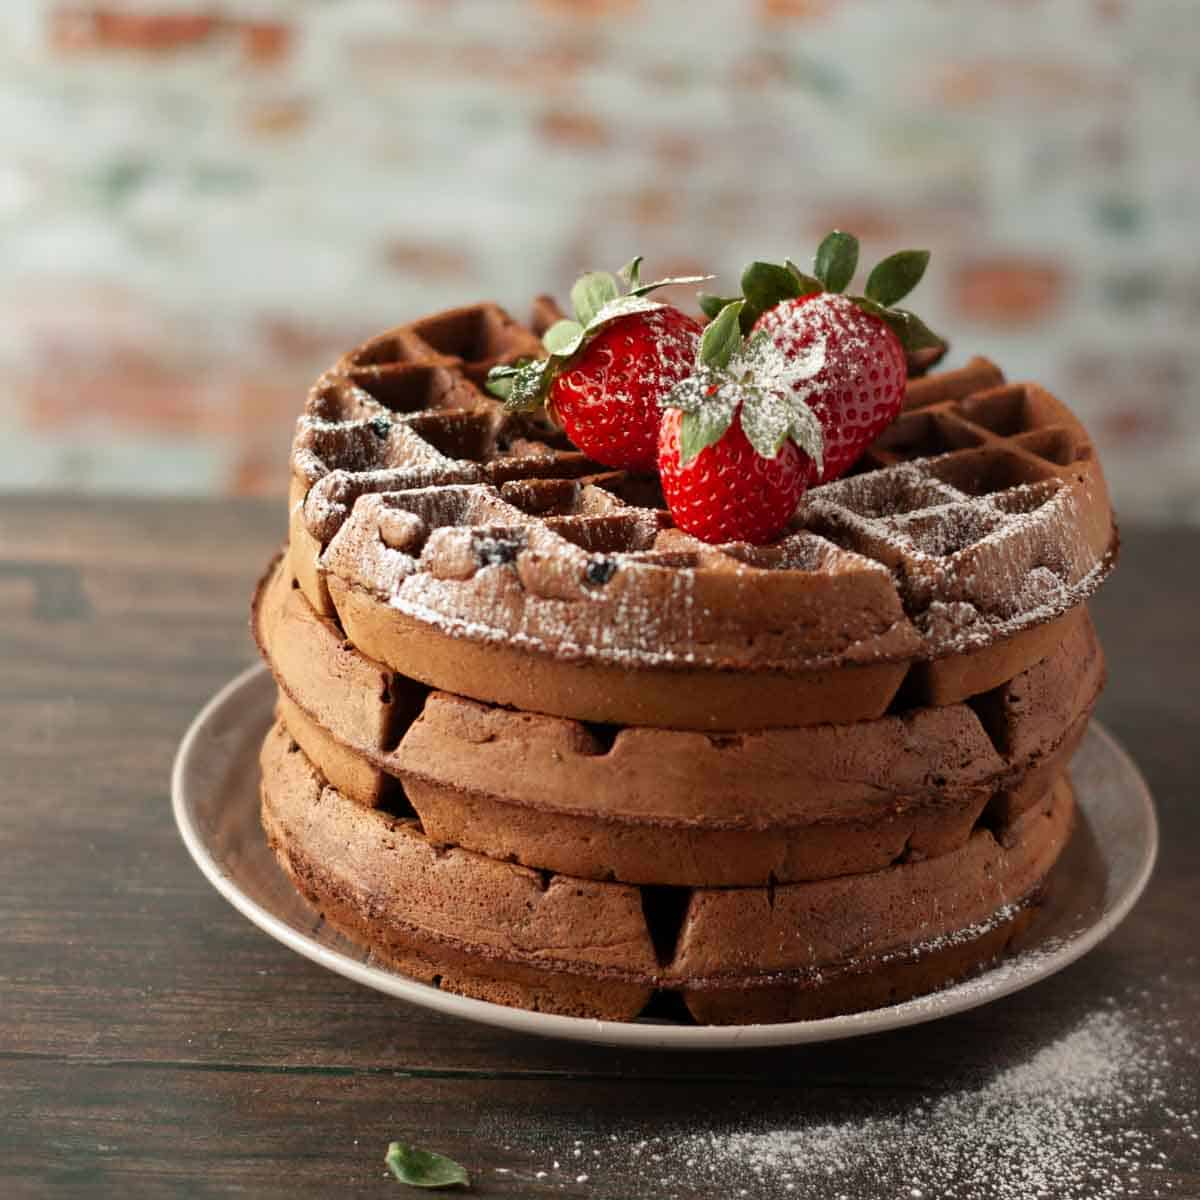
Everything starts in the blender and finishes in the waffle maker. The chocolate completely takes over, so nobody will suspect what's hiding in that batter. I've tested this on my own family, and those healthy little green leaves remain our delicious little secret, you have my promise!
Breakfast… but mischievously nutritious.
Want even more breakfast inspiration?
You’ll love my Vegan Banana Waffles made with oat and buckwheat flour for a naturally gluten free morning option.
Or try my One-Bowl Vegan Banana Bread, which is perfect along side a warm cup of coffee. For another fast, easy breakfast option don't miss my Thick & Fluffy Pancakes, only 7 ingredients needed!
Jump to:
💗 Why You’ll Love These Vegan Chocolate Waffles
- 21g of plant protein without protein powder. Black beans, cashew butter, and oat flour help turn ordinary chocolate waffles into a satisfying, protein-rich breakfast.
- Crispy outside, soft and chocolatey inside. Think Belgian waffles meet fudgy brownies, complete with little pockets of melted chocolate chips.
- Blender-easy and freezer-friendly. Whip up the batter in minutes, make an extra batch, and freeze the leftovers for busy mornings.
🍫 Ingredients & Helpful Substitutions
For the full list and measurements, see the recipe card below. Here are the main ingredients and easy swaps.
- Black beans: Beans contribute protein, moisture, and body without a noticeable bean flavor. I've also tested this recipe many times using Dark Red Kidney Beans so feel free to use what you have.
- Cashew butter: We love Artisana brand. For a nut-free version, use SunButter, I tested that too, it works beautifully and keeps the waffles allergy-friendly.
- Cocoa powder: Gives the waffles their deep chocolate flavor. Any unsweetened variety works.
- Oat flour: Great for getting that perfect waffle texture. If you need this recipe to be certified gluten-free, be sure to choose GF-labeled oat flour (or blend your own from certified oats).
- Kale or Spinach: Our sneaky little nutritional bonus! Use 2 loosely packed cups of fresh kale (stems removed first) or spinach. Either works beautifully, and the rich chocolate flavor keeps those hidden greens our little secret. You can also use frozen, still measure two cups, no need to thaw or drain first.
- Coconut sugar: Adds natural sweetness. Brown sugar or granulated sugar would work also.
- Chocolate chips: Use allergy-friendly chips like Enjoy Life. I prefer the mini chips for this recipe. Mix them into the batter and/or sprinkle a few directly onto the batter before closing the waffle maker. They turn into magically delicious crispy chocolate bits.
- Unsweetened Plant milk: Any variety works: almond, soy, oat, cashew, whatever you’ve got.
🥣How To Make These Waffles
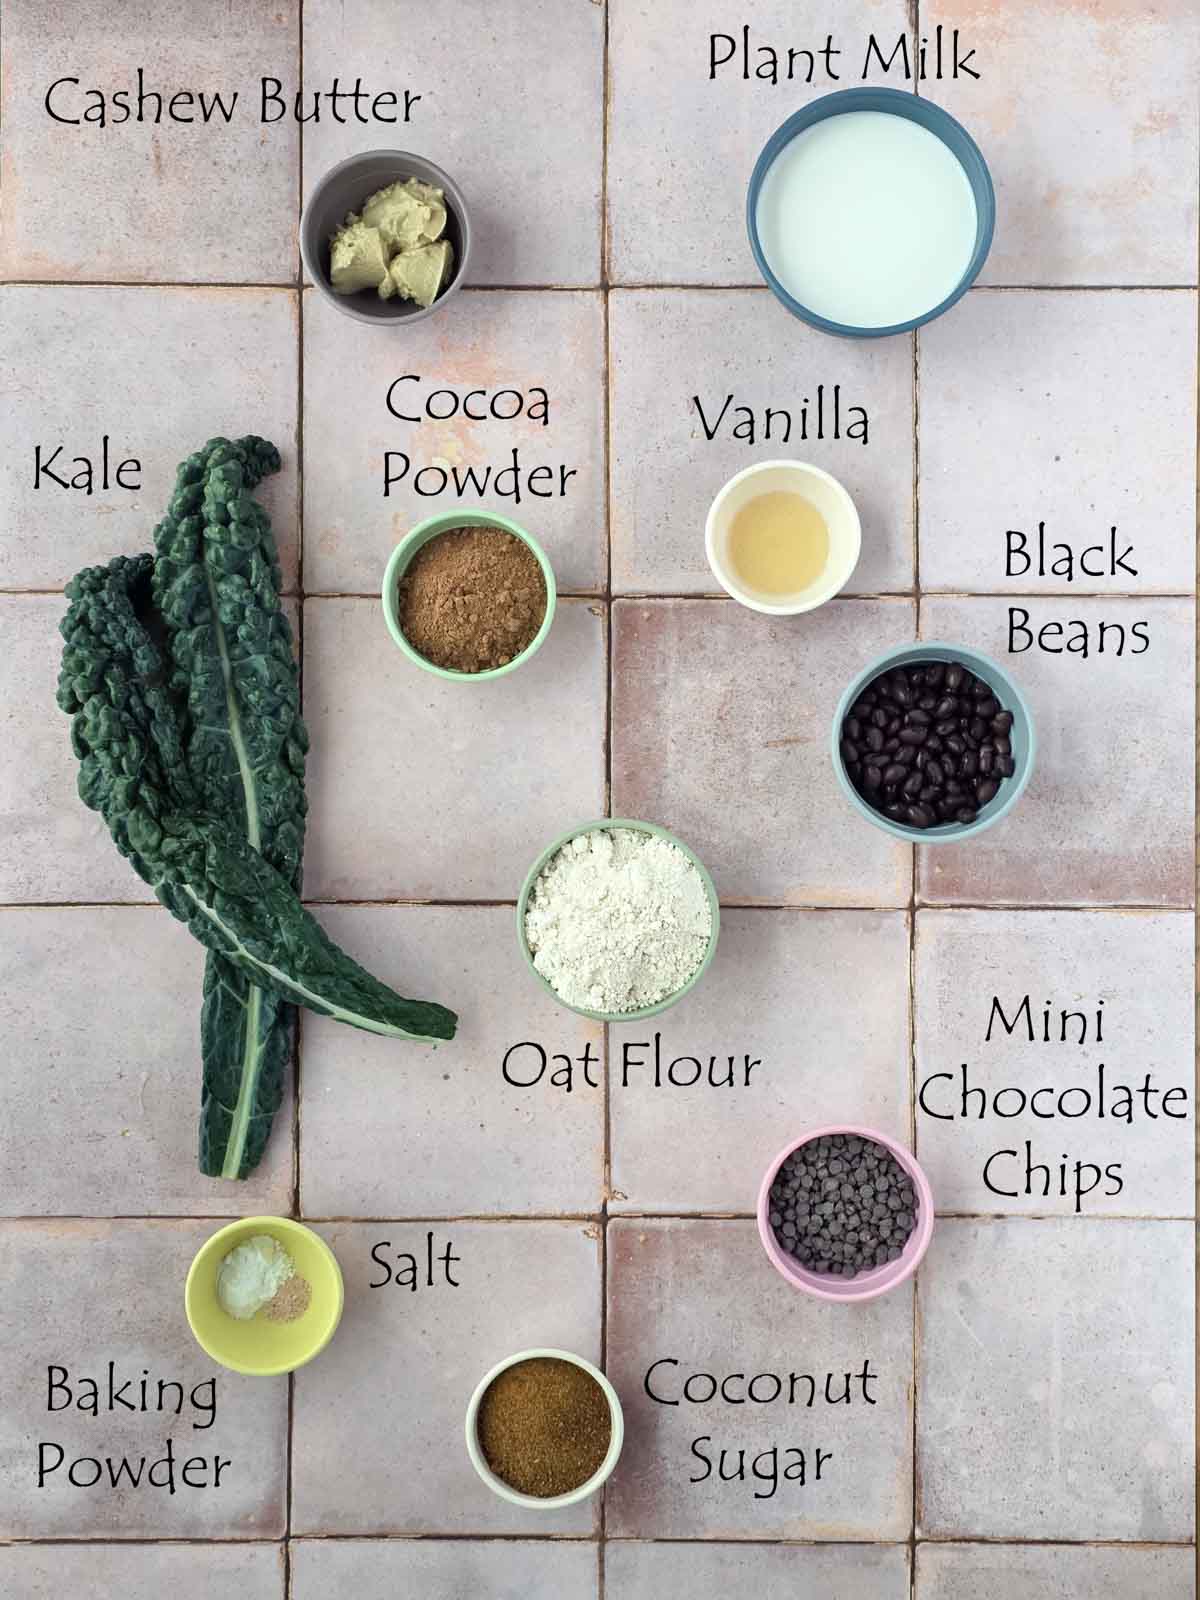
Gather your ingredients, a cutting board, and a sharp knife.
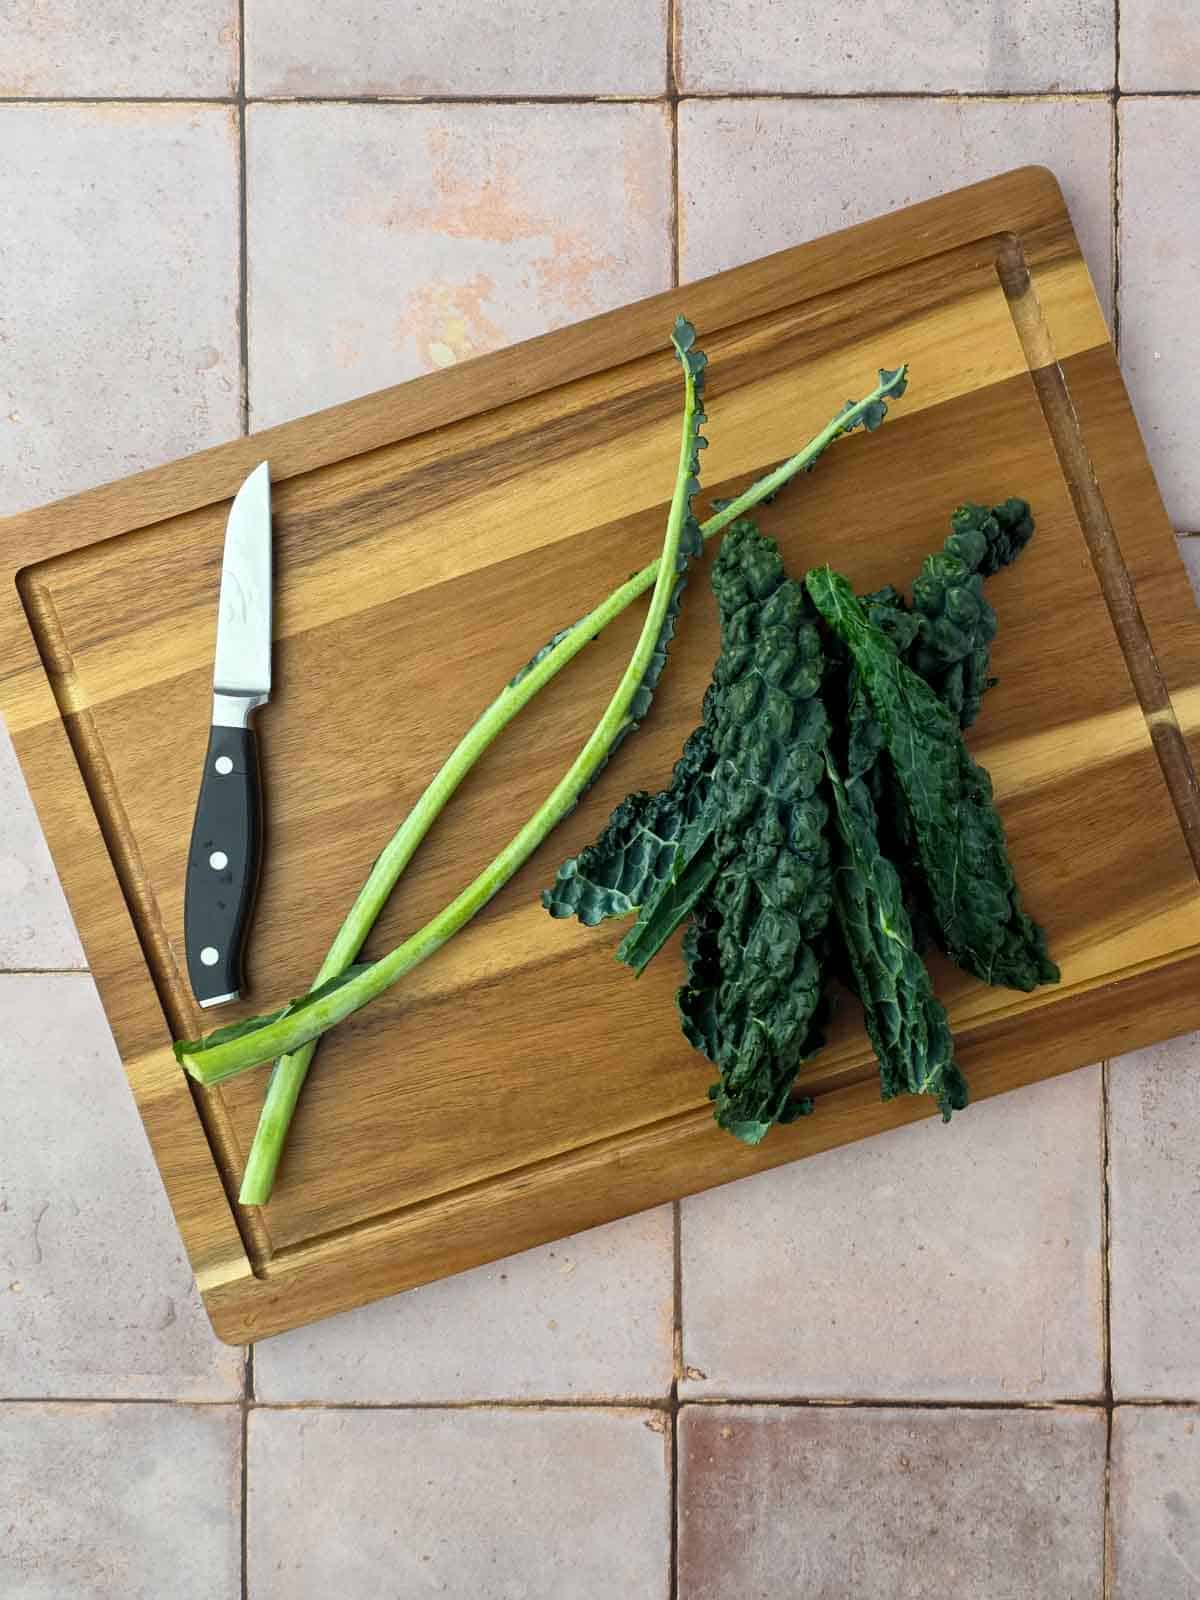
Prep the kale.
Remove the tough stems and give the leaves a quick chop so they blend smoothly. It should be about 2 cups loosely packed.
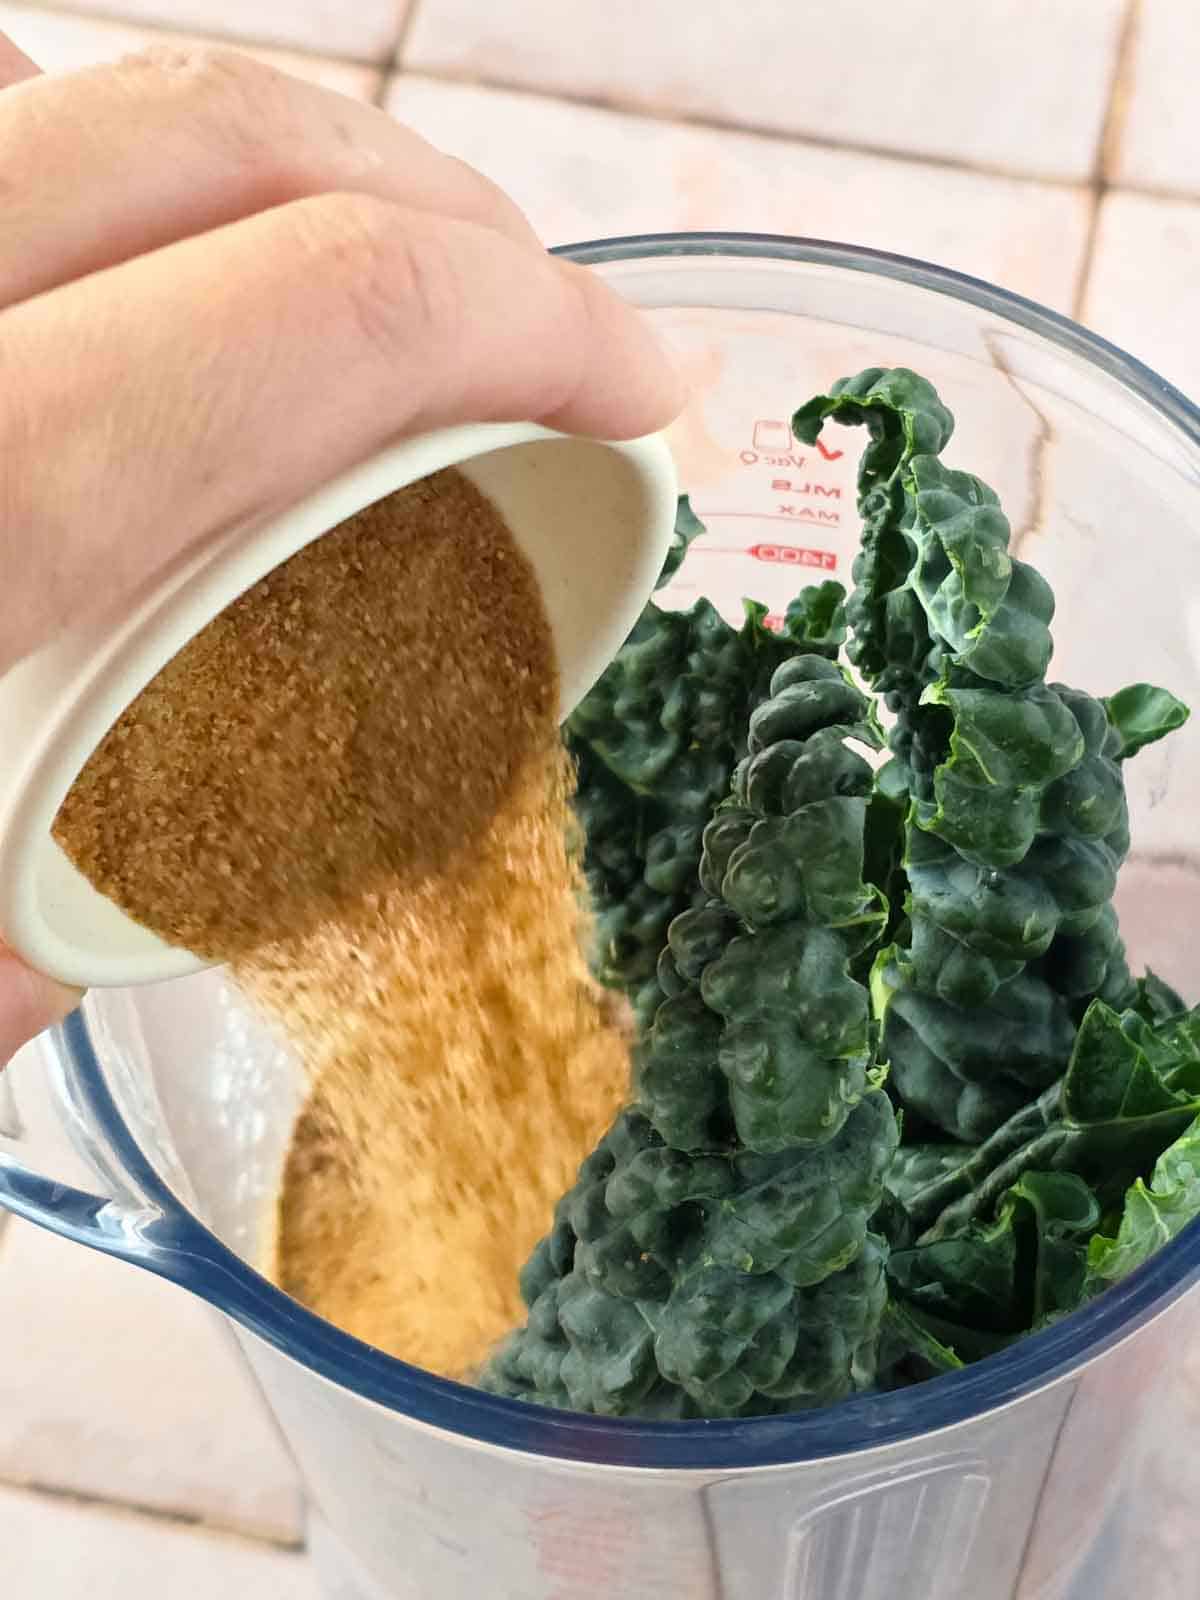
Load the blender.
Add the kale, black beans, cashew butter, cocoa powder, vanilla, coconut sugar, plant milk, baking powder, and salt to your blender.

Blend.
Blend on high for about 60-90 seconds.
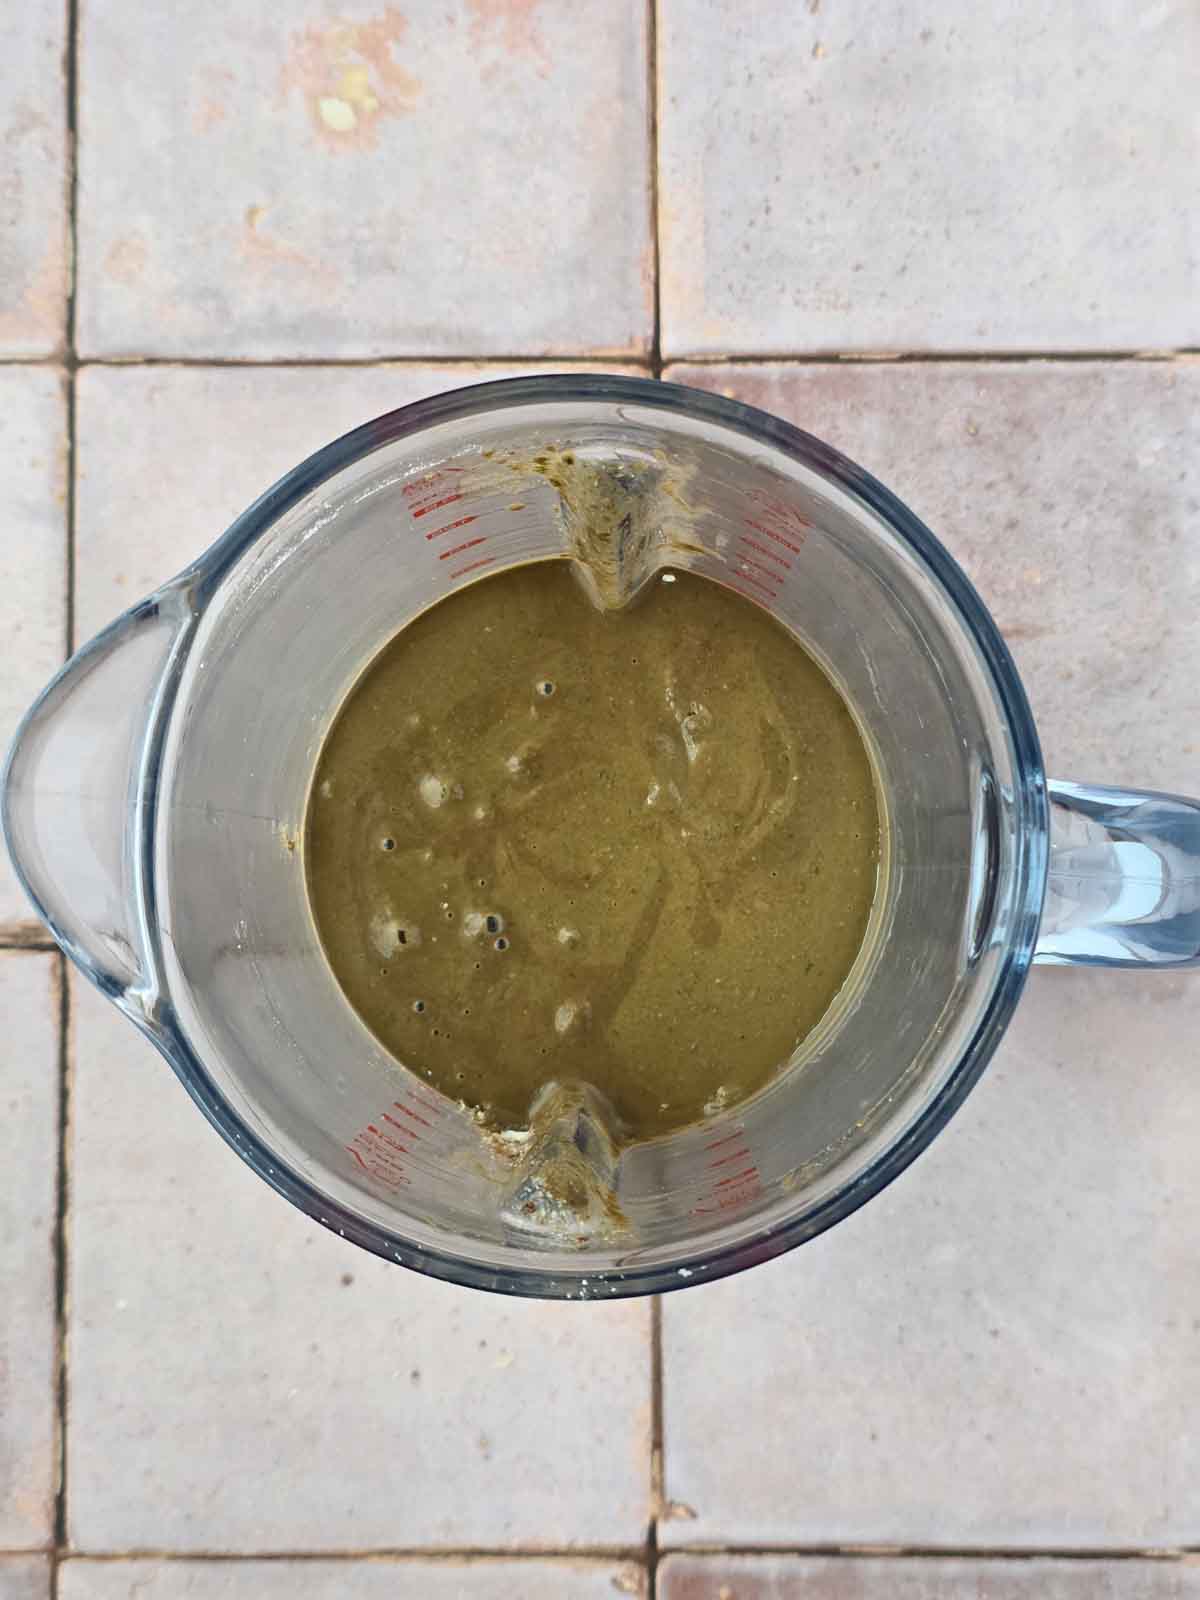
The mixture should look completely smooth.

Pour the batter into a bowl.
Transfer the blended mixture into a large bowl or pitcher and add the oat flour.
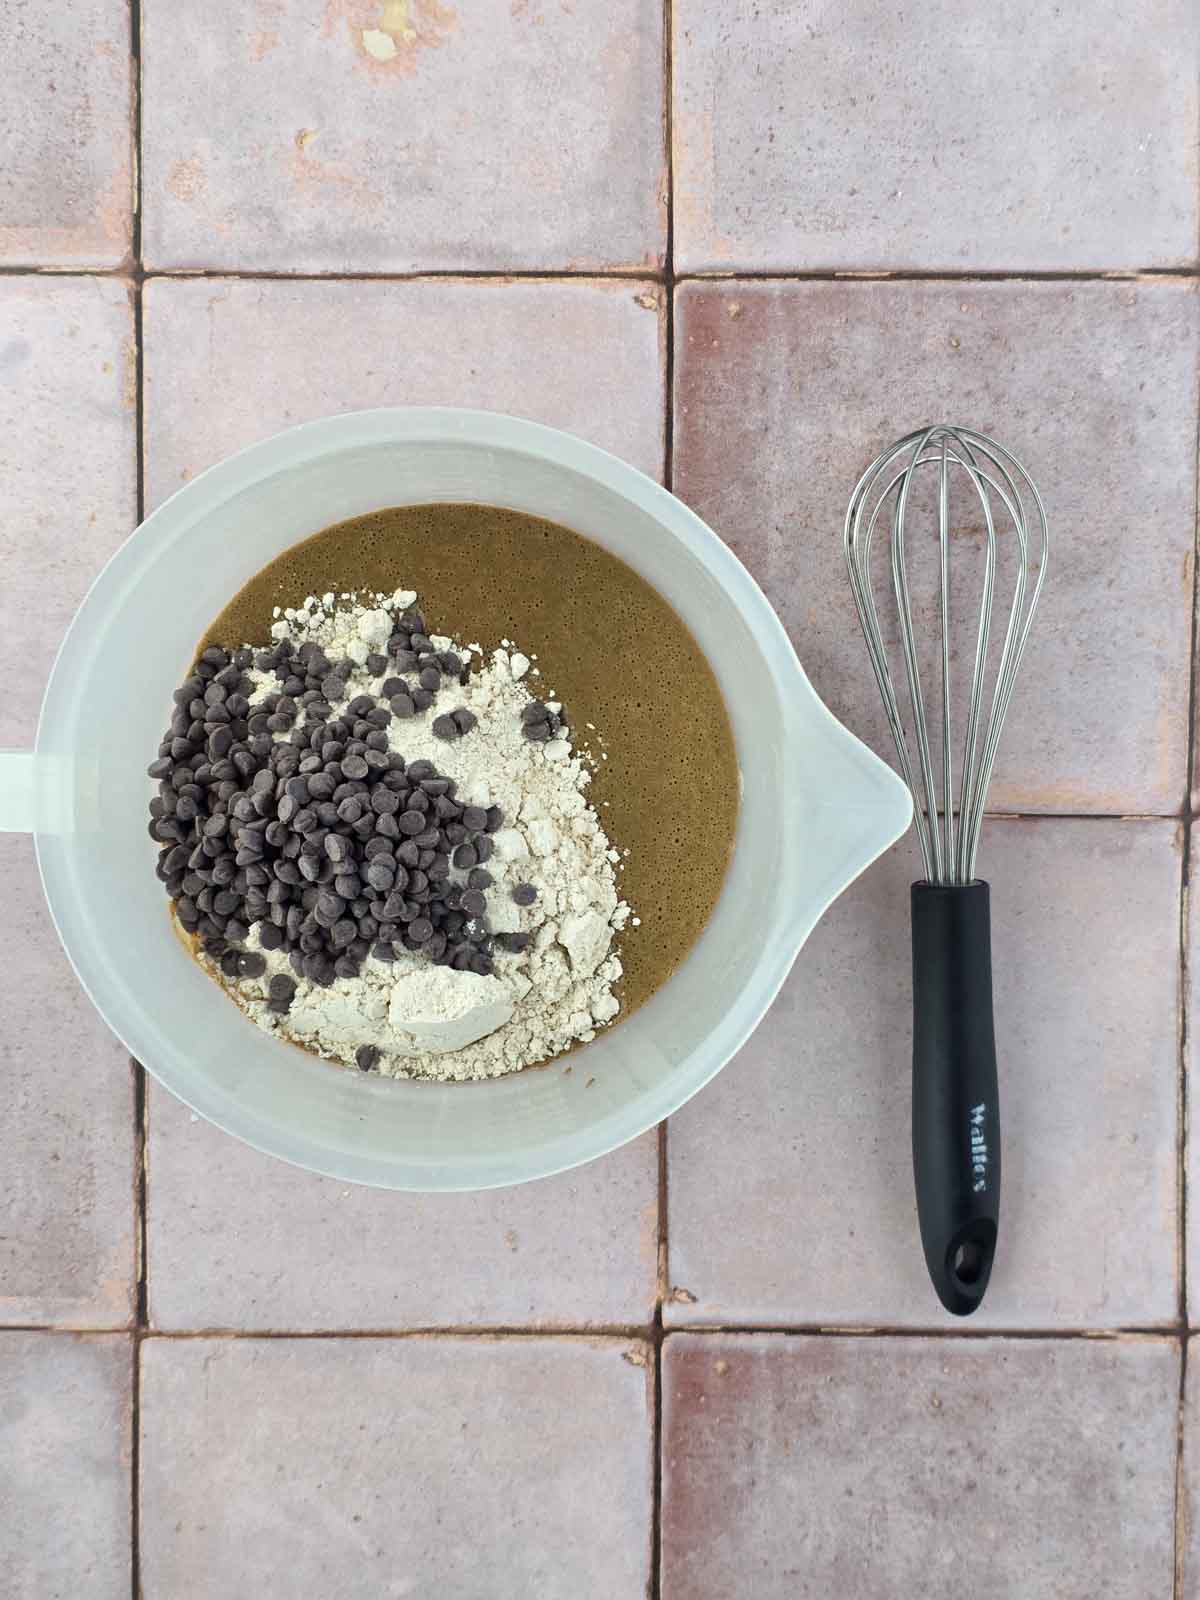
Add the fun!
Toss the chocolate chips into the bowl with the oat flour and whisk everything gently until just combined. No overmixing — just enough to bring it together.

Let the batter rest.
Give it 5 minutes to thicken to the perfect waffle batter consistency while the waffle maker heats up.
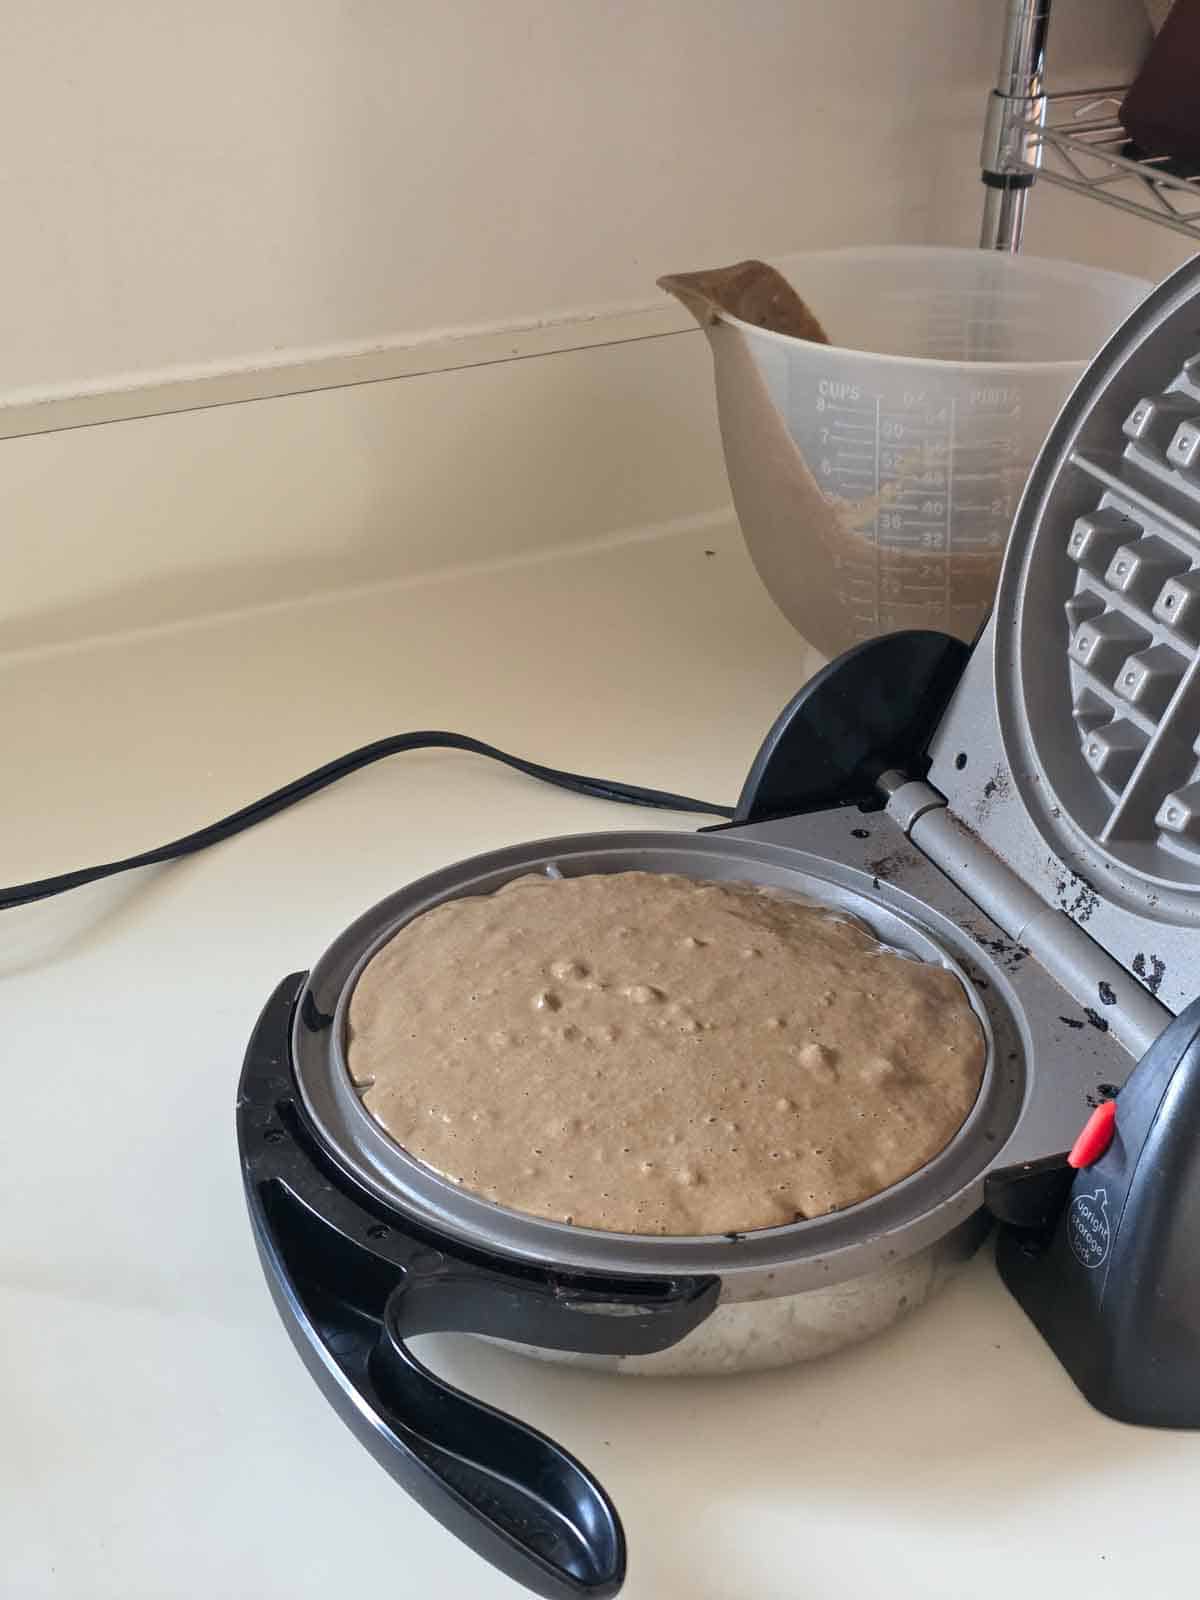
Fill the waffle maker.
Pour about 1 to 1½ cups of batter into your Belgian waffle maker, depending on its size. You can use any size waffle maker here, if yours is smaller you'll just get bonus waffles, yay!
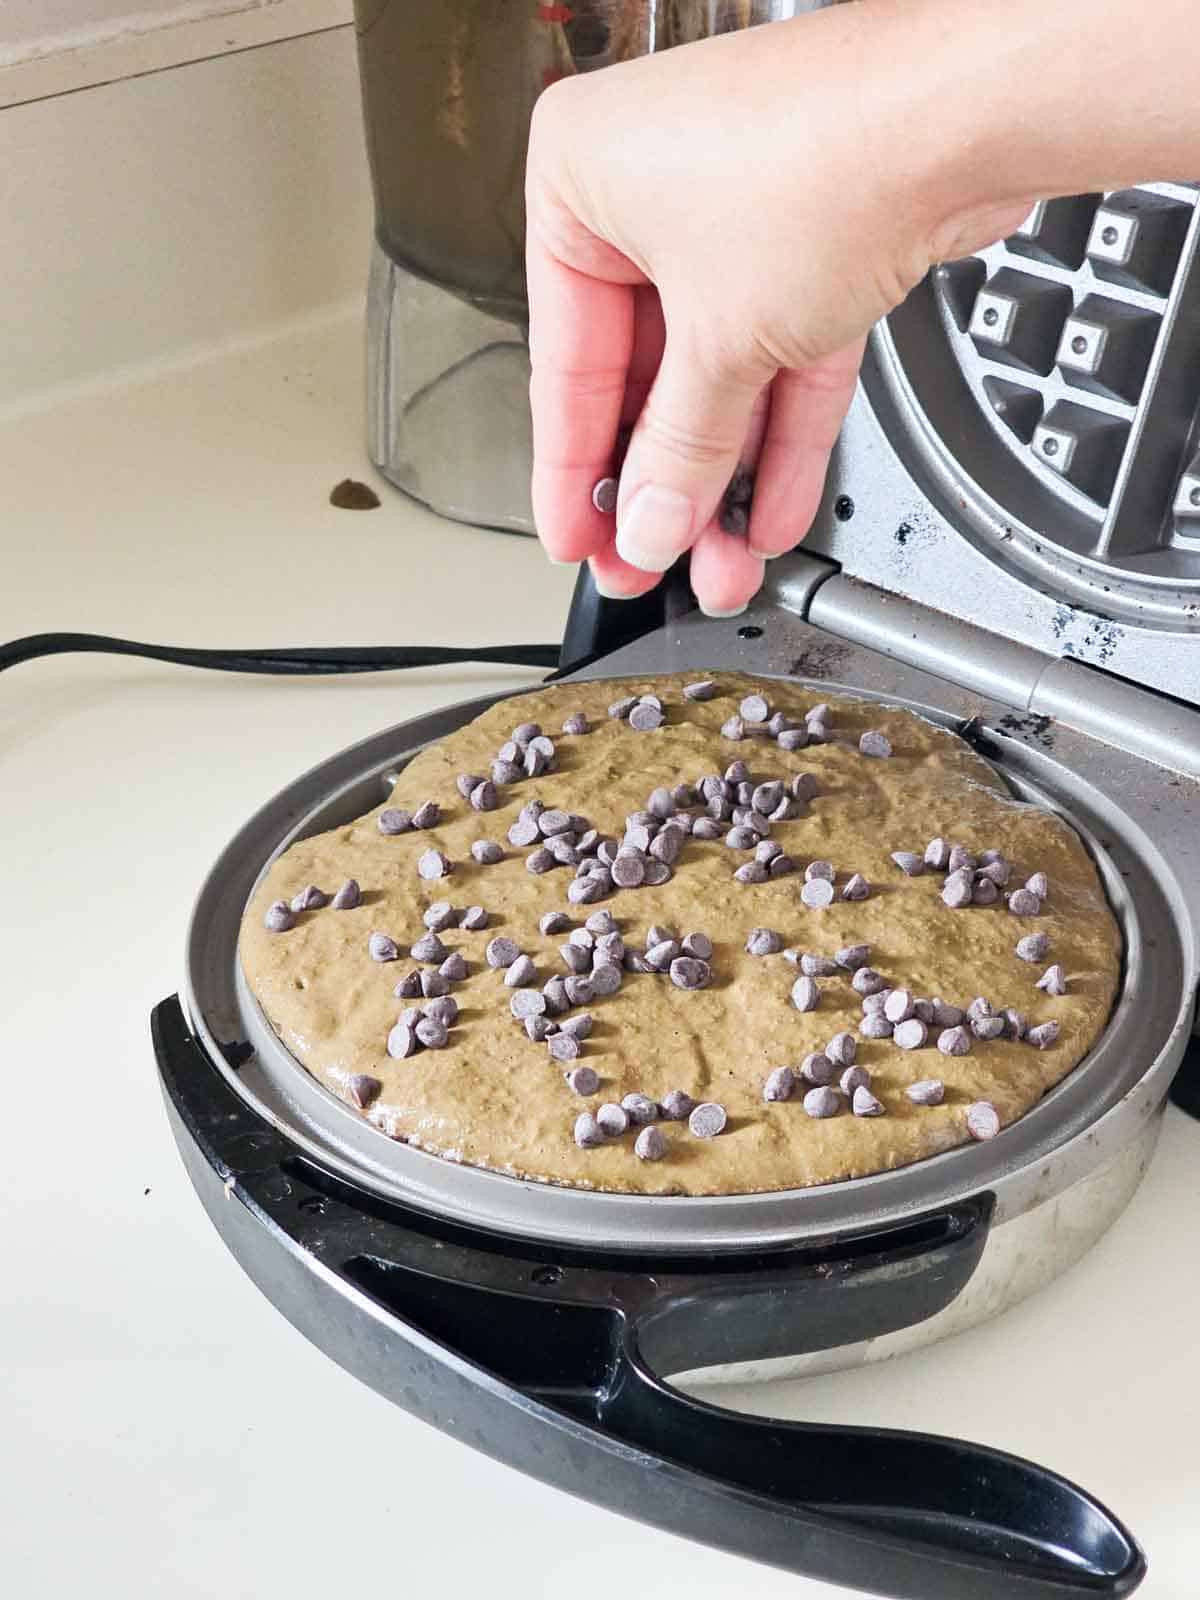
A few more for good measure never hurt anyone, right?
If you sprinkle a few chips on top before cooking they bake up into these delicious little crispy crunchy bites!

Cook the waffle.
Close the lid and cook for about 7-8 minutes, or until the steam stops. If you still see steam, don’t peek — the waffle needs more time.
Cool the waffle.
Lift the waffle out and place it on a cooling rack while you cook the next one. This keeps the edges crisp instead of steaming soft.
Serve your waffles with a variety of toppings such as fresh strawberries, or even a yummy strawberry sauce, a dusting of powdered sugar, some vegan whipped topping, and a few extra mini chocolate chips for a beautiful presentation!

The Secrets to Perfect Chocolate Waffles
Let the Batter Rest for 5 Minutes
Oat flour needs a few minutes to absorb moisture from the blended ingredients. Giving the batter a short rest helps it thicken before it hits the waffle maker. If it becomes too thick just add a bit more plant milk a tablespoon at a time.
Wait Until the Steam Stops
These chocolate waffles need time to develop their structure and crispy exterior. Resist the temptation to lift the lid early! Cook for approximately 7–8 minutes in a Belgian waffle maker, using the escaping steam as your guide.
Keep Those Crispy Edges Crispy
Transfer cooked waffles directly to a wire cooling rack rather than stacking them on a plate. This allows steam to escape instead of getting trapped underneath and softening those beautiful edges.
🧊 Storage & Meal Prep
Refrigerate: Cool completely and store leftover waffles in an airtight container in the fridge for 4–5 days. They hold up beautifully and stay tender.
Freeze: Freeze the waffles in a single layer on a baking sheet until solid, then transfer them to a zip-top bag. This keeps them from sticking together and makes breakfast grab-and-go easy.
Reheat: Warm waffles in a 350°F oven or toaster oven for 5–6 minutes. They crisp up perfectly, almost like freshly made. You can reheat straight from frozen also, they may take a couple of extra minutes. We reheat ours by quickly toasting them in the toaster oven.
💭 Pro Tip: For easy portioning, break the waffles into quarters before freezing. They thaw faster, fit better in bags, and you can reheat just what you need. Perfect for busy mornings or quick snacks.
💭 Pro Tip: If you double the recipe you'll see that you have just a few beans left in the can, go ahead and toss them in the blender too so they aren't wasted. A few extra beans won't change this recipe. Everything will still turn out perfectly!
❓FAQ's
Yes! I like to make 2 or three batches at a time, then freeze individually. Once frozen transfer the waffles to a zip-top bag and then they're ready anytime you need a quick breakfast.
No. Not even a little. Everything blends completely smooth, and all you taste is chocolatey waffle goodness. No one will detect a thing...that's a Fresh Fun Flavor promise!
Definitely! I've tested these with Sun Butter and it worked perfectly! This way everyone can enjoy these delicious waffles!
Yes! They work in any waffle maker. Just keep an eye on the cooking time, smaller or thinner waffle irons may finish a bit quicker. Mainly you are looking for the steam to stop, that's your indicator that the waffles are finished cooking.
Chocolate pancakes, heck yeah! Pour batter onto a preheated 350°F griddle. Cook until bubbles form on the surface and the edges begin to set, then flip and cook for another minute or until cooked through. Serve with sliced strawberries and chocolate sauce!
👩🏻🍳 Want to see some behind-the-scenes fun (and maybe a little kitchen chaos)? Keep scrollin’ — it’s all happening below the recipe card!
Print
High-Protein Chocolate Waffles
- Total Time: 40 minutes
- Yield: 2 big Belgian Waffles 1x
- Diet: Vegan
Description
These healthy vegan chocolate waffles are rich, crispy outside, fluffy inside, and secretly packed with whole-food protein. They’re gluten-free, dairy-free, 100% kid-approved. Perfect for make-ahead breakfasts or a Sunday morning family meal.
Ingredients
- 1 ½ cups plant milk of choice
- 2 large kale leaves, about 2 cups, stems removed (See Notes)
- ½ cup canned black beans, rinsed and drained (freeze the rest for next time)
- ⅓ cup cocoa powder
- ¼ cup coconut sugar
- 3 tablespoons cashew butter (or sunbutter for a nut-free option)
- 2 teaspoons vanilla extract
- 1 teaspoon baking powder
- ⅛ teaspoon salt
- 1 cup oat flour (use certified gluten-free if needed)
- ¼ cup mini or regular chocolate chips
Instructions
- Preheat your waffle maker and lightly spray with nonstick cooking spray if needed.
- Add the plant milk, kale, black beans, cashew butter, cocoa powder, coconut sugar, vanilla, baking powder, and salt to a blender.
- Blend on high for about 60 seconds, or until the mixture is completely smooth with no visible kale pieces.
- Pour the blended mixture into a large mixing bowl.
- Add the oat flour and chocolate chips. Whisk gently just until everything is evenly combined—don’t overmix. You can also save some chips for tossing on top of the batter before cooking, they turn into crunchy little bits of deliciousness!
- Let the batter rest for 5 minutes to thicken slightly. You may want to whisk once again right before pouring as sometimes the chocolate chips can settle to the bottom of the bowl.
- Pour 1 to 1 ½ cups of batter into the waffle maker (or enough to cover the plate without overflowing). Sprinkle some of those chocolate chips on top of the batter if you prefer!
- Close the lid and cook for 7–8 minutes, or until the steam has mostly stopped and the waffle is cooked through. If you are using something smaller than a Belgian waffle make your waffles may cook more quickly.
- Carefully remove the waffle, transfer to a cooling rack, and repeat with the remaining batter. Serve warm with your favorite toppings. Like fresh strawberries, or a strawberry sauce, vegan whipped cream, and extra mini chocolate chips!
Notes
Cooking Time: Each large Belgian waffle takes approximately 15 minutes to cook. Your first waffle will be ready in about 25 minutes, with additional cooking time needed for the second waffle if using a single waffle maker.
About the Kale: I used Dinosaur Kale, but any Kale works, you can even use Spinach. Aim for about 2 cups loosely packed stems removed. Frozen chopped kale or spinach also works just fine. You'll still measure out two cups, no need to thaw or drain first.
To make pancakes: Heat a griddle or skillet to 350°F (medium heat). Lightly grease if needed. Pour the batter into small rounds and cook until bubbles form on top and the edges look set. Flip and cook the second side until fluffy and cooked through.
Nut-free option: Swap the cashew butter for sunbutter to keep the recipe allergy-friendly.
Make ahead: Cook the waffles, let them cool completely, and store them in the fridge for 4–5 days. Reheat in a 350°F oven or toaster oven for 5–6 minutes to bring back the crisp edges. Or toast in a toaster oven.
Freezing: Freeze waffles in a single layer until solid, then transfer to a zip-top bag. Reheat straight from frozen at 350°F for 7–8 minutes. For easier portioning, break waffles into quarters before freezing.
- Prep Time: 10 minutes
- Cook Time: 30 minutes
- Category: Breakfast
- Method: Waffle Maker
- Cuisine: American
⭐Did you enjoy these High Protein Vegan Chocolate Waffles?
If you give these Chocolatey Waffles a try please leave a comment and rating below! Justin and I read every one! Your feedback helps more people find my recipes and keeps the delicious messy chaos going in the Fresh Fun Flavor kitchen. Plus, we just love hearing from you!
👩🏻🍳Creating the shot: A behind the scenes look
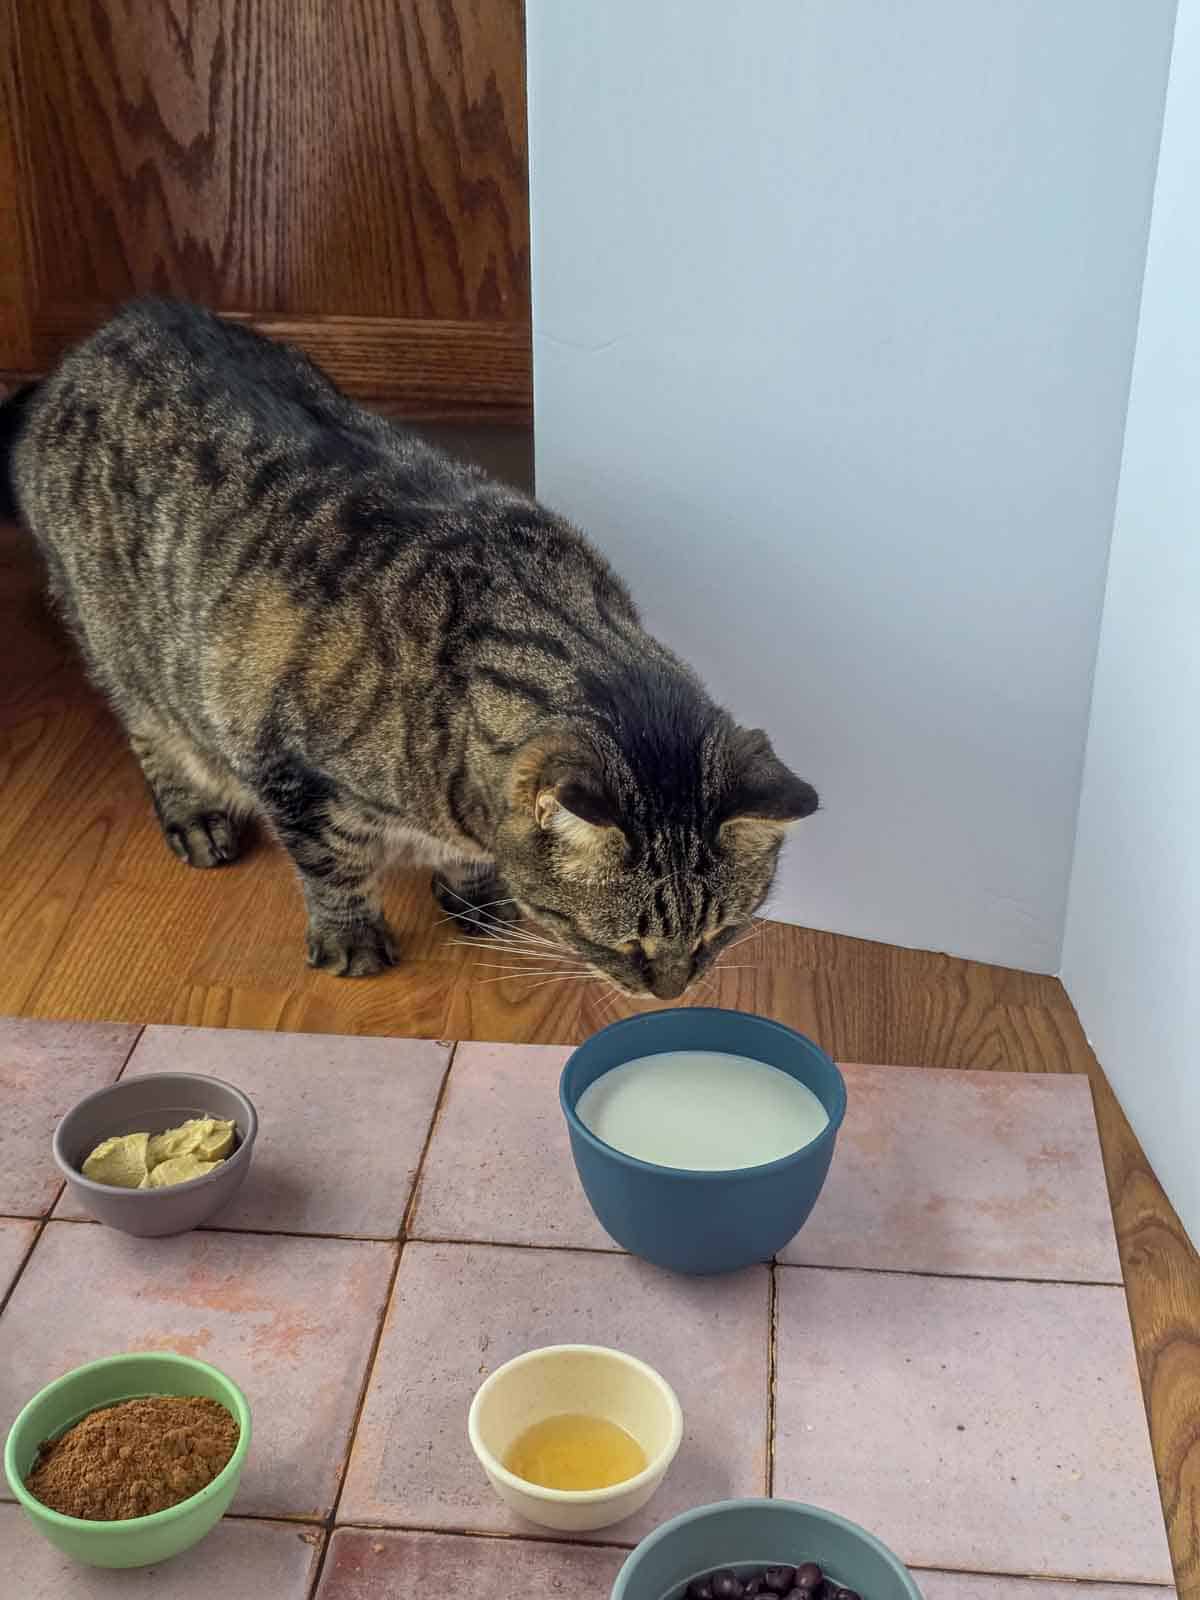
Caught lapping up ingredients (sigh, and also yuck).
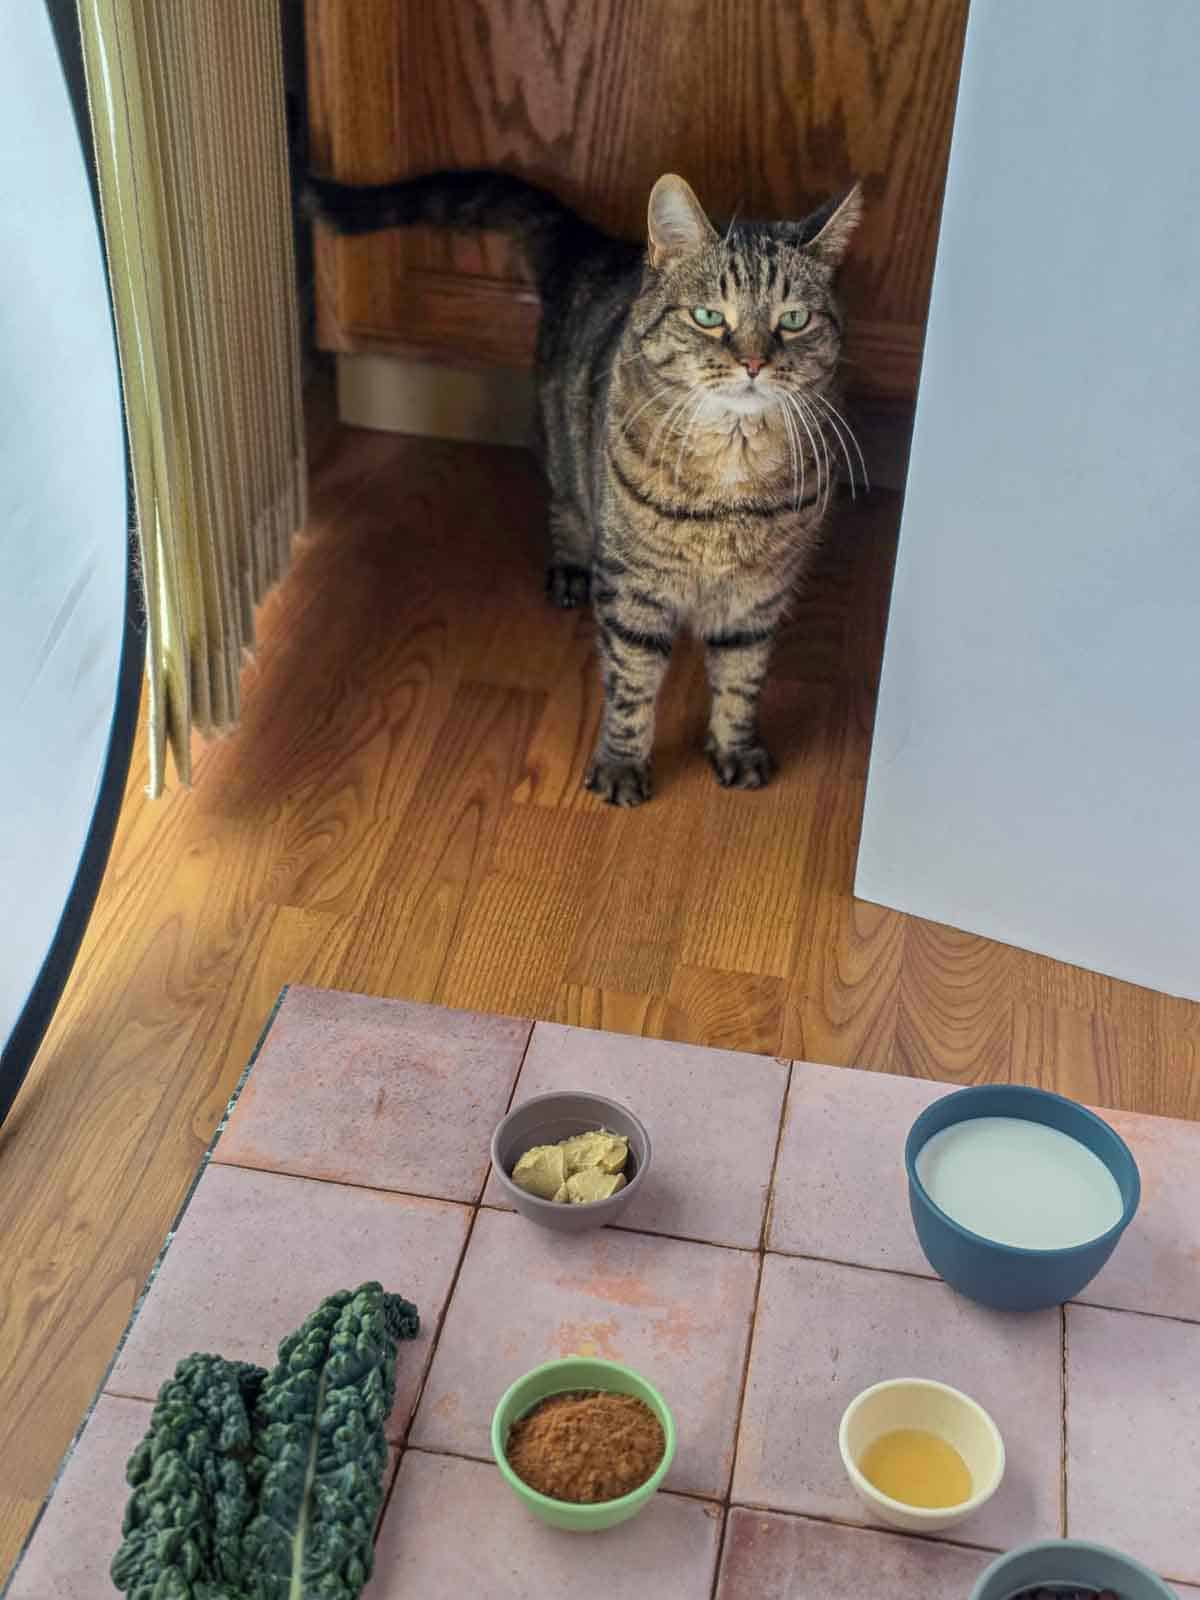
Mad at me because I told him No.
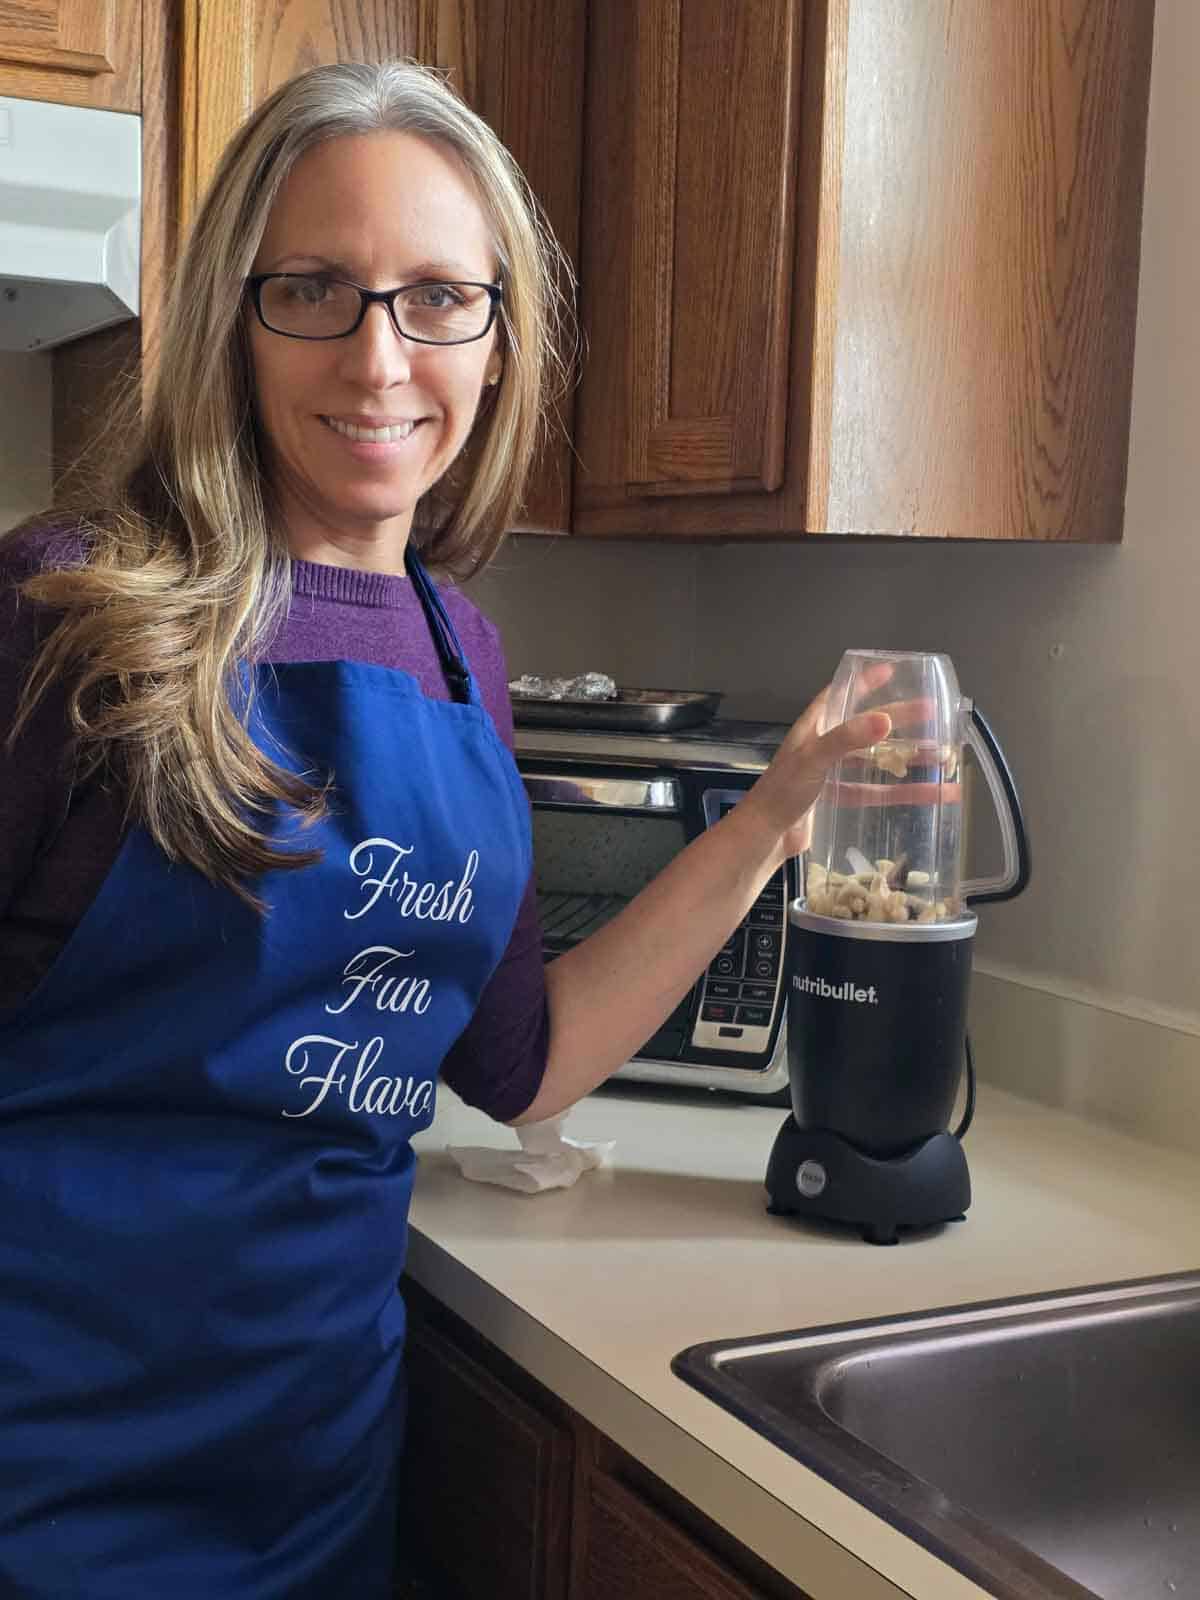
Me re-making the plant milk with a smile like it's the best part of my day.
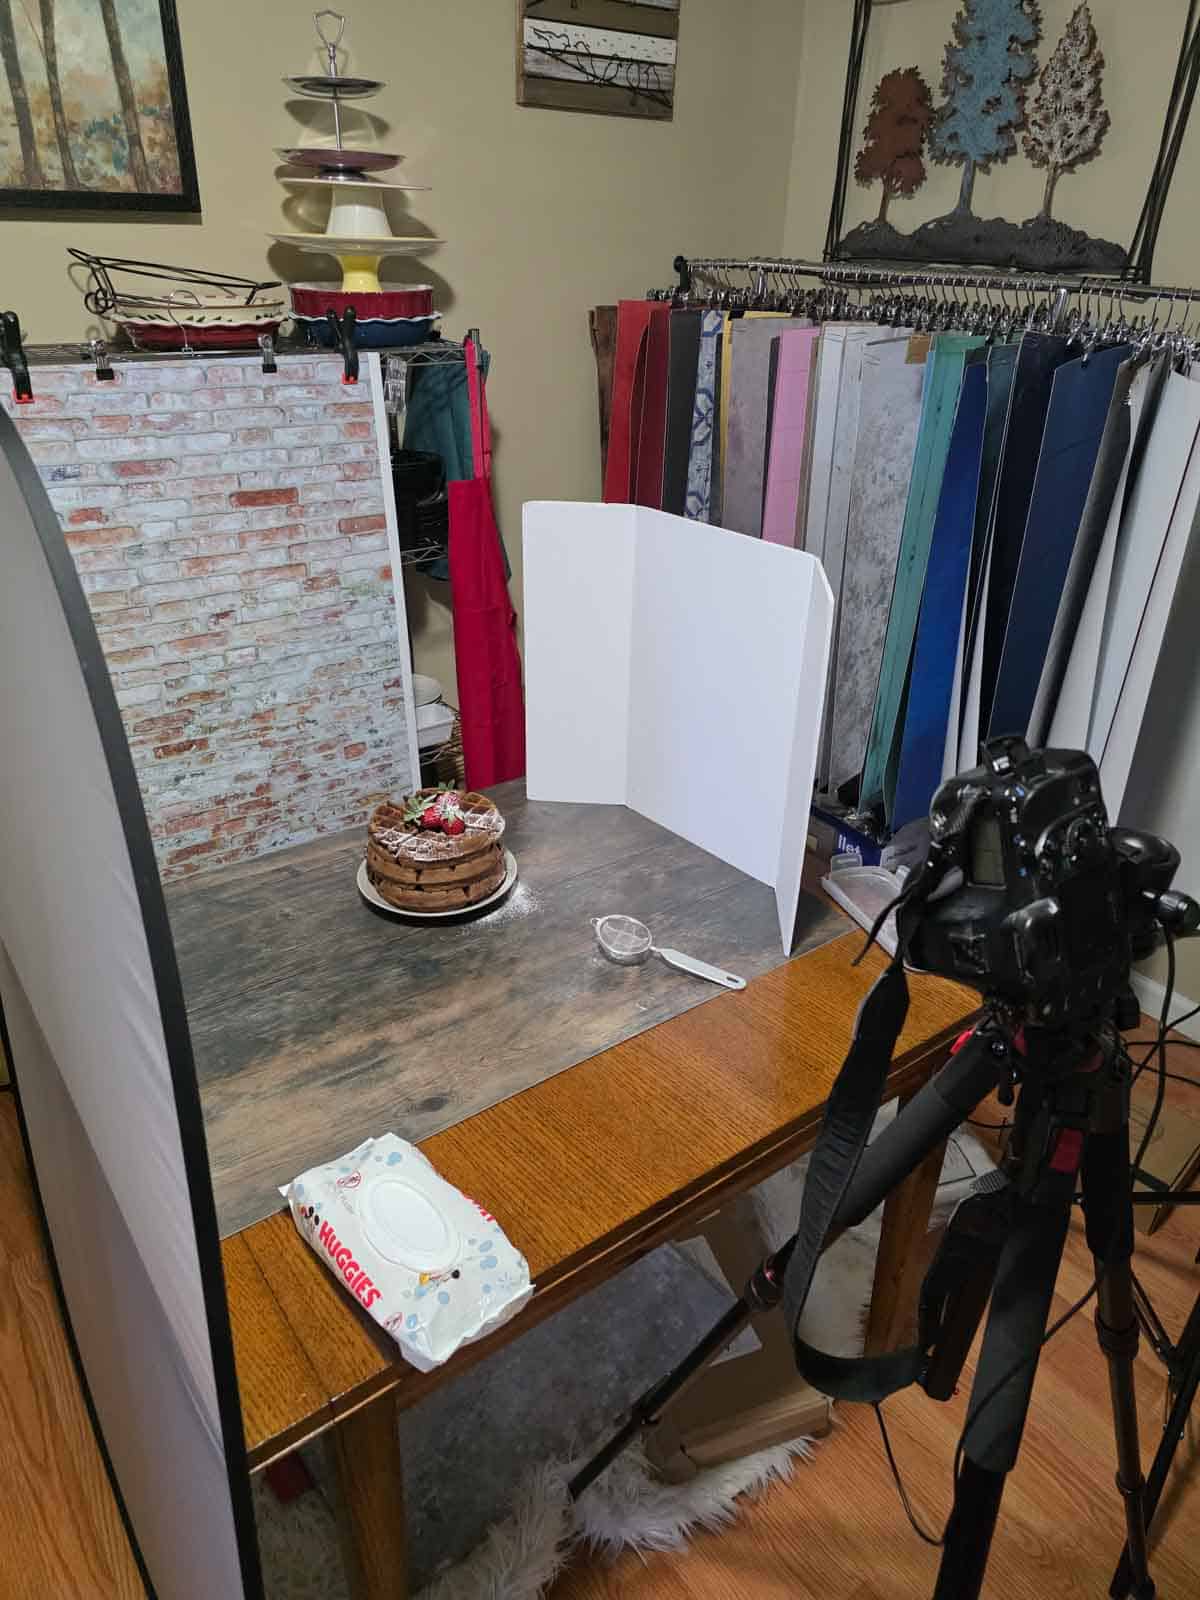
Waffle photoshoot setup, cat banished and new milk safely in the fridge.
What really happened
There’s a very specific sound cats make when they’re drinking water. A rapid little lap-lap-lap rhythm you can hear from several feet away. I know it well because Charlie’s water bowl lives in our kitchen and he announces every sip like he’s hosting a 'how to get noticed drinking water' podcast.
So imagine me, in the next room, suddenly hearing that EXACT SAME lap-lap-lap… coming from the direction of my ingredient photo shoot area (aka my kitchen floor, unfortunately that's where my best natural light is).
I sneak in and there he is, my furry sous chef. Happily taste testing the bowl of plant milk as if he had been personally invited to quality check the ingredients🙄.
I say “Charlie No!”
The look he gave me was full betrayal. The kind of face that says, “Wow. After everything I’ve done for this family.” If you look close you can see the mad look he has on his face.
So, I had to make my plant milk.... again. Because, you know, food safety and such, and also since my family prefers non gross vegan chocolate waffles.



Disclaimer: The nutritional information provided for High Protein Vegan Chocolate Waffles is an estimate calculated using Nutrifox, an online tool. Please note that this information is for general guidance only and should not replace advice from a qualified professional. Additionally, this page may include affiliate links, meaning I may earn a small commission if you purchase through those links at no extra cost to you. Thank you for supporting Fresh Fun Flavor!



Rebecca Lawson says
I made these for breakfast this morning. I made them precisely by the recipe and they turned out perfect, perfect, perfect. I have to say I actually felt guilty having these for breakfast. They were crunchy on the outside and soft like a fudge brownie inside and tasted just like it. I used natural maple syrup on them which made them just a little to sweet, just a little but I'm not used to eating sweets. As my husband and I enjoyed these we were discussing what we might put on them next time. I suggested fresh strawberries simmered in a saucepan to add warm to them. My husband suggested peanut butter and when he did a bell went off in my head, ding, ding. When I was growing up I never used syrup on my waffles it was alway peanut butter. I want to mention that when I make regular waffles I could always eat the entire waffle. These are very filling and both my husband and I could only eat half. Excited to reheat these in the toaster tomorrow morning and try them with peanut butter. ENJOY!
Rhonda Jones @ Fresh Fun Flavor says
This made me smile, thank you! 💛 Peanut butter on waffles is such a classic, and I love that memory. So happy you both enjoyed them (and yes, they’re definitely filling!). Enjoy round two tomorrow!