
This Easy Vegan Salted Caramel Sauce is foolproof and low-maintenance. None of the constant stirring or watching it like a hawk. Once it settles into a gentle simmer, you can step away and let it do its thing, checking on it only a couple of times. Set a timer, relax for a bit, and come back to perfectly cooked rich, smooth caramel that’s ready for that slightly salty finish.
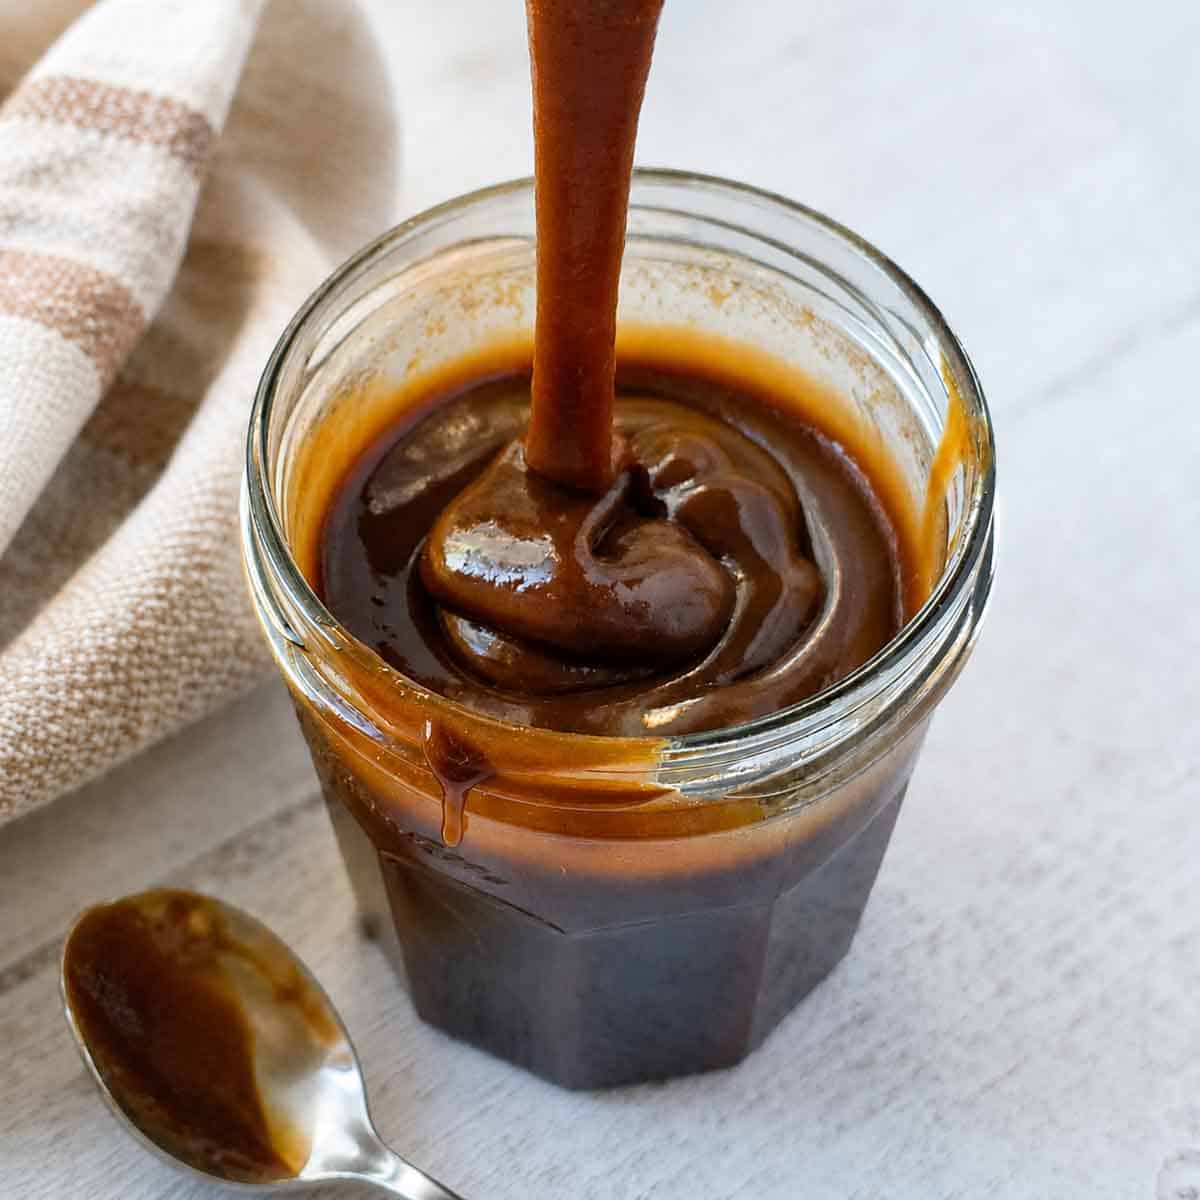
Made with just three ingredients: coconut milk, coconut sugar, and salt. There’s no butter, no cream, and no need to stand over the stove whisking your day away. We're not using dates or cashews either, we're keeping it super simple for an easy dairy free caramel sauce that works every time. Cooks up in just over an hour, mostly hands-off.
Jump to:
💗Why You’ll Love This Easy Vegan Salted Caramel Sauce
- Pantry Friendly: No need to refrigerate the coconut milk ahead of time.
- Rich & Silky Texture: Smooth, glossy, and luxurious with that classic caramel feel.
- Perfectly Pourable: Pour it warm or let it chill for a thicker, spoonable texture.
- Deep Caramel Flavor: Coconut sugar is the star of the show bringing deep rich flavor.
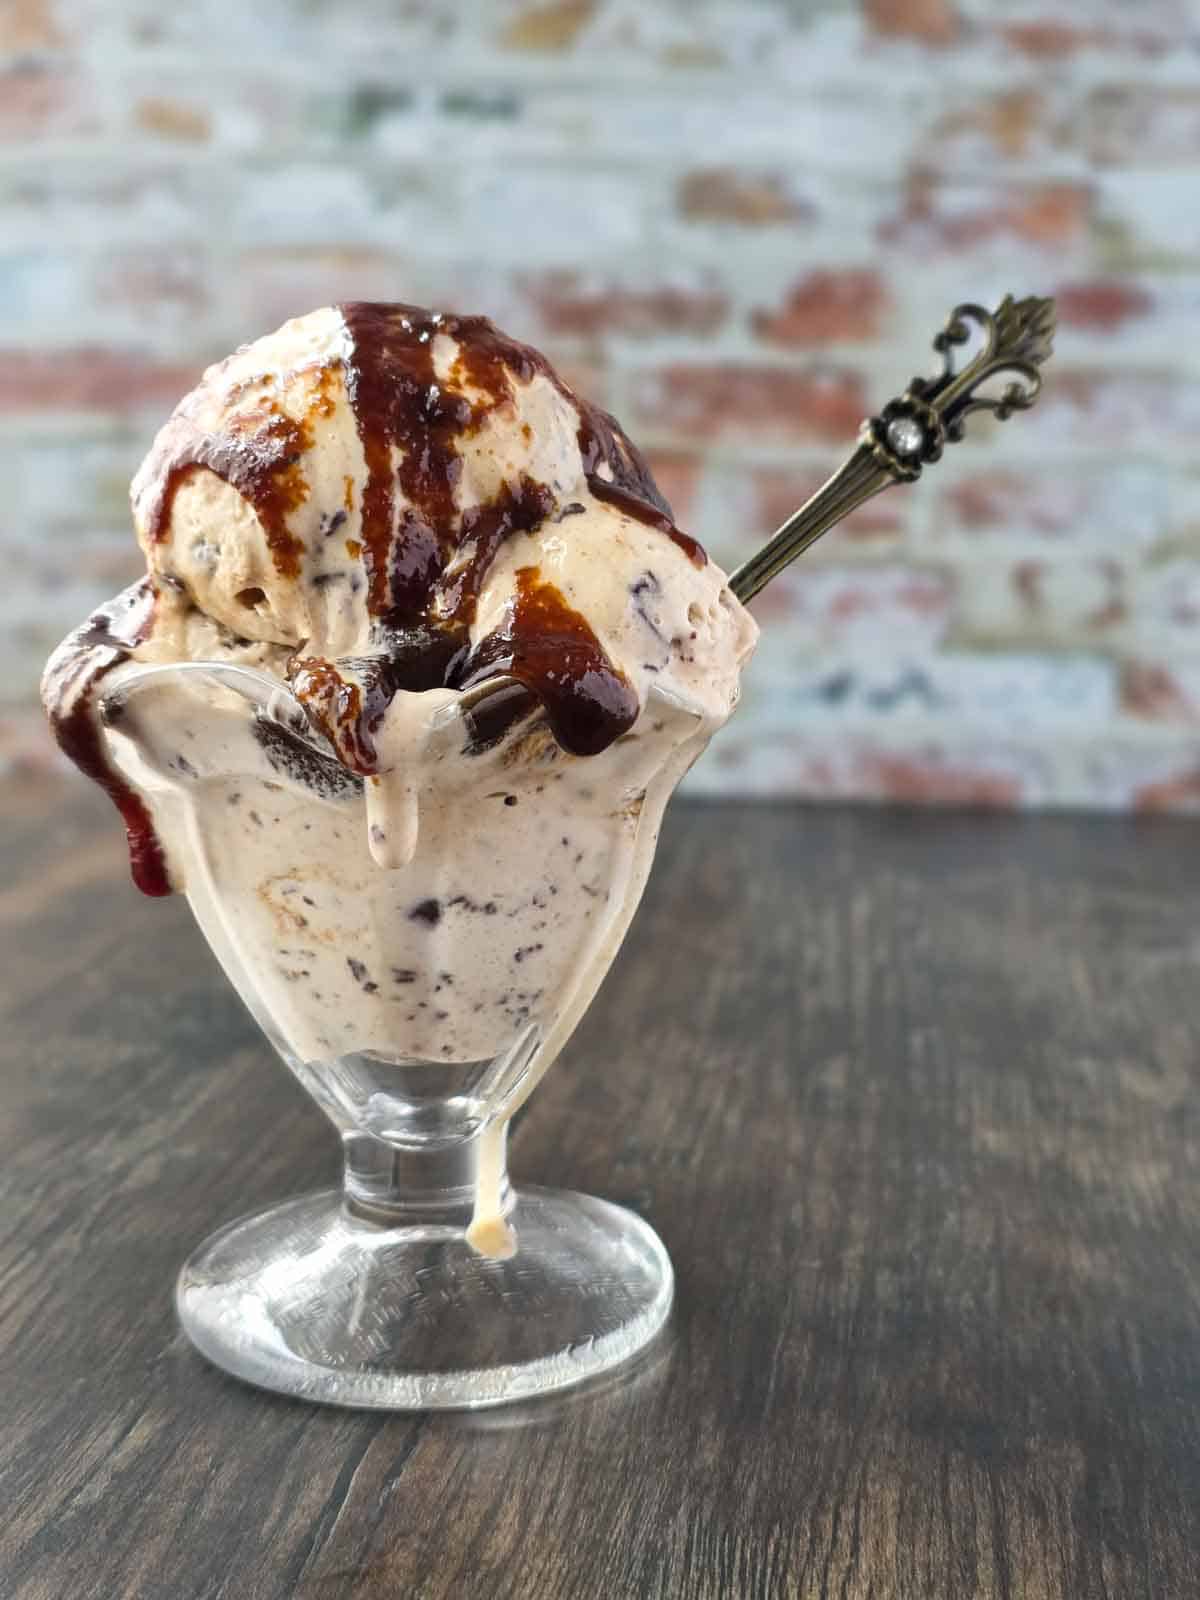
- Versatile: Drizzle it over ice cream, cupcakes, brownies, apple pie, or eat it straight off the spoon like I do. I do this a lot.
🥥Ingredients & Helpful Notes
- Full fat coconut milk: Use full-fat for best texture, Lite will not thicken properly.
- Coconut Sugar: Gives the caramel its rich flavor and color, I don’t recommend substituting.
- Salt: Any salt will work, regular salt, sea salt, whatever you have. If you are avoiding salt feel free to omit it, this Caramel is fantastic both ways.
🥄How To Make This Recipe
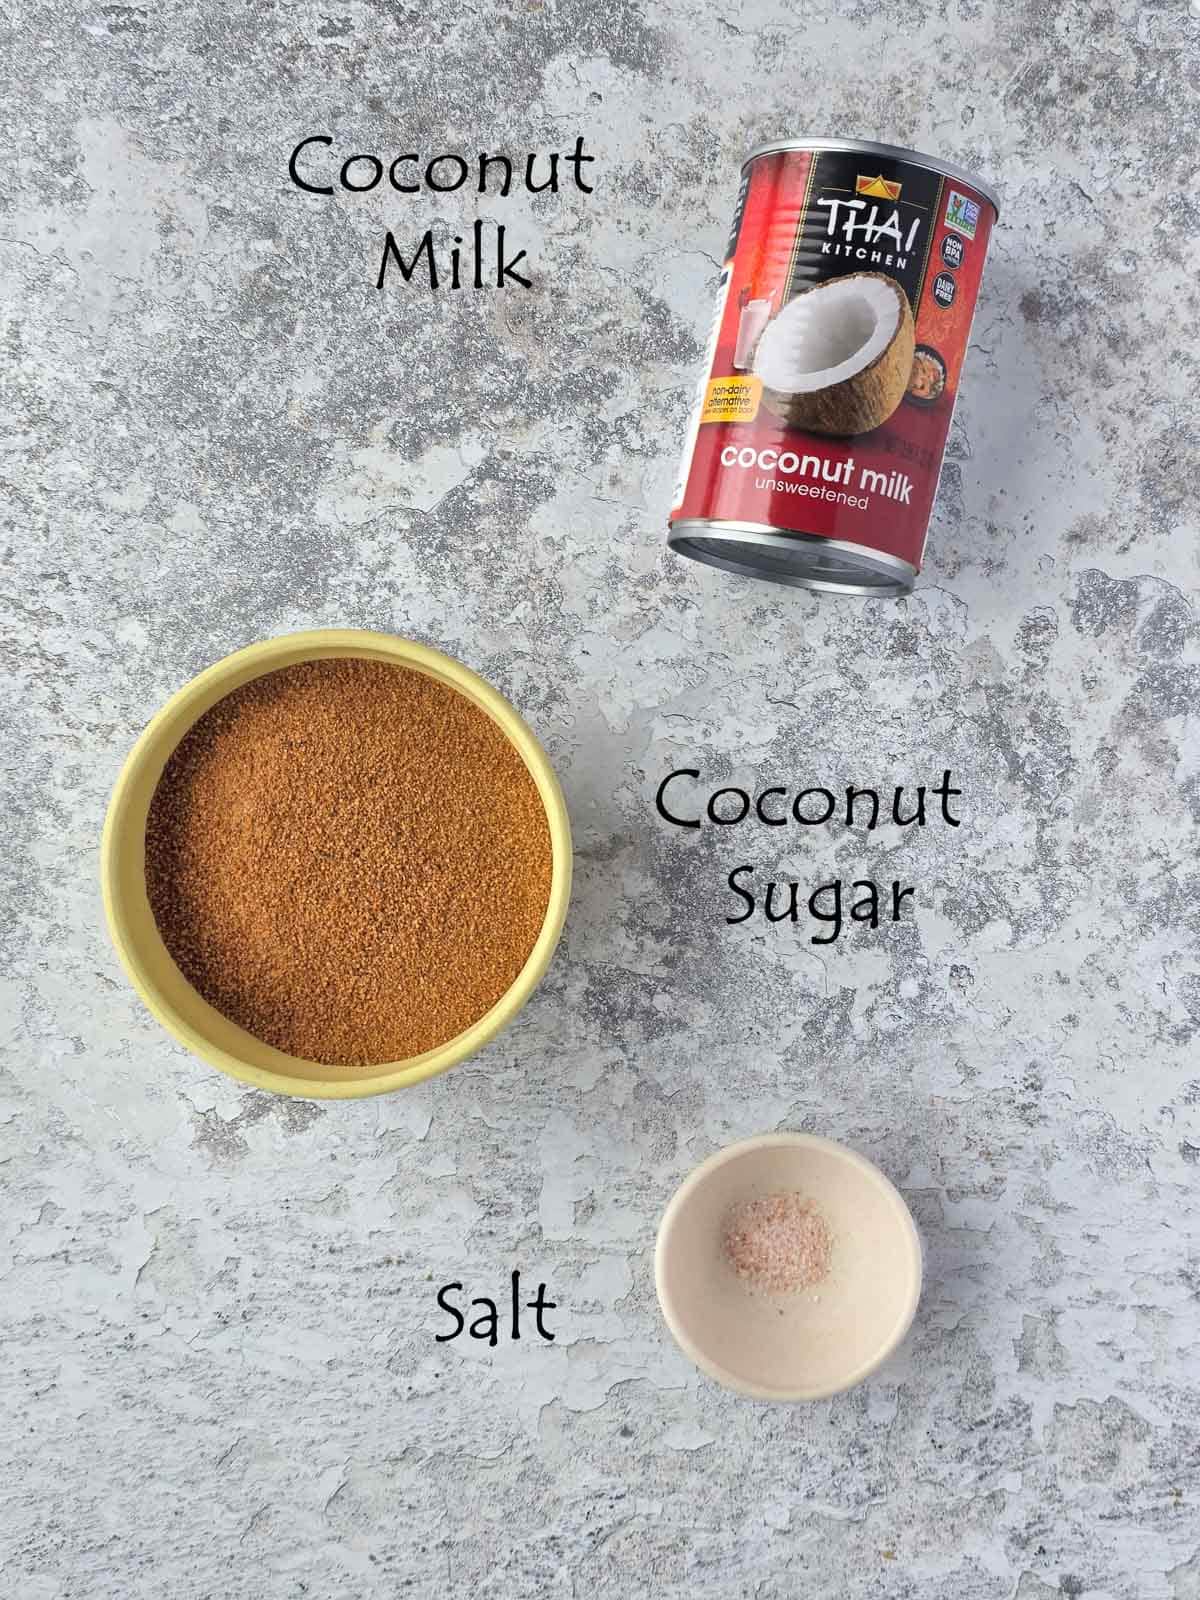
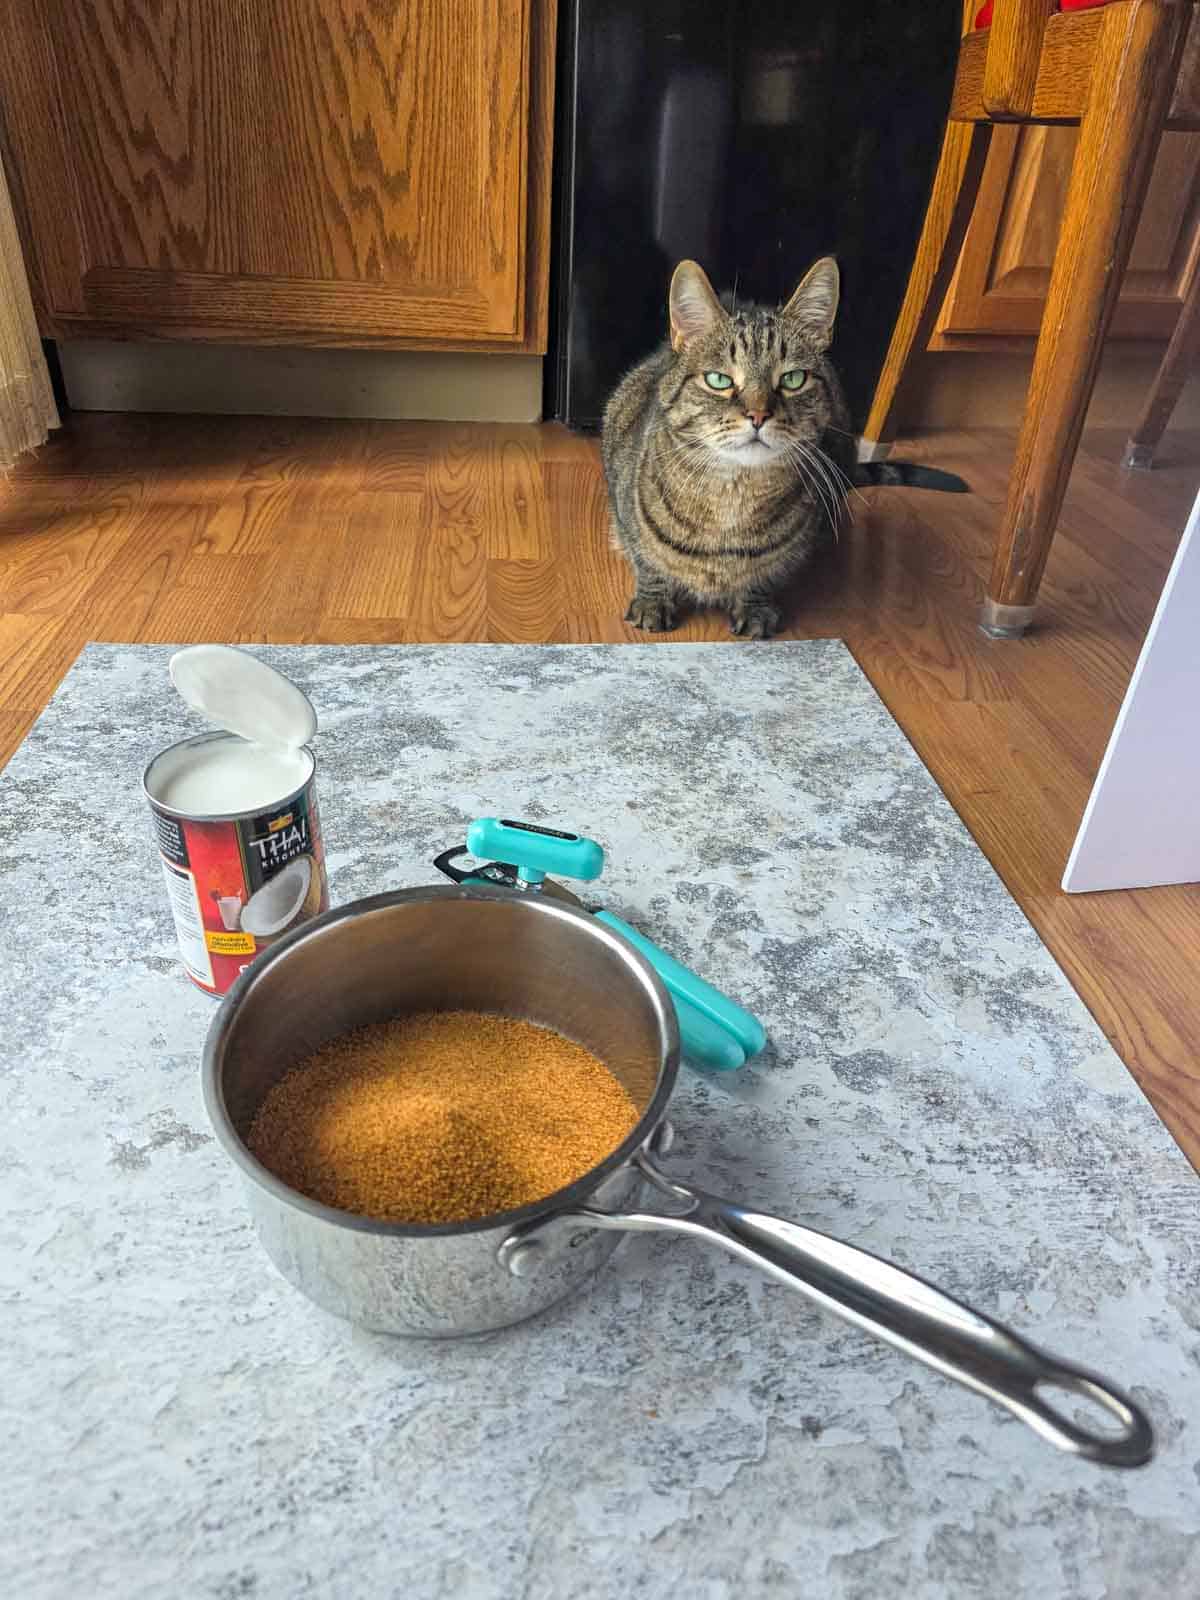
Gather up your ingredients!
Have milk, sugar, and salt ready. This recipe can also be made salt-free if preferred!
🔥 Combine and Bring to a Boil
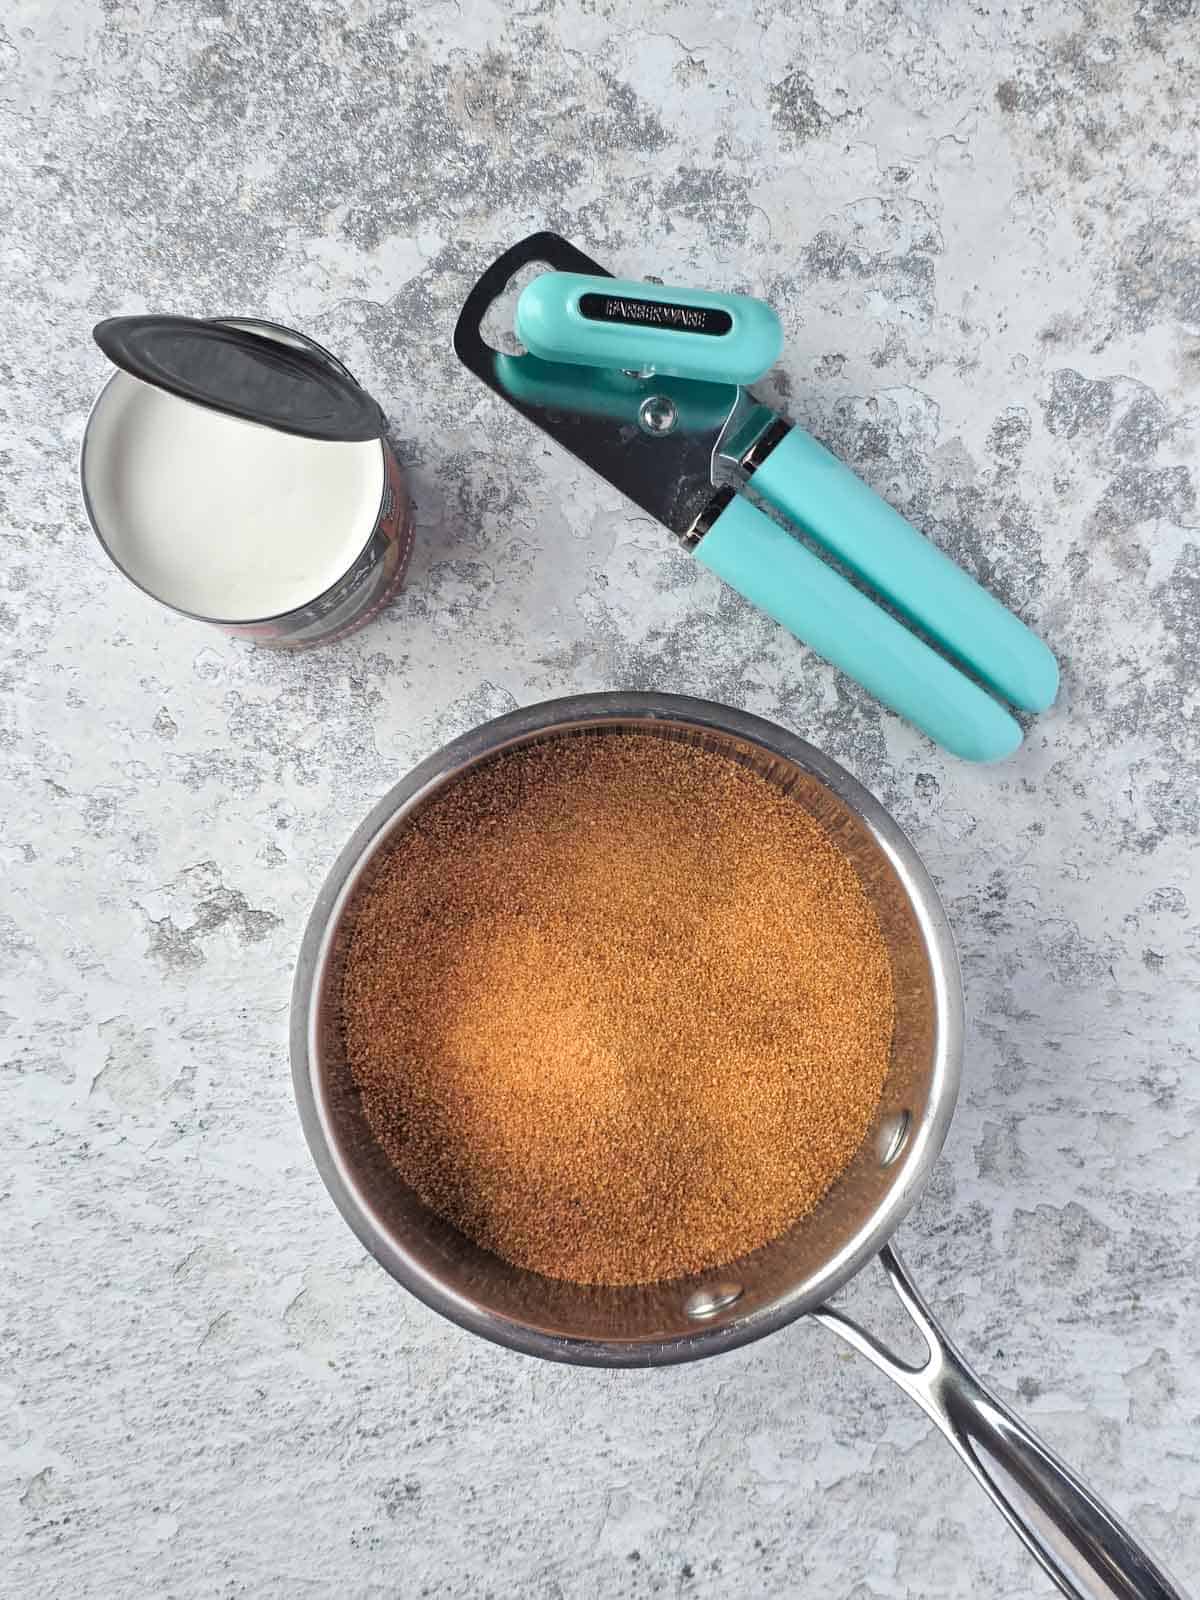
Grab your coconut sugar and open the coconut milk.
Add the coconut sugar to a medium saucepan and open your can of full-fat coconut milk.
I used a 1.5qt stainless steel pan. I also tested this recipe using a 3 qt stainless steel pan. Any size in between works too.
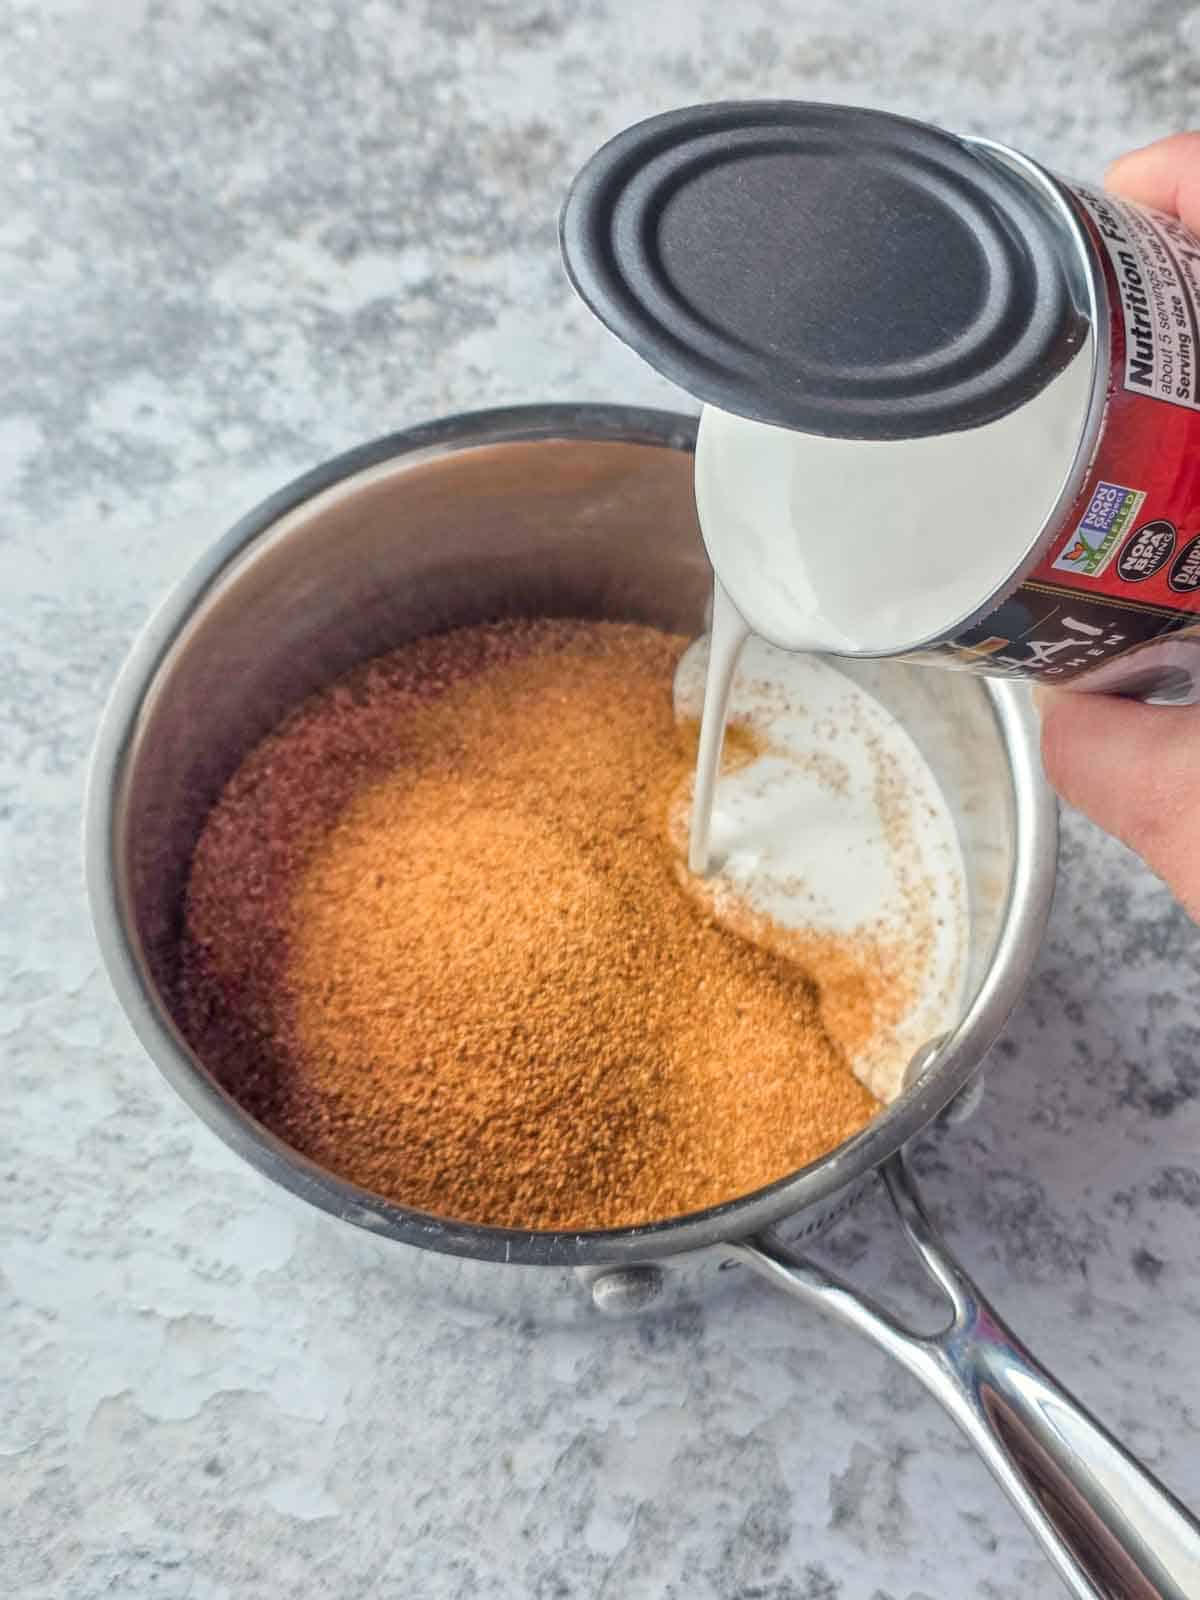
Pour in the coconut milk.
Pour the entire can of coconut milk into the saucepan with the sugar.
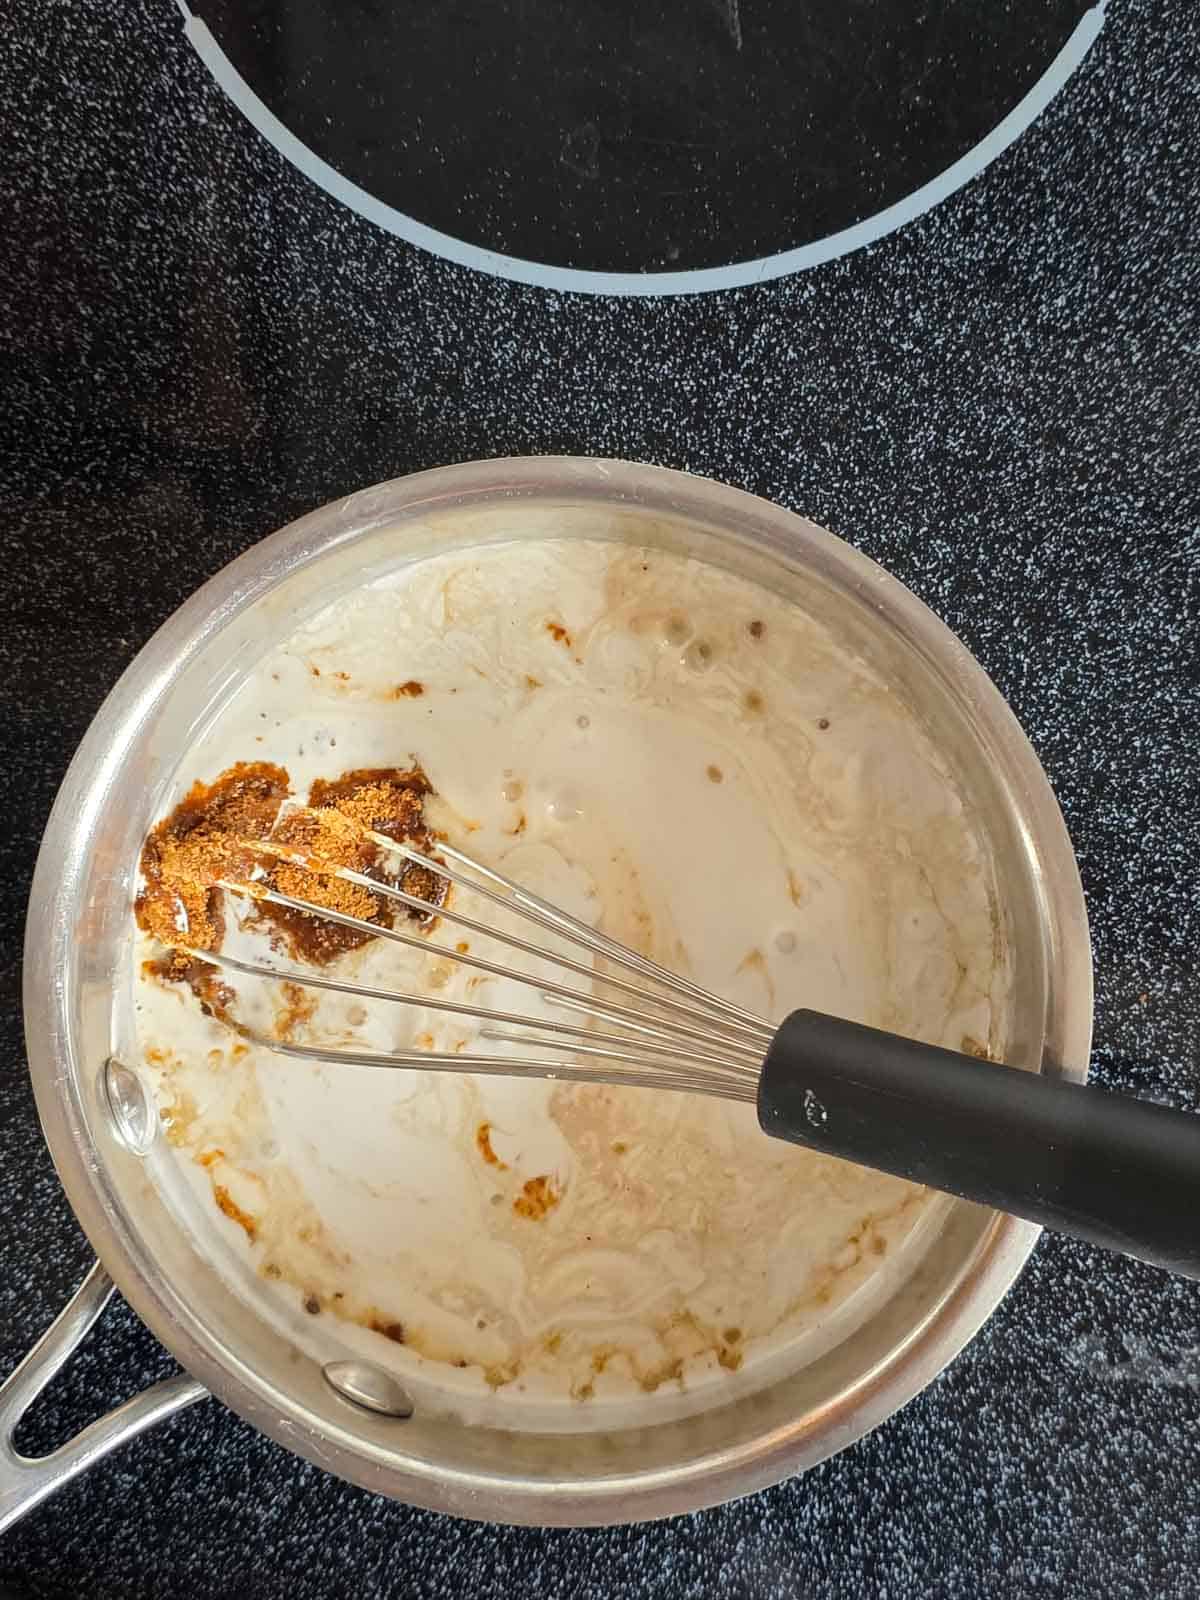
Turn on the heat.
Place the saucepan over medium/high heat and continue whisking until the lumps smooth out. This should take about 1 minute.
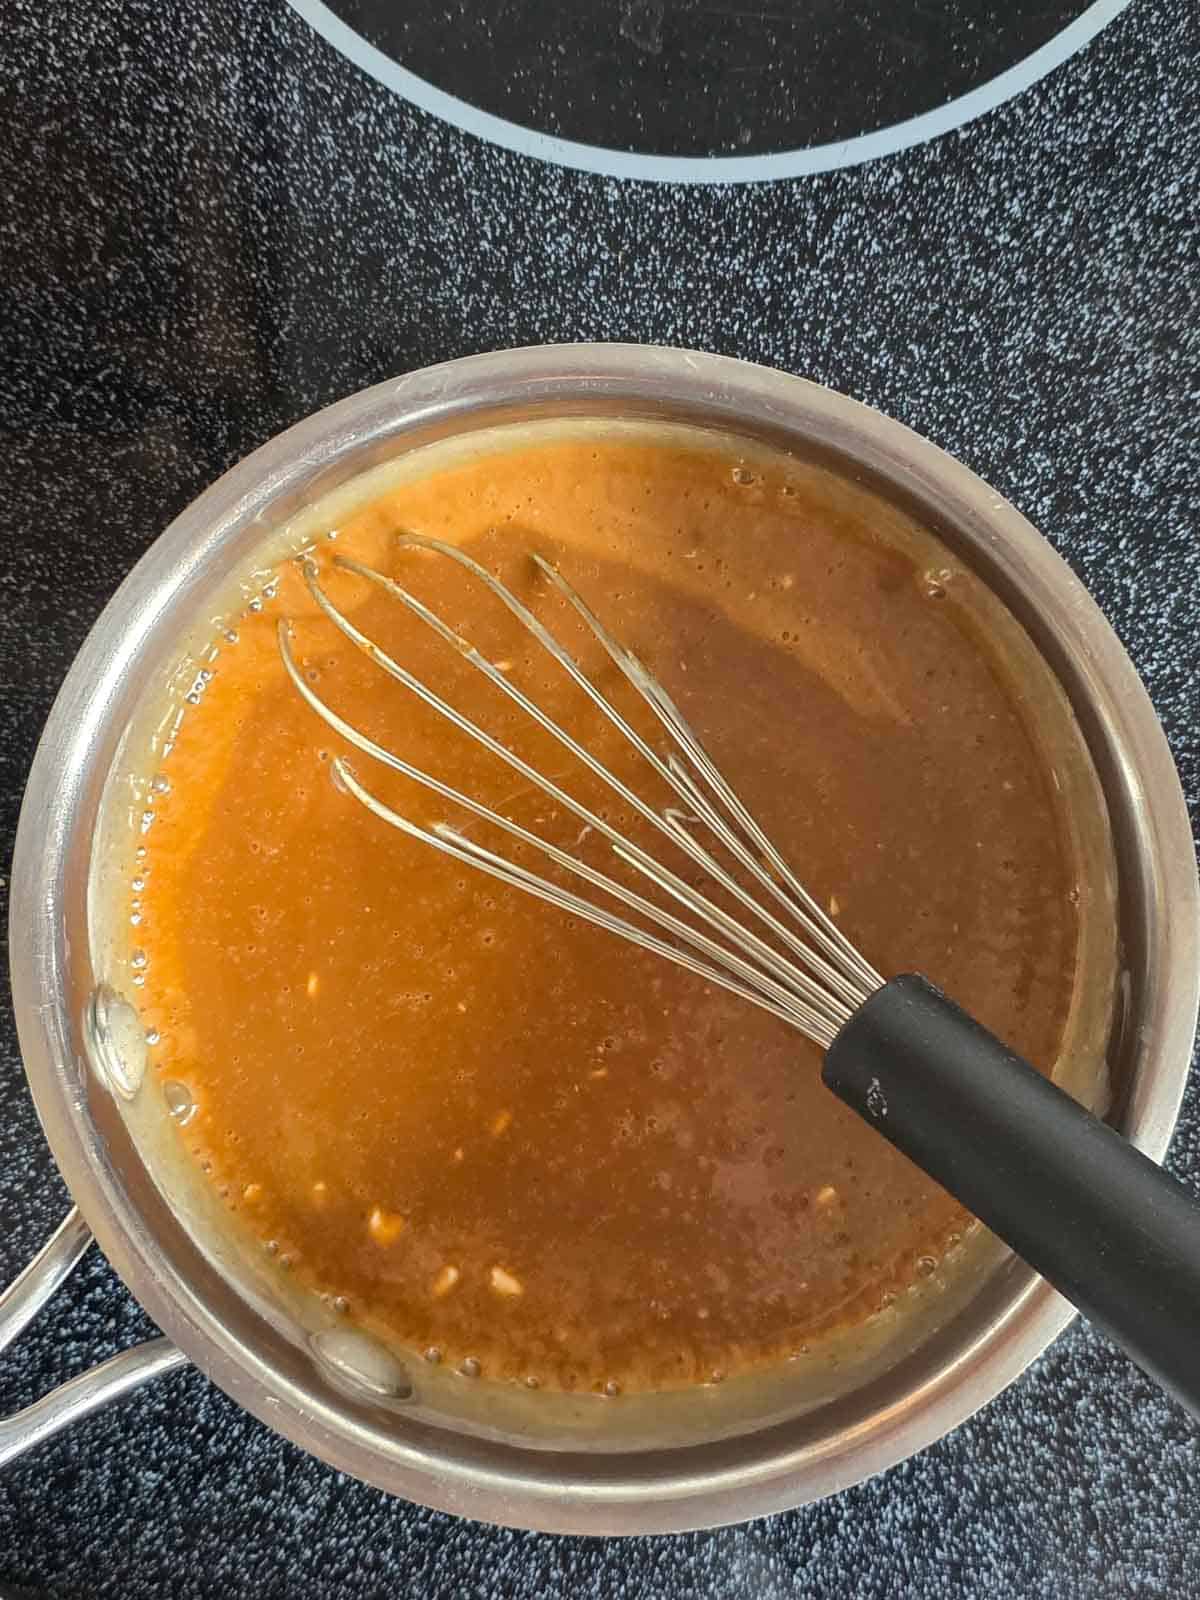
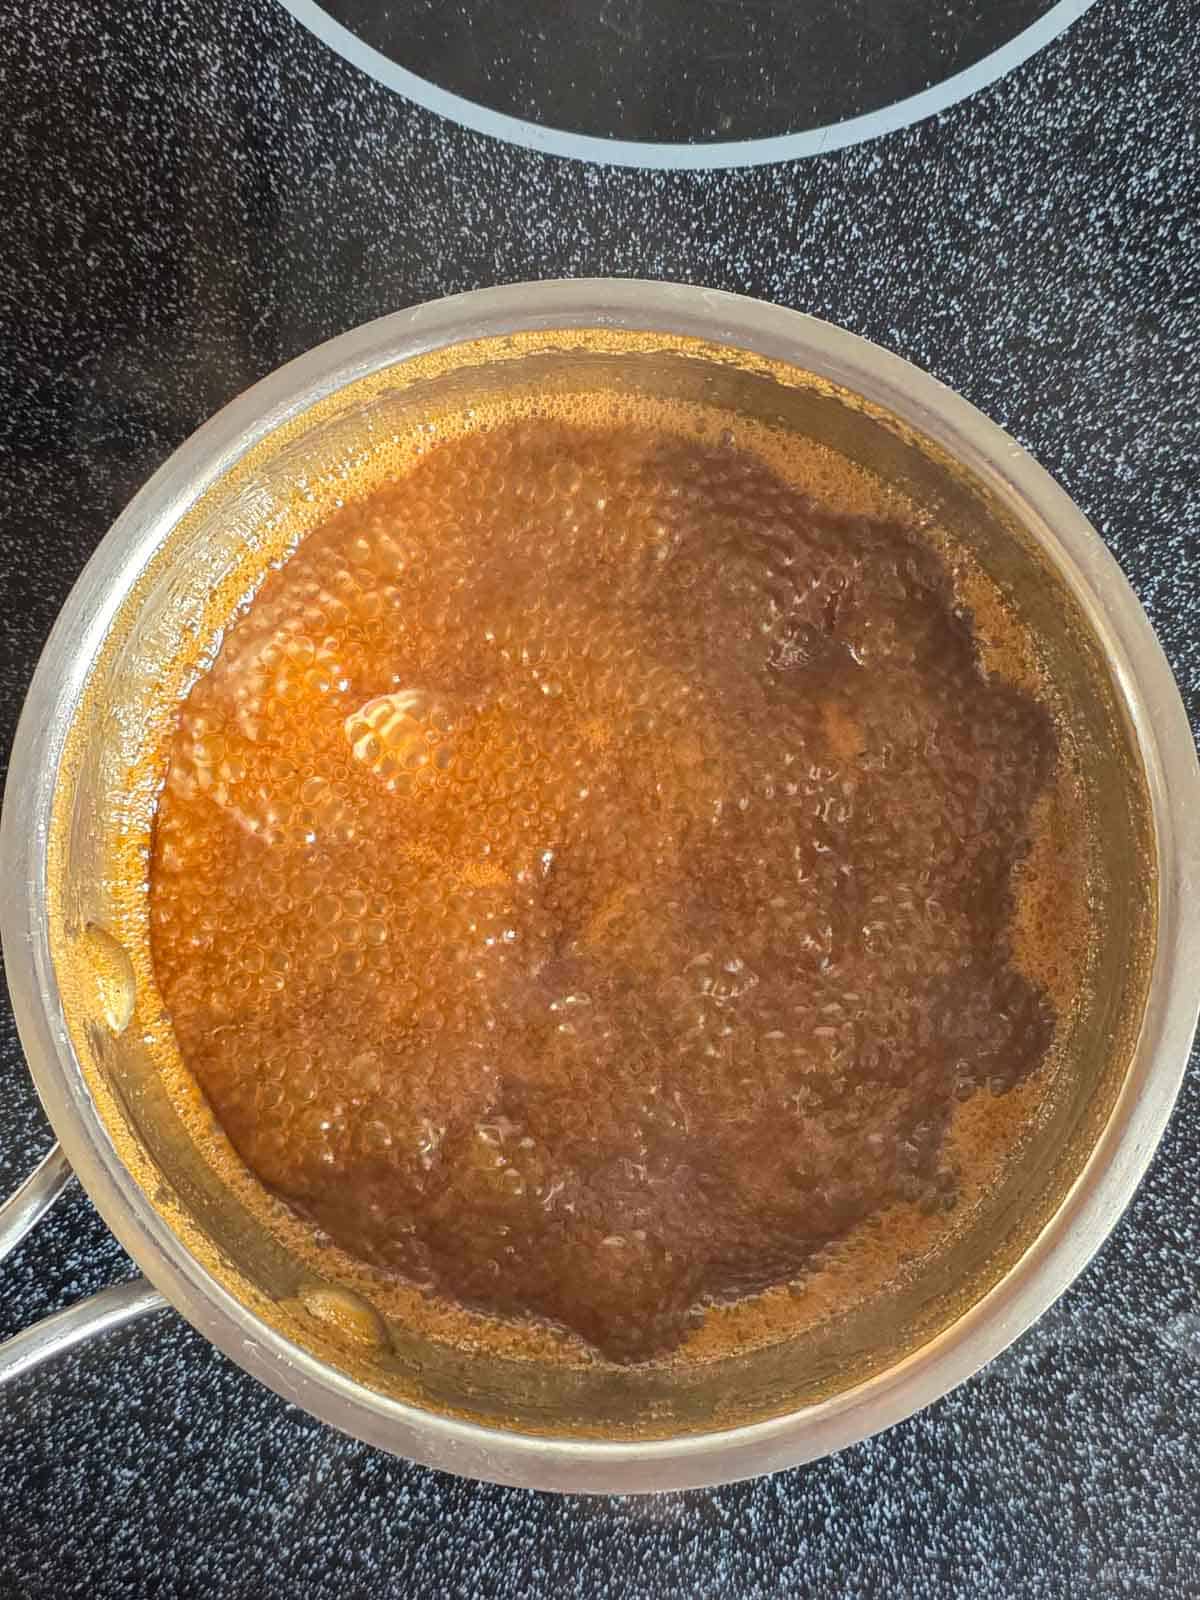
Bring to a gentle boil.
You’ll see bubbles forming across the surface. This can take about 3- 5 minutes.
Lower the heat to a simmer.
As soon as it starts to boil more rapidly reduce the heat to a low simmer.
You'll see the sauce start to rise in the pan. If it looks like it is going to rise too high simply remove the pan from the burner for a moment to let it subside then set it back down.
⏲️ Simmer and Let It Do Its Thing
Let it slowly simmer.
Set the timer for 60 minutes, give it a good stir as the bubbles start to slow down from the heat being reduced, and you are now free to walk away from the stove.
While this recipe does not trap you at the stove to stir constantly, I do recommend checking on it about every 20 minutes within that hour and give it another quick stir with the whisk just to be sure it's coming along nicely.
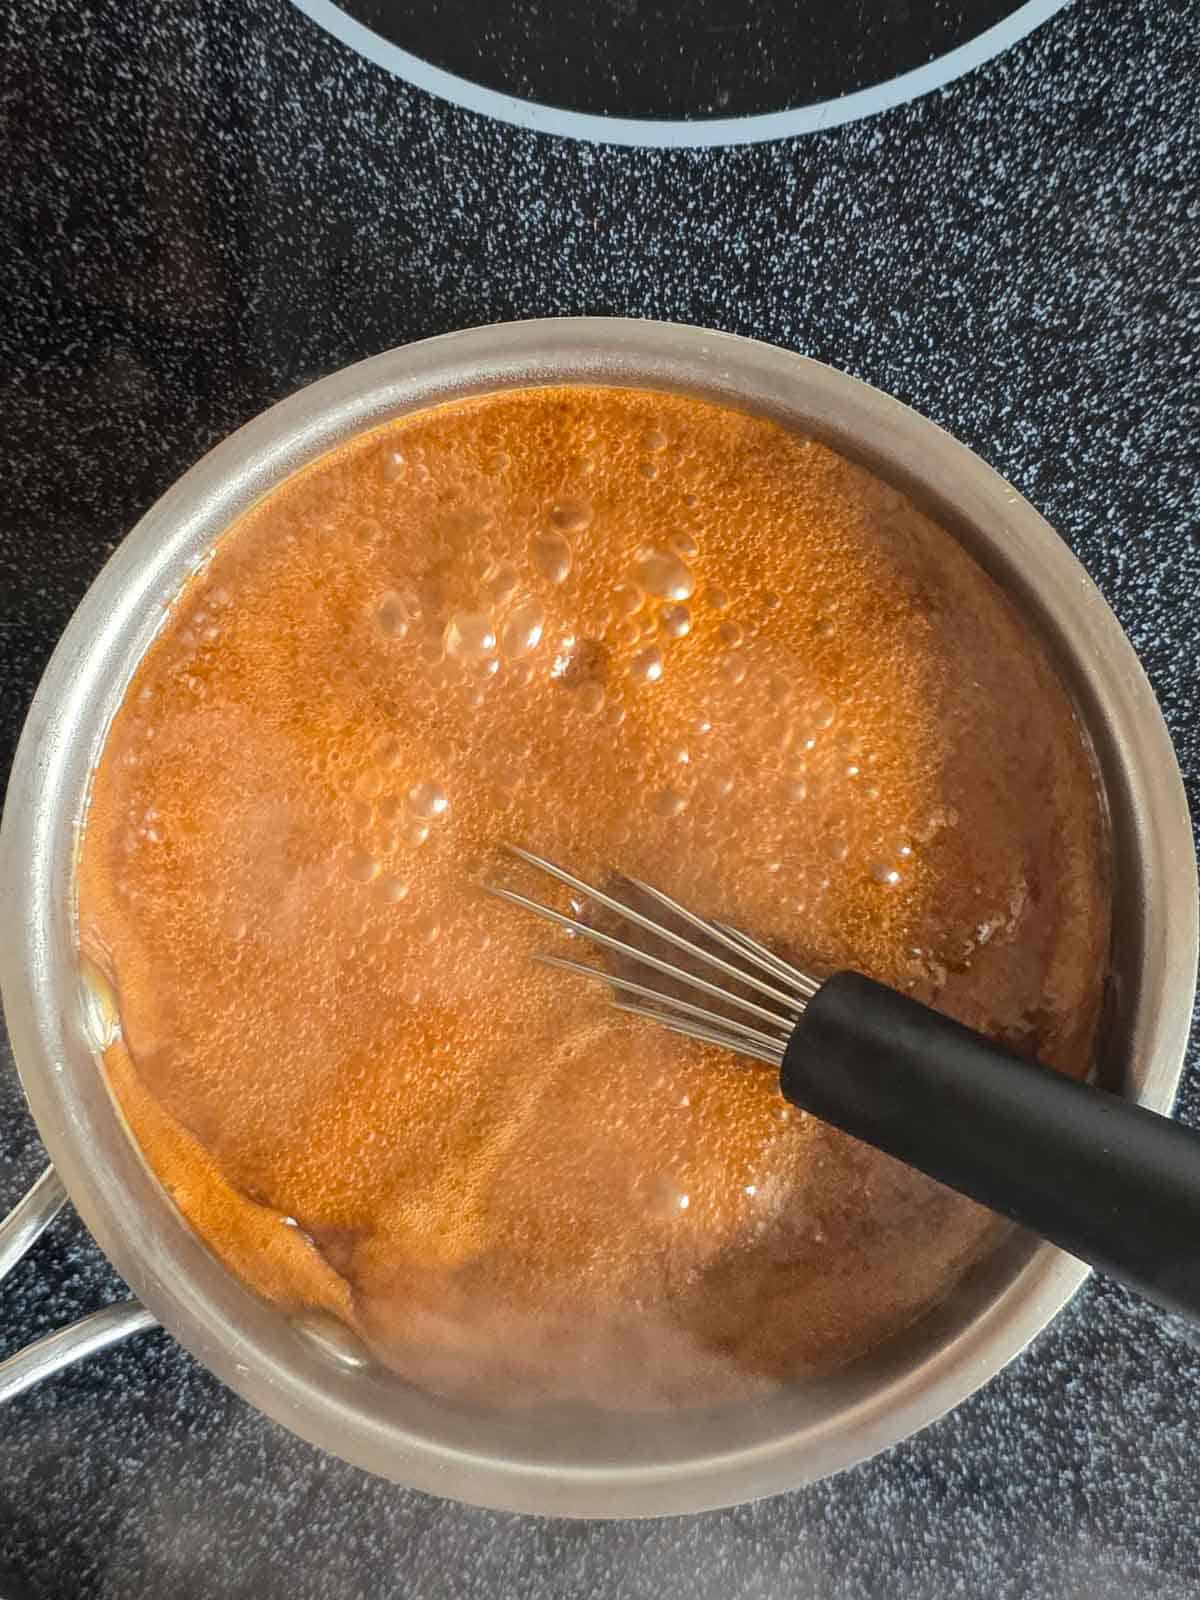
Low and slow is key.
You want a slow looking bubbly surface, not rapid bubbles. Like your caramel sauce is just hanging out relaxing on the beach.
For some stoves this may be set right to the lowest heat setting, for others it may be slightly higher, so just watch for the low slow continuous bubbles.
Note: The pan size/type will also play a role. I used stainless steel which stays hotter, for nonstick you may need a slightly higher heat to achieve those bubbles.
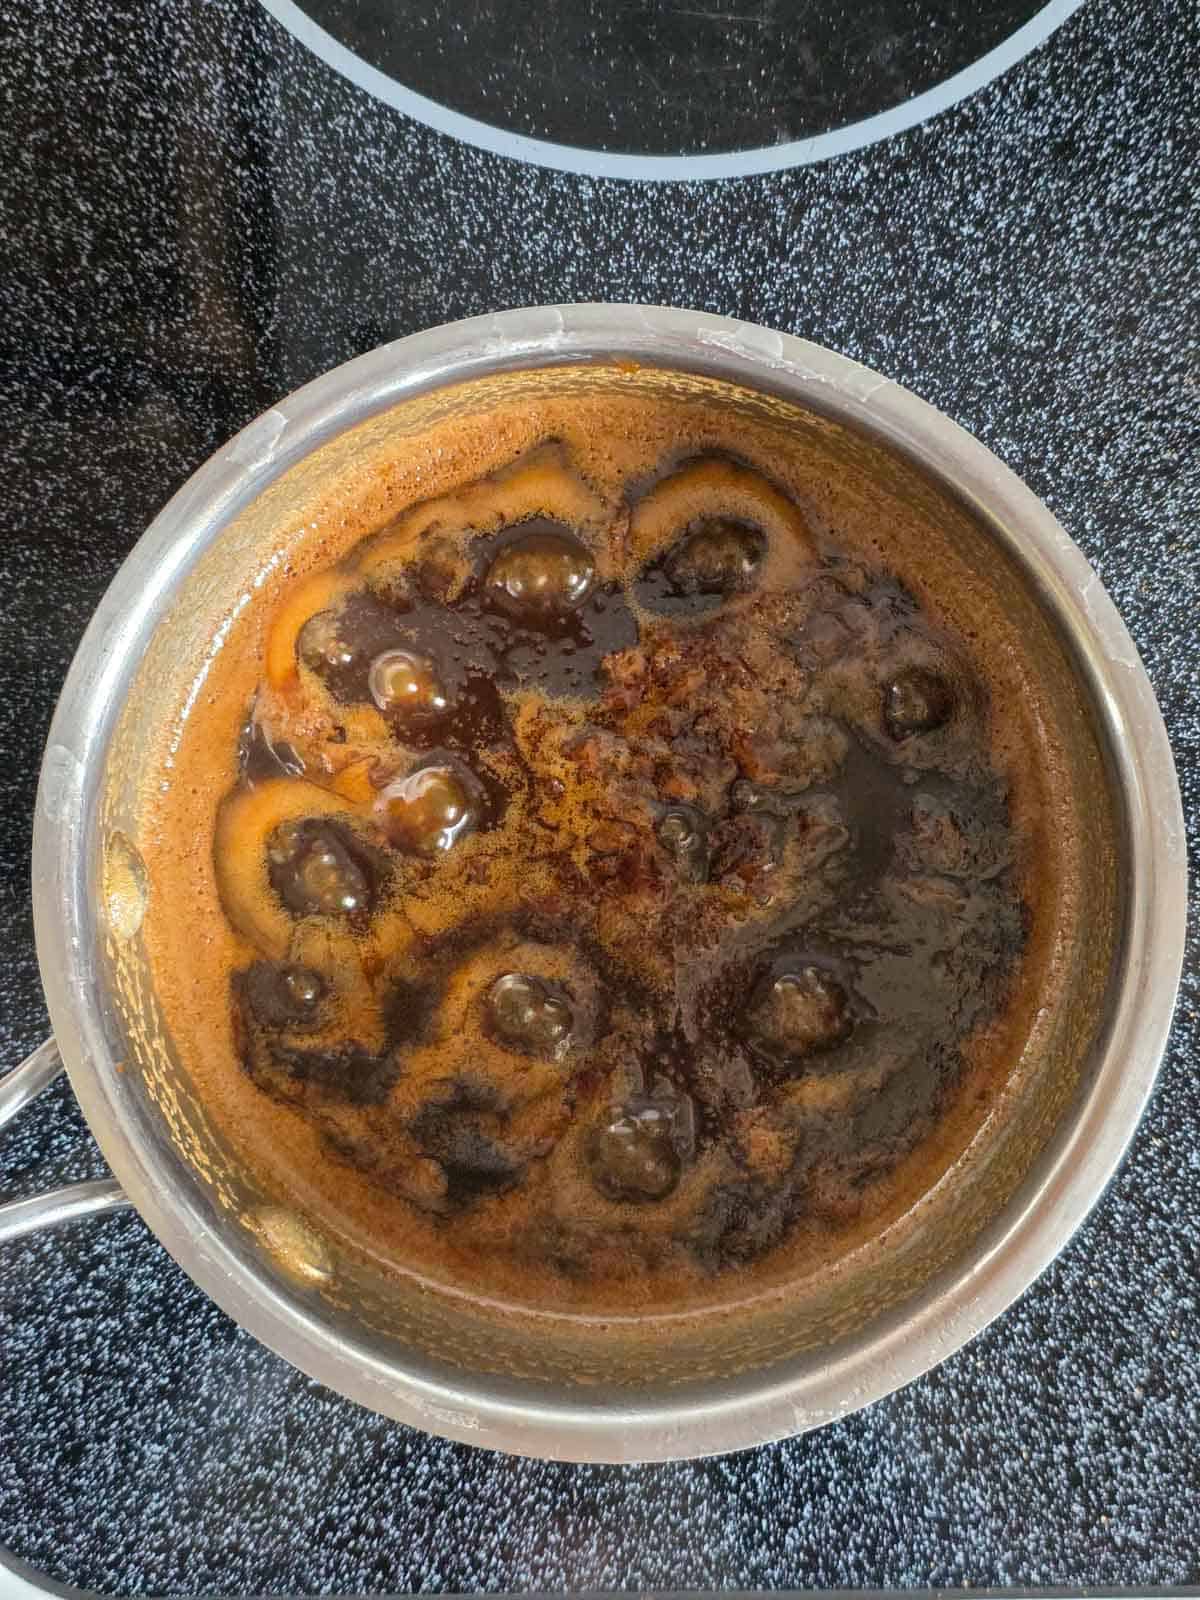
Quick troubleshooting.
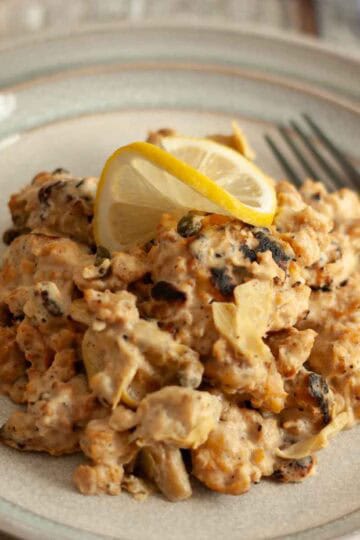
Your caramel should be happily simmering along, however, if you check it and it appears separated or oily (see photo), whisk it vigorously for a minute or two and it will smooth back out. Reduce your heat just a little more if you experience this.
💭 Pro Tip: If the burner is too hot, the mixture can boil too aggressively and the fat in the coconut milk separates from the liquid. That’s when you see that oily, broken look.
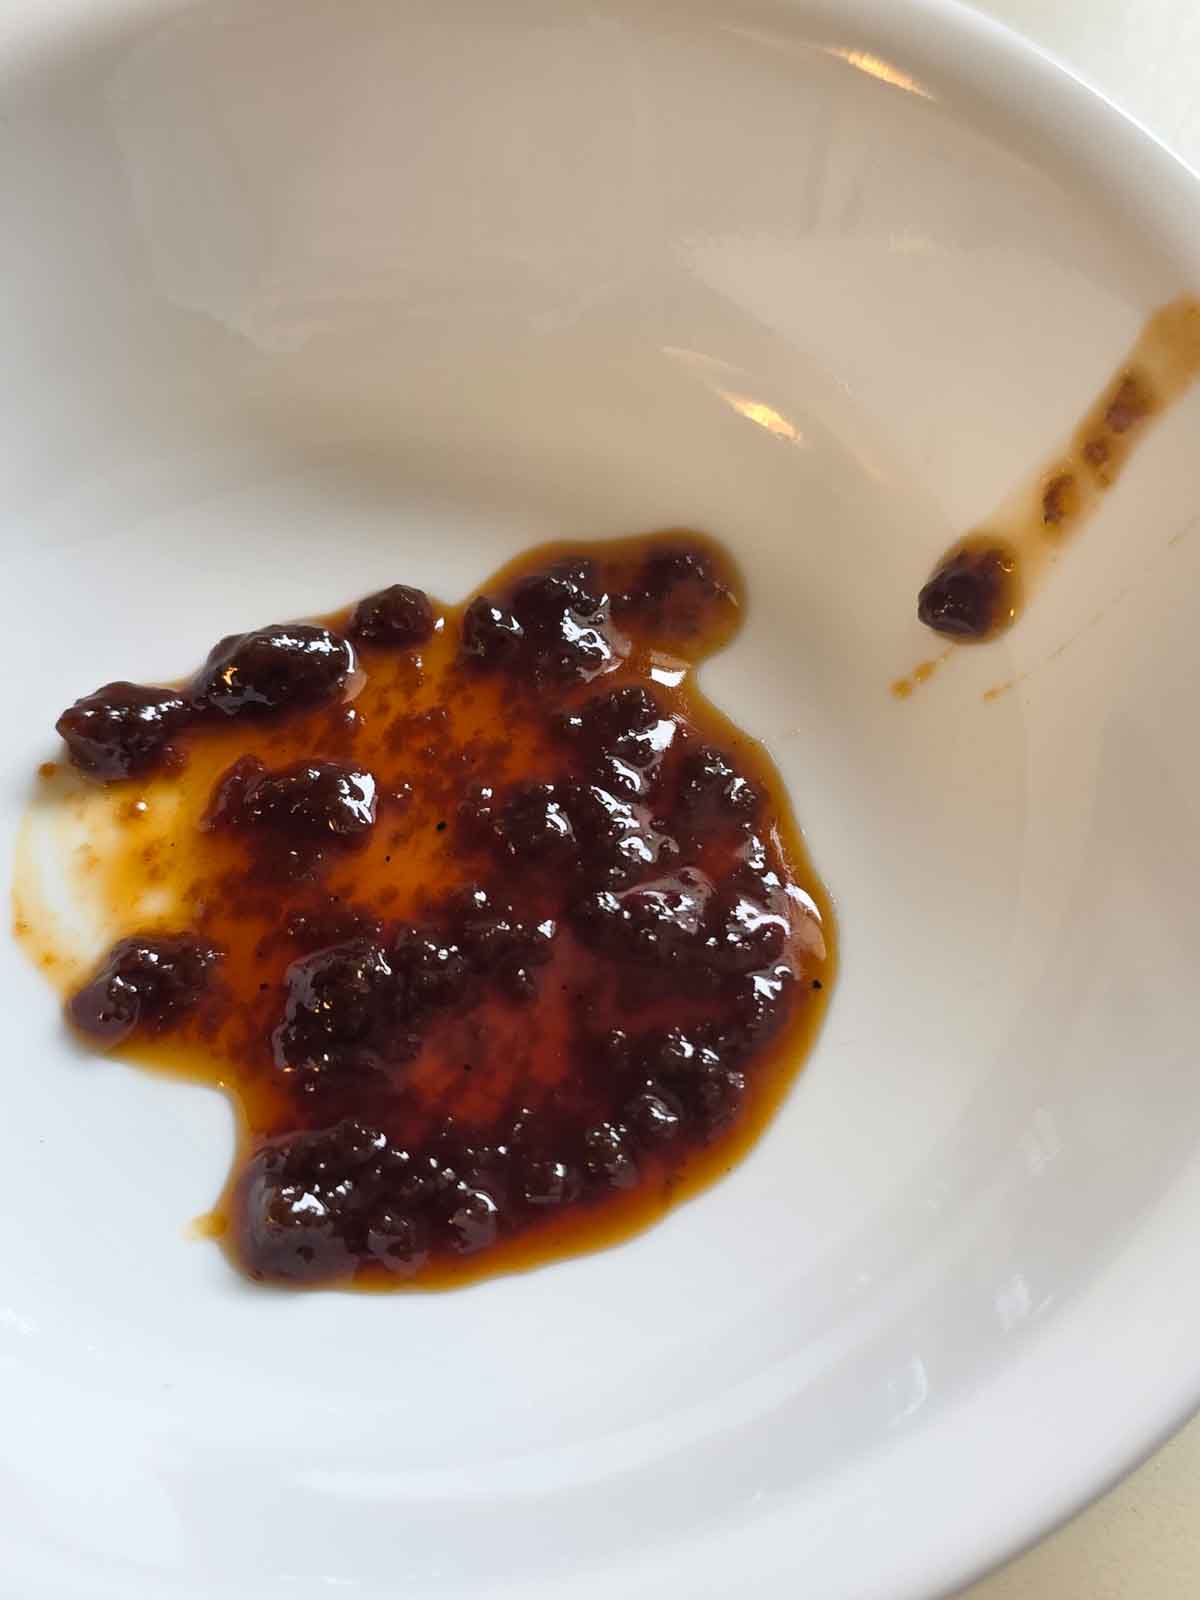
🍯 Check for Doneness
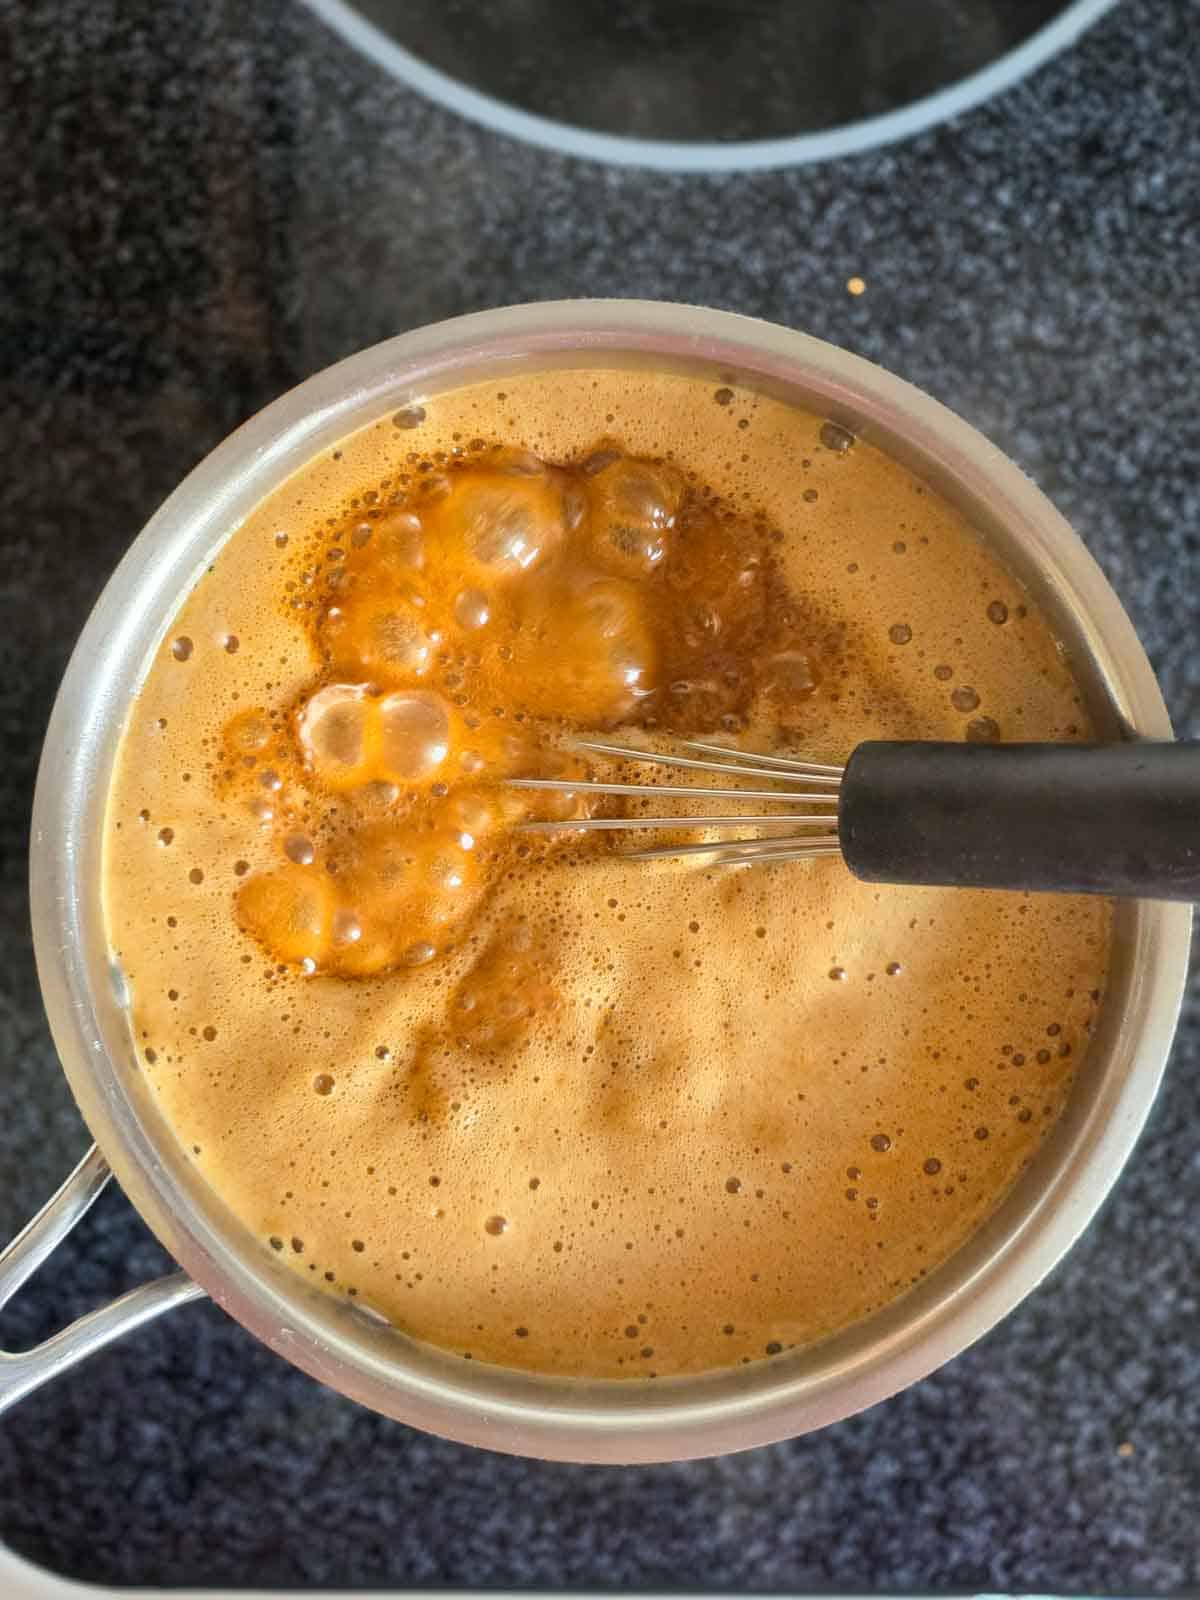
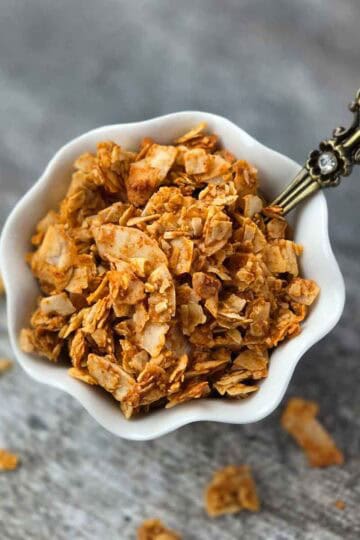
Watch it darken.
As it cooks, the color will change from light tan to deep brown.
That’s how you know it’s turning into caramel.
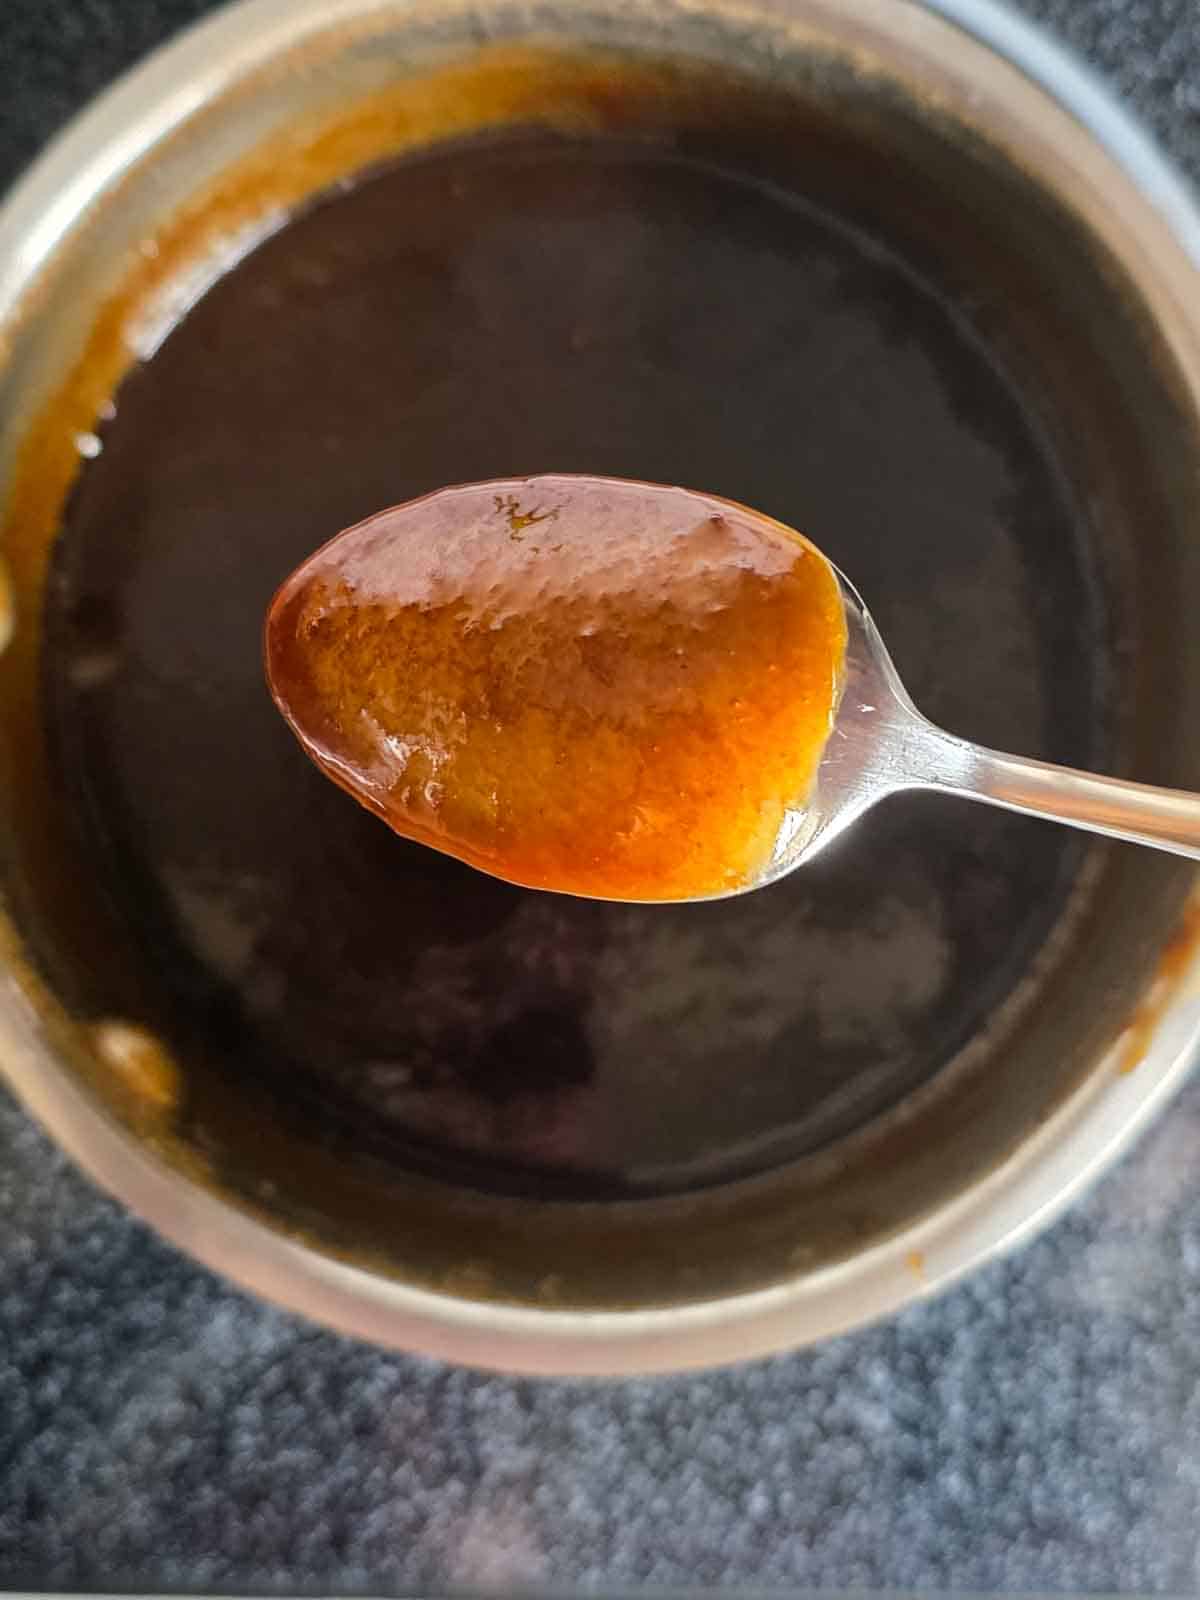
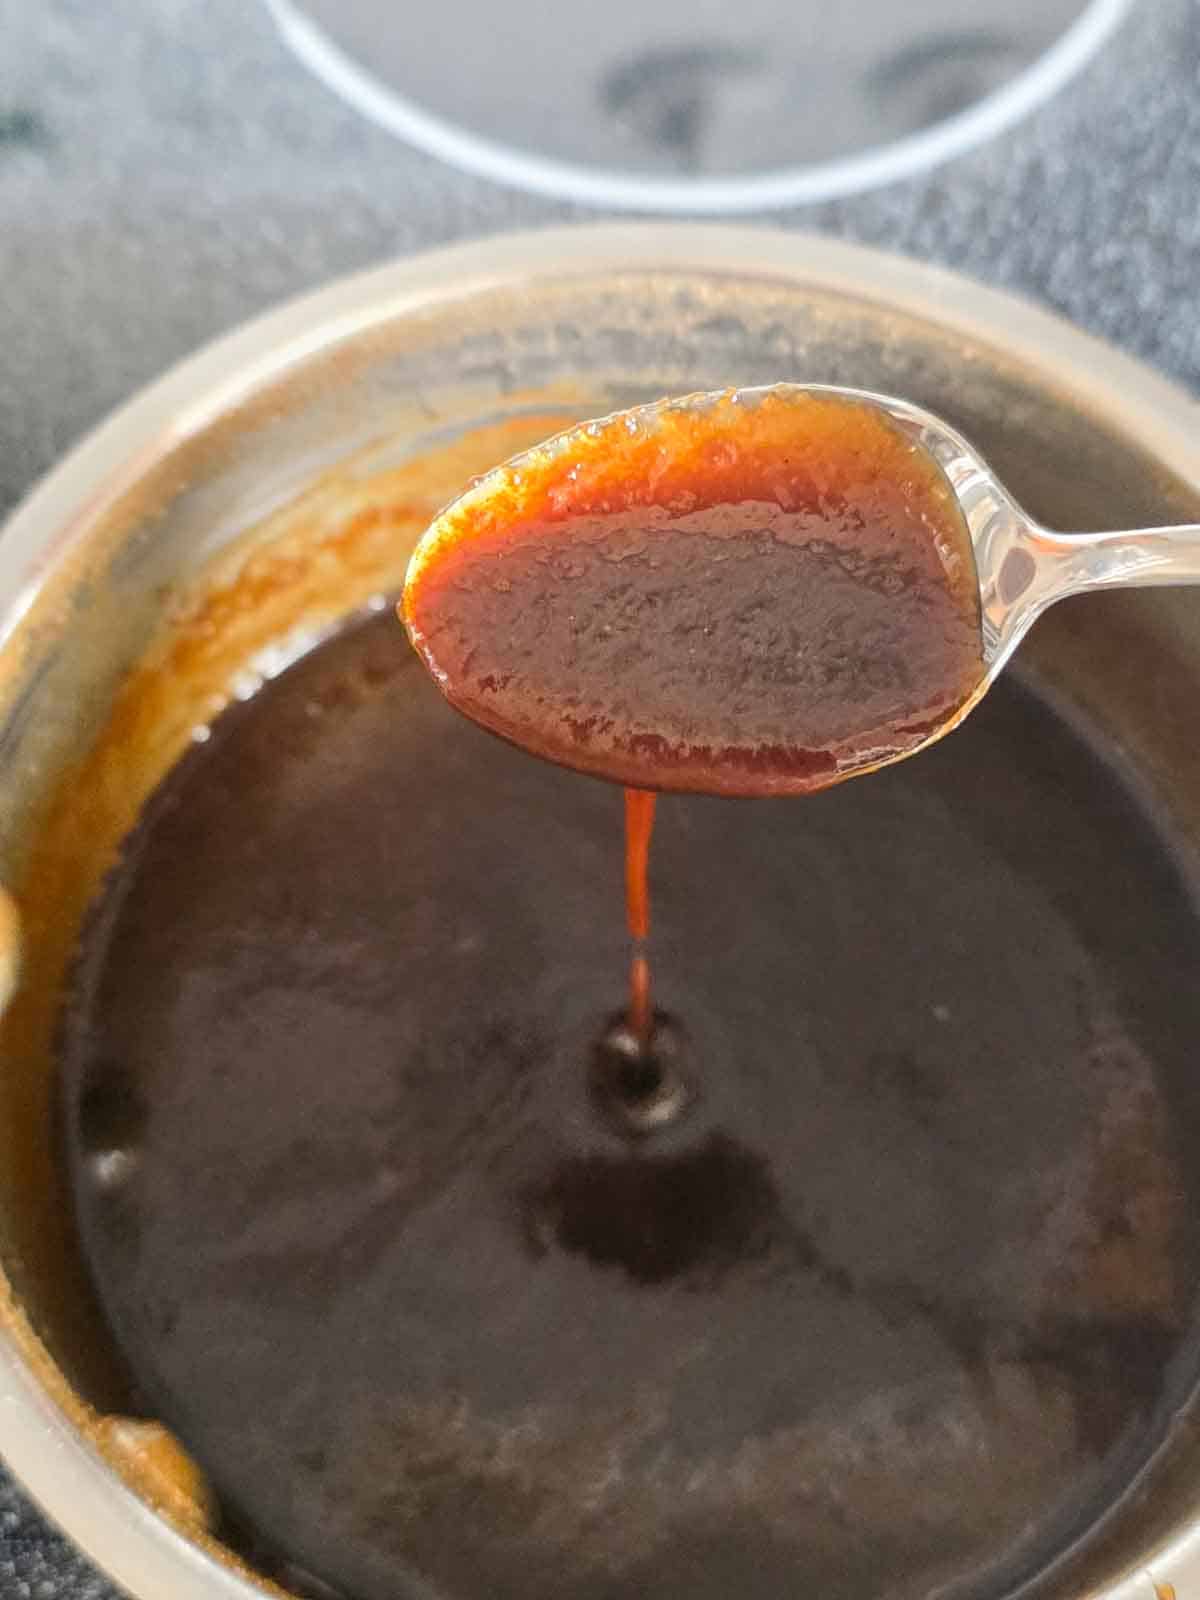
Check the thickness. After about 60 minutes, dip a spoon in. It should coat the back of the spoon and slowly drip off.
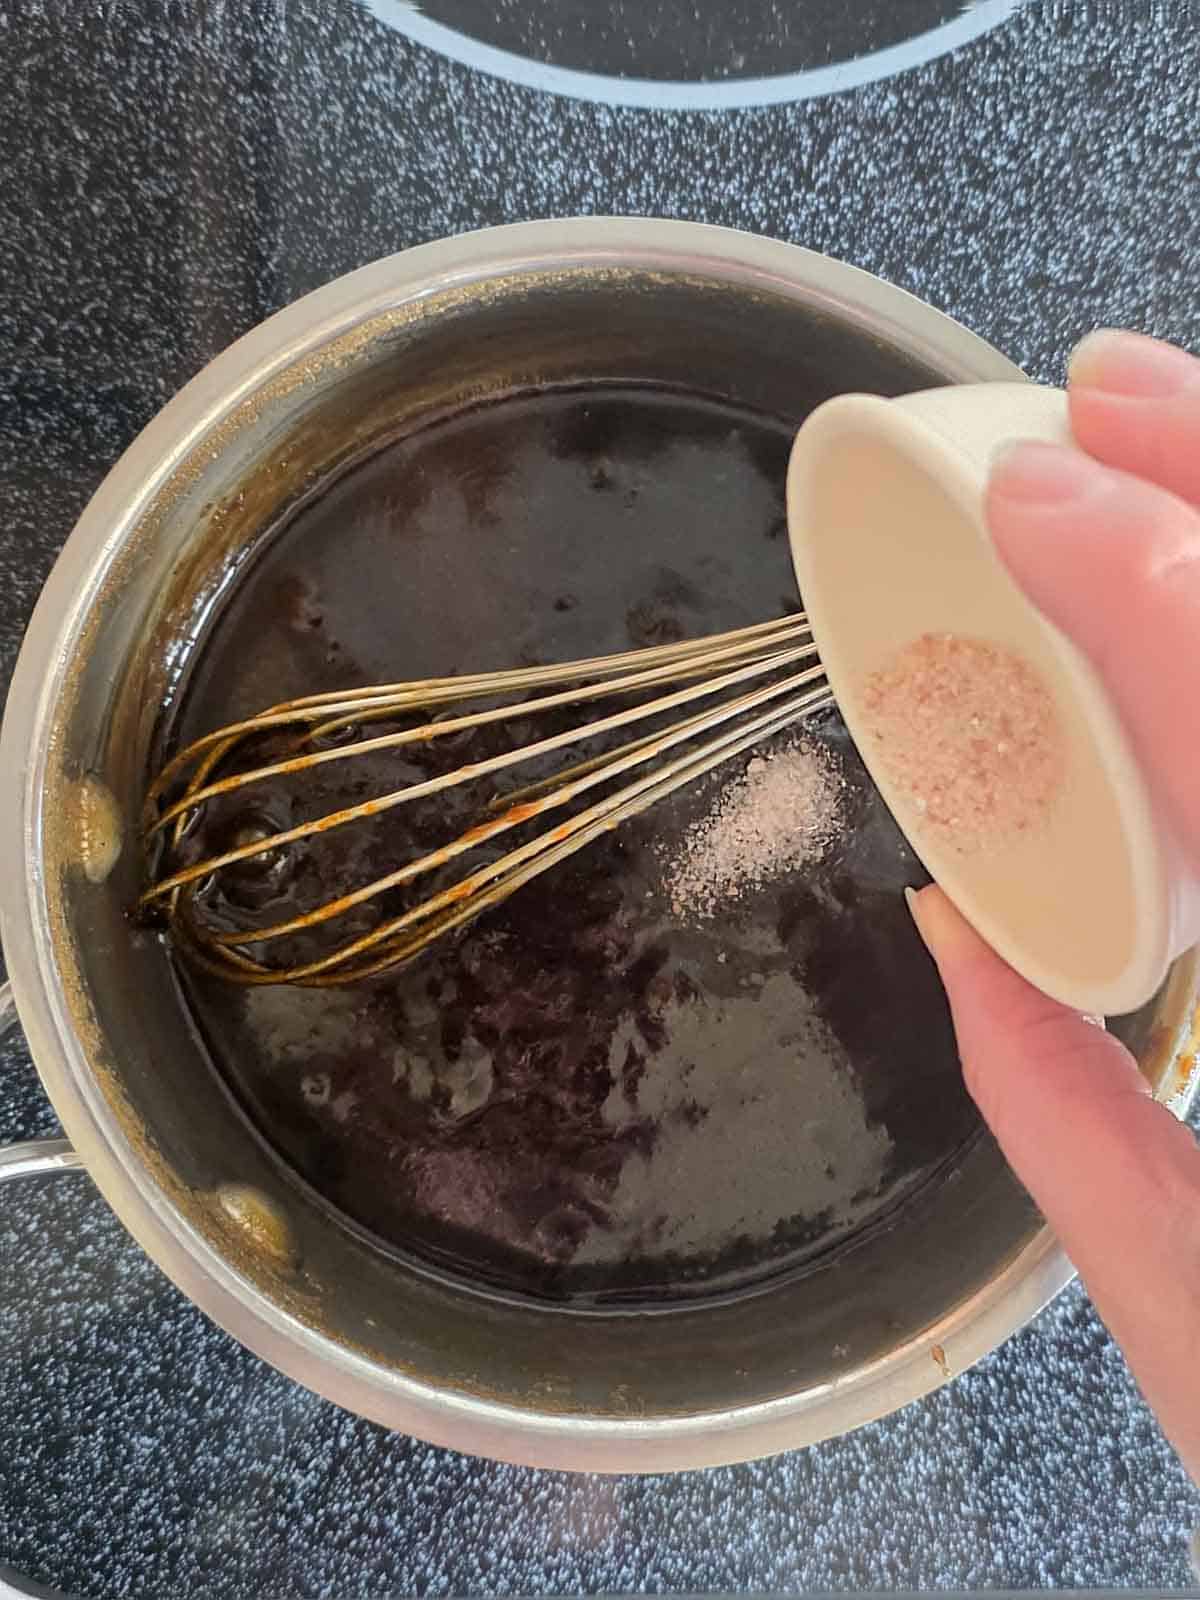
Turn off the heat and add salt.
Remove the saucepan from heat and stir in the salt. Taste it and add a little more if you want.
Alternatively, if you are watching your salt intake or avoiding salt altogether feel free to skip this step. Your caramel will still taste fantastic, I promise!
Let it cool.
Let the caramel cool before using or pouring into a jar.
💭 Pro Tip: It will be thinner while hot and thicken after being in the refrigerator overnight, so don't be tempted to keep cooking.
However, even before refrigeration your caramel is ready to use warm if you prefer!
🥄 Cool and Enjoy
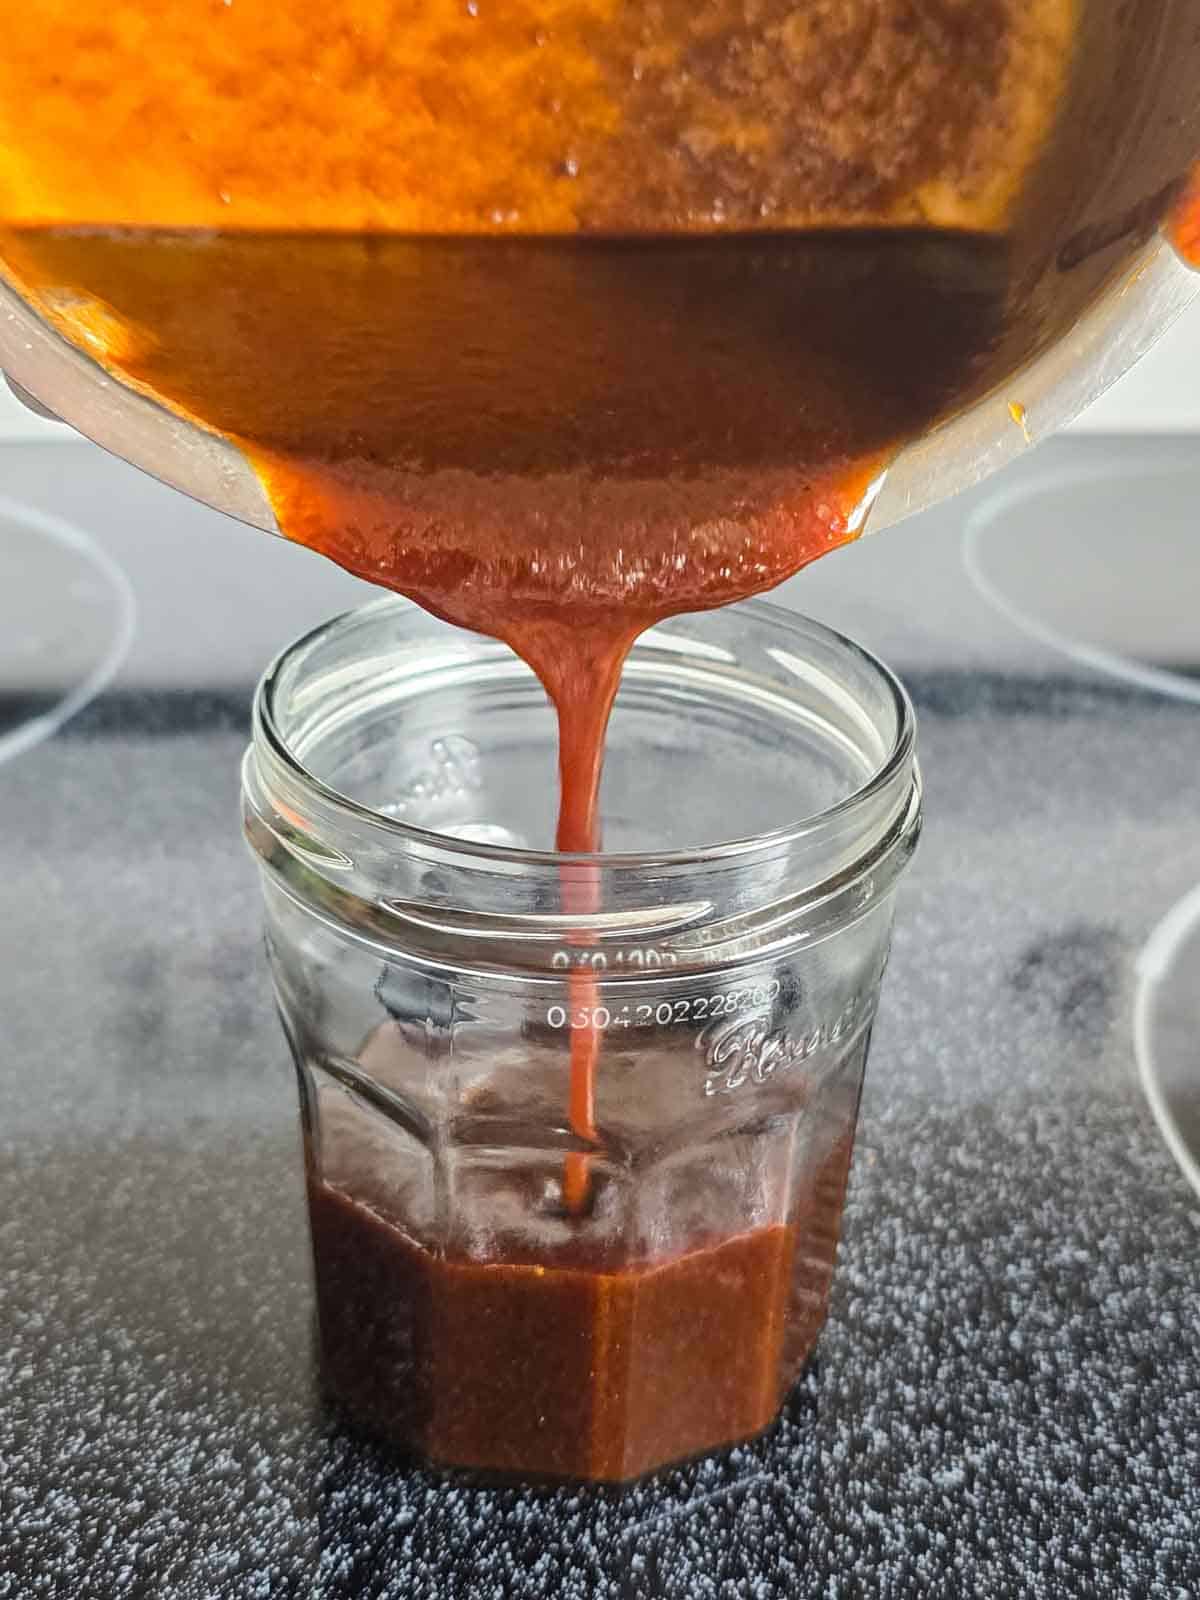
Pour and store.
Pour into a jar after it cools a bit and pop it into the fridge.
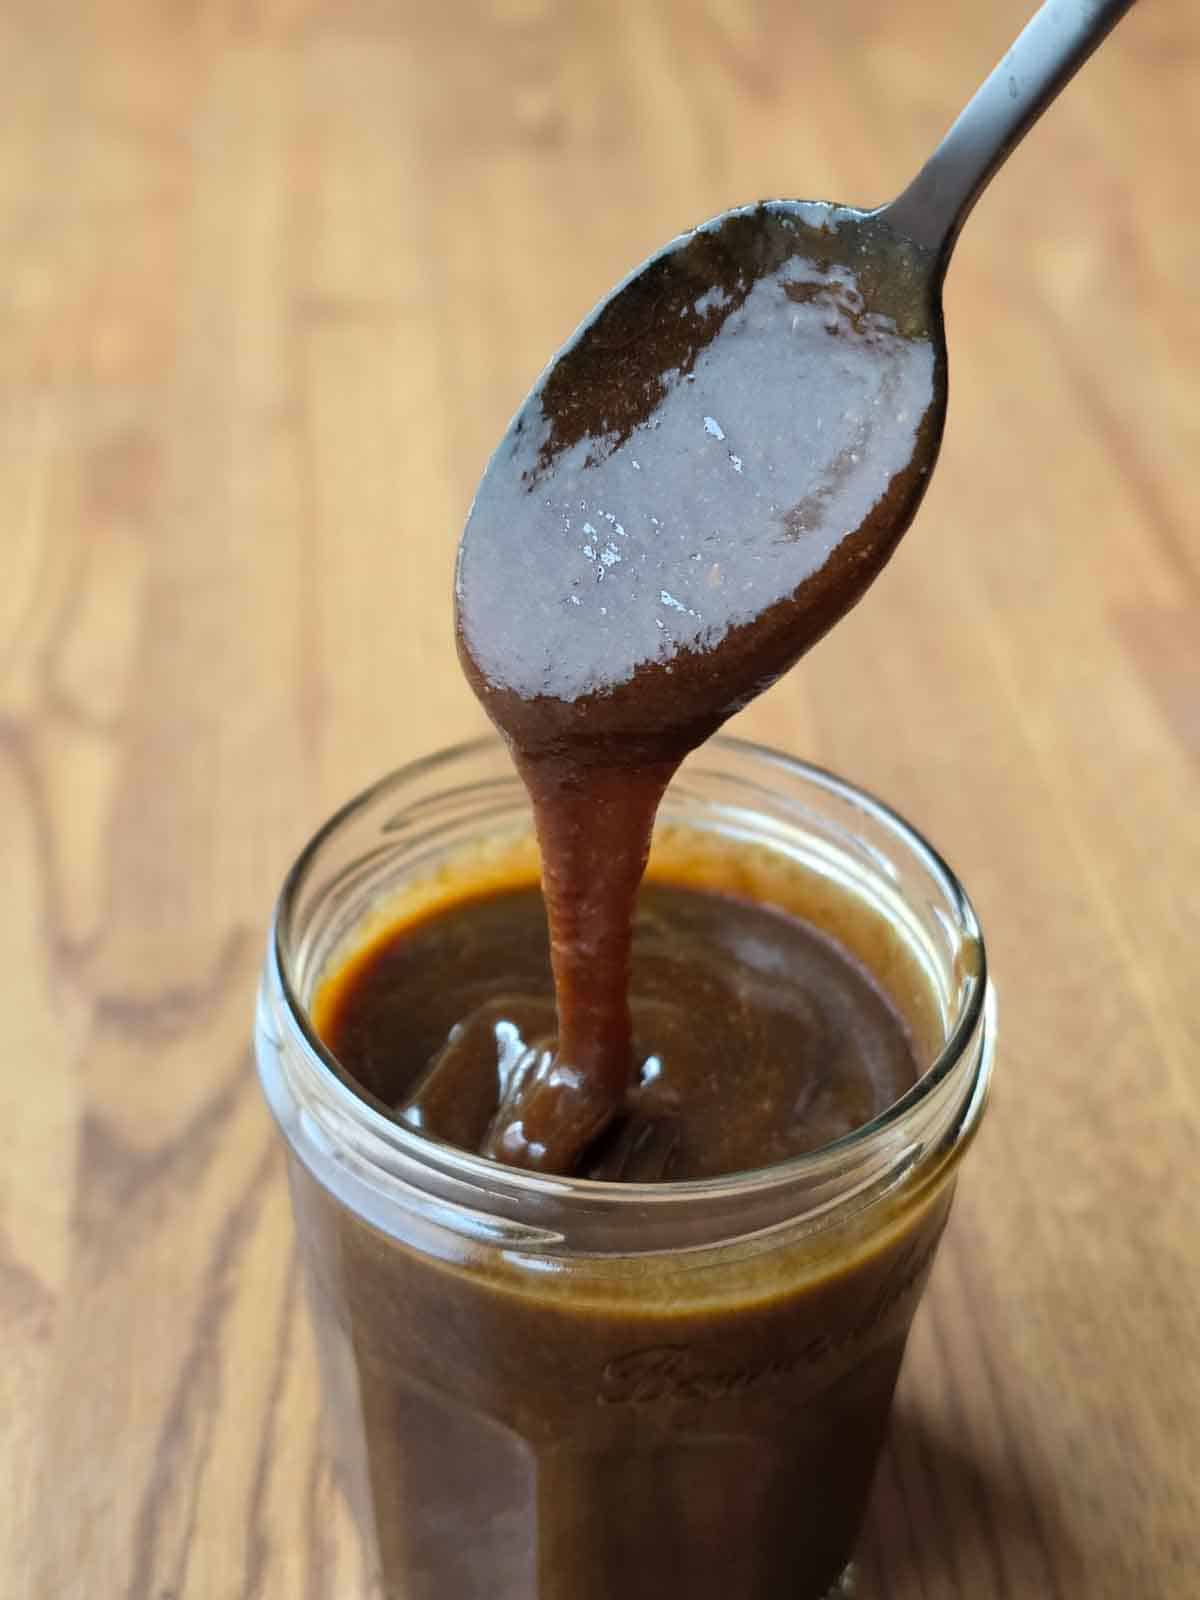
The next day.
After overnight refrigeration you'll have thick, glossy, perfectly pourable caramel sauce that's ready for apple dunking, ice cream drizzling, or spoon dipping!
💭 Pro Tip: If your caramel firms up a bit too much don't worry, you can either let it sit at room temp for about 30 minutes or for faster use you can microwave it it for about 15-20 seconds.
Give it a stir and you should be ready to go!
🧊 Storage & Meal Prep Tips
Refrigerator:
Store in an airtight jar in the fridge for up to 2 weeks. It will thicken as it chills.
Freezer:
Freeze for up to 2 months. Thaw in the fridge overnight.
Reheating:
Warm gently in the microwave or on the stovetop. Add a small splash of water or plant milk if needed to thin it out.
Meal Prep:
Make it ahead and keep it in the fridge so it’s ready to drizzle on desserts, fruit, oatmeal, or whatever your pallet desires. I like to just sneak a spoonful now and then for a tiny treat (when no one is looking of course)!
❓ FAQ's
It will still seem very thin right after cooking simply because it’s hot. As it cools, it thickens, and after one night in the fridge it becomes much thicker.
This did happen to me when I first started testing this recipe. If it looks separated or oily, whisk it vigorously for a minute or two and it will smooth right out.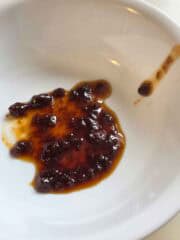
Nope. Light coconut milk has too much water and won’t thicken properly. Use full-fat for the best, most reliable results, and caramel sauce compliments!
Yes! Reduce the salt to taste or leave it out completely if you prefer. I tested it both ways and both were very much equally delicious.
Coconut sugar gives this vegan caramel its rich color and deep, classic flavor. Brown sugar contains more moisture and behaves differently as it cooks. It can make the caramel thinner, sweeter, and sometimes a bit sticky instead of smooth and glossy.
👩🏻🍳 Want to see some behind-the-scenes fun (and maybe a little kitchen chaos)? Keep scrollin’ — it’s all happening below the recipe card!
Print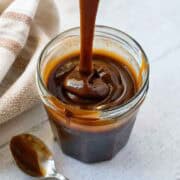
Easy Vegan Salted Caramel Sauce (Foolproof)
- Total Time: 1 hour 5 minutes
- Yield: 18 ounces 1x
- Diet: Vegan
Description
A rich, silky vegan salted caramel sauce made with coconut milk and coconut sugar. This foolproof, hands-off method requires no constant stirring and delivers perfect caramel every time.
Ingredients
1 (13.55 oz) can full-fat coconut milk
1 ½ cups + 2 tablespoons coconut sugar
⅛ teaspoon salt
Instructions
- Add the coconut sugar and coconut milk to a medium saucepan and whisk to combine.
- Place over medium-high heat and bring to a boil.
- Once boiling, immediately reduce to a low simmer and set a timer for 60 minutes.
- Whisk at the 20-minute and 40-minute marks, then continue simmering until done.
- Remove from heat and stir in the salt, if using.
- Let cool, then pour into a jar. The caramel will thicken as it cools.
Notes
If caramel separates: Whisk vigorously for 1–2 minutes until smooth. Reduce heat slightly if needed.
Texture: Caramel will be thin when hot and thickens as it cools.
Coconut milk: Use full-fat only. Lite coconut milk will not thicken properly.
Coconut sugar: Do not substitute with brown sugar. It’s key for flavor, color, and texture.
Salt: Adjust to taste or omit, both outcomes are fabulous!
- Prep Time: 5 minutes
- Cook Time: 60 minutes
- Category: Condiment/Topping, Dessert, Desserts
- Method: Stove Top
- Cuisine: American
⭐Did you enjoy this Easy Vegan Salted Caramel Sauce?
If you give this Easy Caramel Sauce a try please leave a comment and rating below! Justin and I read every one! Your feedback helps more people find my recipes and keeps the delicious messy chaos going in the Fresh Fun Flavor kitchen. Plus, we just love hearing from you!
👩🏻🍳Creating the shot: A behind the scenes look
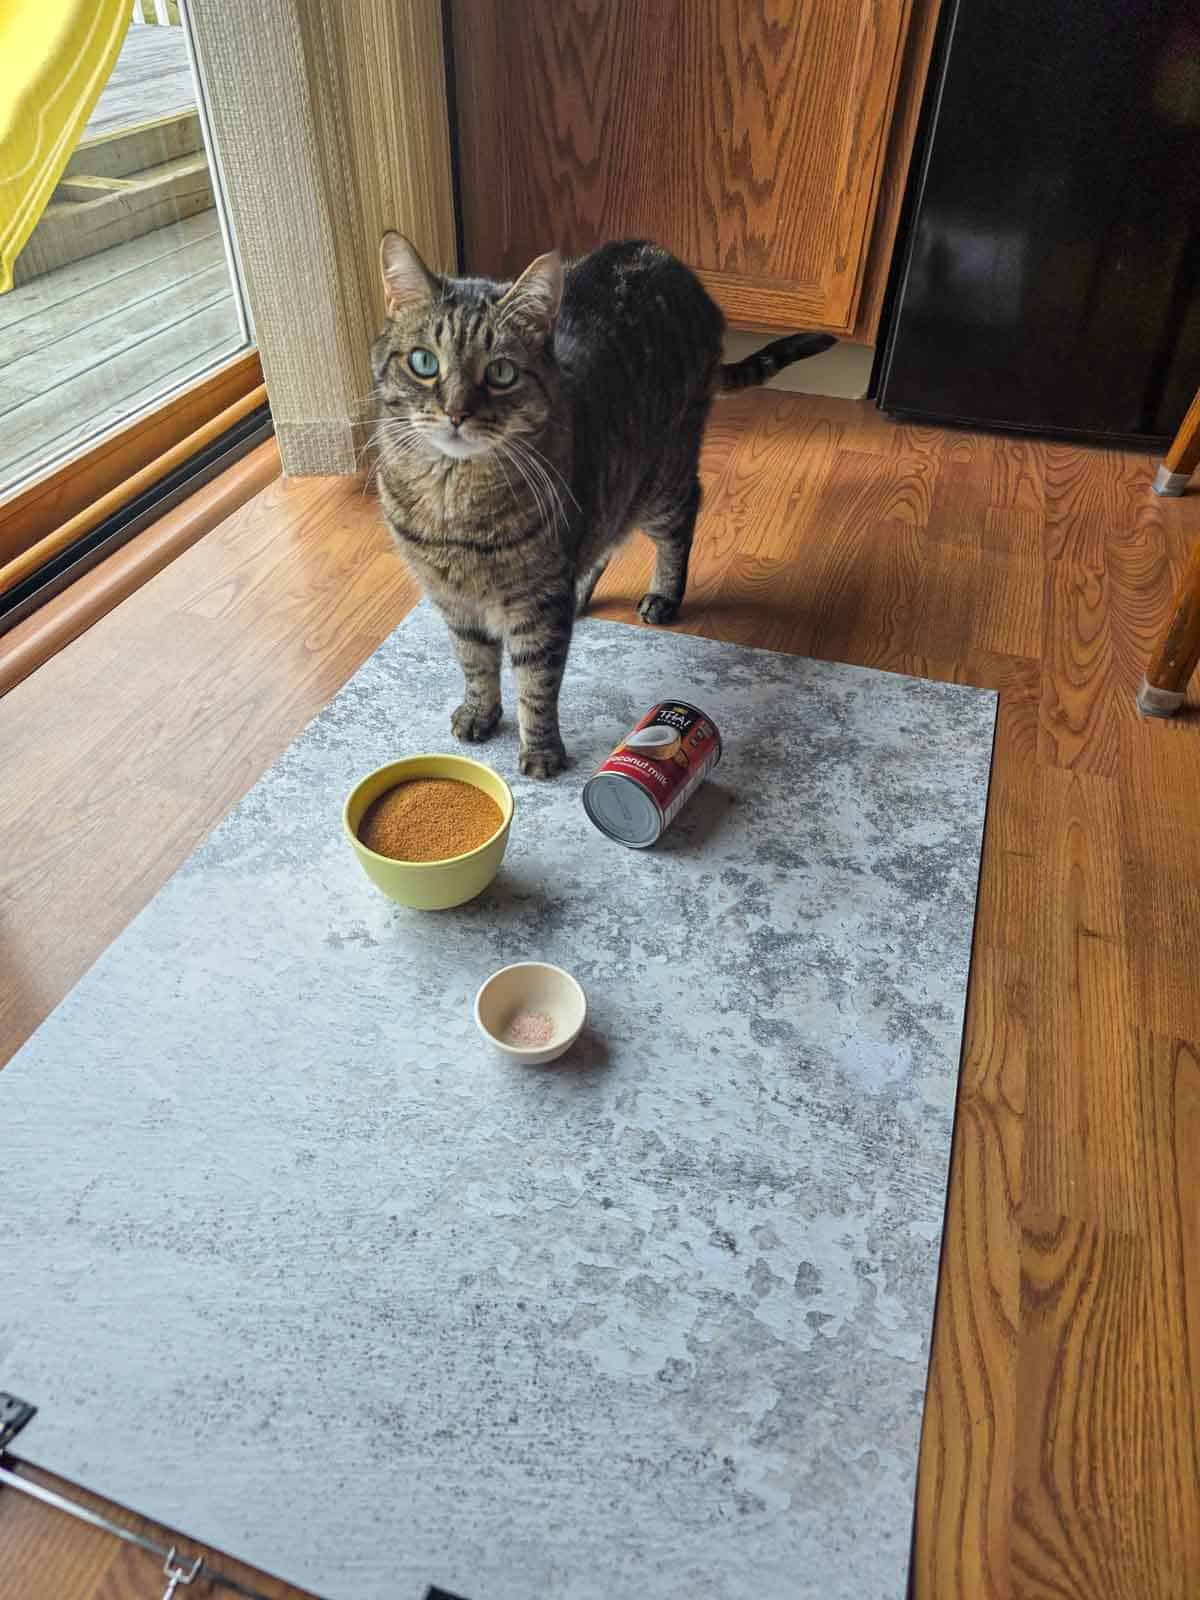
Charlie: “Oh wow, what are we making? Let me just… stand right here and supervise.”
Also Charlie 3 seconds later: “Excuse me?? You want me to go away?? Absolutely not.”
What Really Happened:
What really happened is I ended up making an obscene amount of caramel sauce. Over the last few months I tested heat levels, pan sizes, to stir or not to stir, whisk or blend, cook times, you name it.
We ate a lot of caramel. Okay, if I'm really being honest, no one else was really around and I ate a lot of caramel. Today I decided I should make two more batches simultaneously to test pans and all I ate today was intermittent spoonful's of caramel. I told no one. I regret nothing.


Disclaimer: The nutritional information provided for Easy Vegan Salted Caramel Sauce is an estimate calculated using Nutrifox, an online tool. Please note that this information is for general guidance only and should not replace advice from a qualified professional. Additionally, this page may include affiliate links, meaning I may earn a small commission if you purchase through those links at no extra cost to you. Thank you for supporting Fresh Fun Flavor!


Comments
No Comments